Hi
Elena has been very busy preparing this Christmas project for us & has taken pics of the steps &
explains her project in detail:
'When I was I child I strongly believed in Santa and when I went to school I realized that I could write him a letter asking to make me a gift. Now I have 2 kids and my daughter just started to go to school, but we have been writing a letter to Santa with her annually. This year she is going to make it herself. So I decided to make a Christmas Card for Santa and a beautiful envelope in case he would be pleased to receive it and hope he is going to make what she wants.
So I want to share with you some tips how to make simple envelope and a postcard for Santa. I suppose your children will love that idea, but the most funniest thing when they read about their wishes in 20 years. So let's keep them today.
 |
| Back of card |
o
n the backside I used the paper from the Vintage Mini Christmas 1 collection, cut out some flower border and adhered it on the bottom to stretch the flower print. And stamped the post stamp.
 |
| Finished bag |
 |
| close up of finished bag |
 |
| Pic Envelope_tutorial_1 |
I took the wooden postcards by Kaisercraft but you can use just a cardstock. Dabb the edges with the ink.
Cut the rectangle from the Patterned Paper,
distress with the ink and adhere on your base.
I used Vintage Christmas 2 Mini Pack for
this postcard.
I
adhere the background, then I took some leftovers from the previous projects
and arranged them into a card.
Just a little tip I cut out the picture of
Santa and a girl, but saved the leftovers and padded the picture on some other
cut outs. I distressed all the leftovers with the chalk ink.
Then
I added the silver thread, added some flowers and a lace which I turned over
the post card.
Instructions for the bag:
for
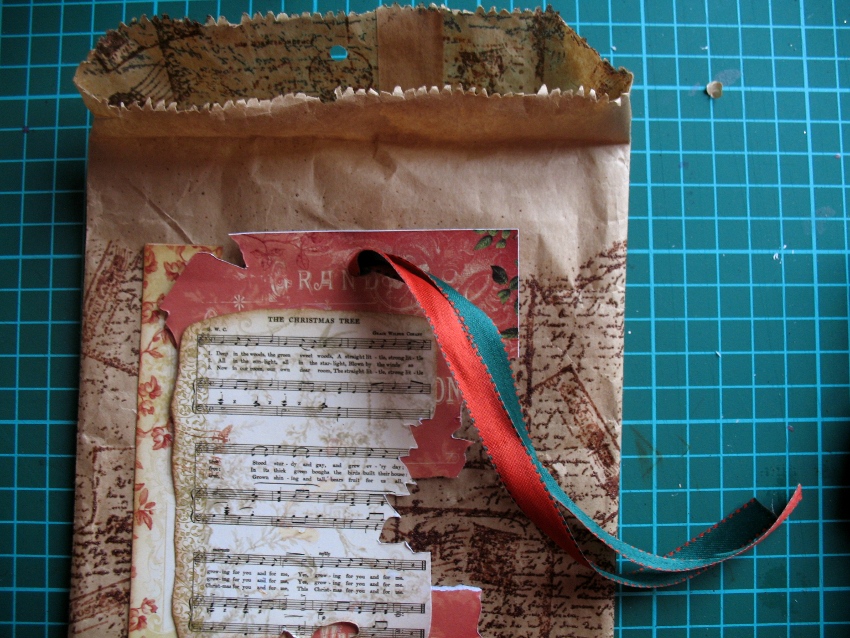
the envelope I took the paper bag envelop and folded the top of it.
I stamped it with some postcard themed stamps over it.
then I stamped with clear ink using Small
Script La Blanche Stamp and embossed with distress embossing powder.
I
used some leftovers again for making some padding for the picture.
at this step you should make the holes for
the ribbon. So make the first hole under
the fold.
make the second hole on the fold.
Then
pull the folded ribbon through the first hole and adhere the center of
it with the tape on the inner part of your envelope.
Pull one part of the ribbon trough the
second hole, add the twine or some fibers, and the bells . I used Bells
hammered gold.
I
stamped the image of Santa using Singing Santa La Blanche Stamp. I combined 3
colors of ink and at the end just colored the image with the olive one.
Adhere it to the envelop and add your embellishments.
I cut the Seasons Greeting from Vintage
Christmas 1 mini pack and put it into the frame and added the pearls.
I
hope I have inspired you to make something with your kids or just a little
surprise for them.'
Beautiful project Elena - well done & thank you so much for the details on how to make it
Bye for now
Meg
www.megsgarden.com