Showing posts with label Raffia. Show all posts

08 July, 2018

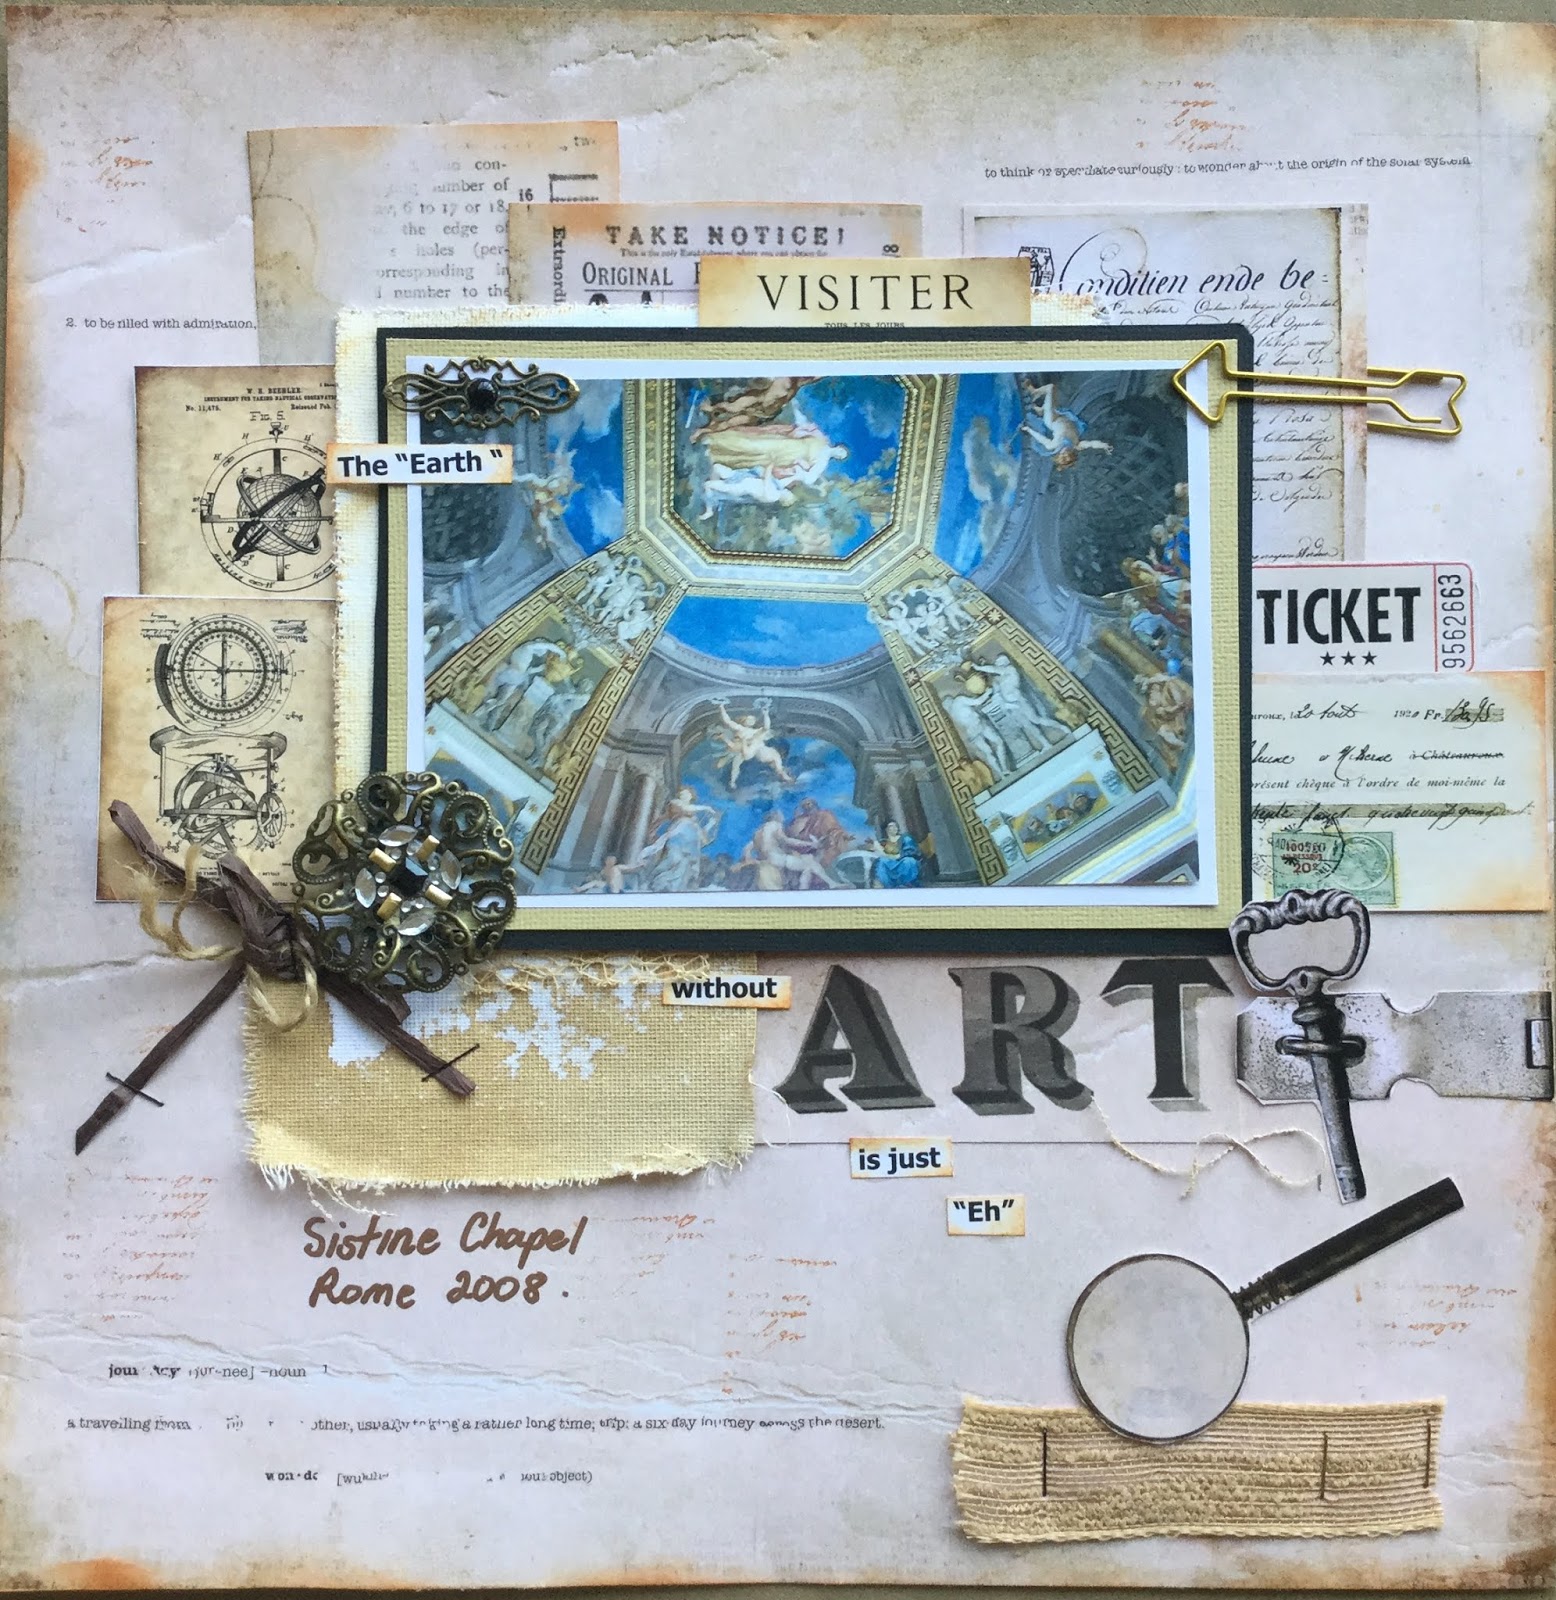
The Earth without Art is just Eh ~ Sherlock 111 A New Case

Hello fellow scrappers, Mary back to share another layout created with the Sherlock 111 A New Case Range.
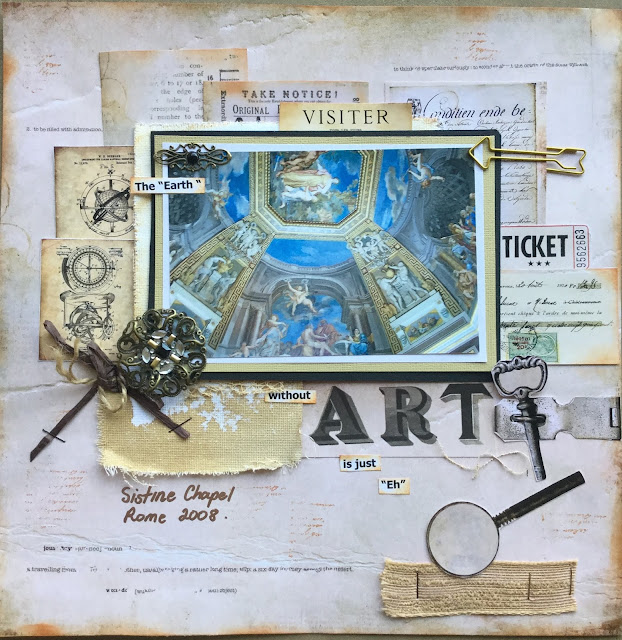
The "Earth" without "Art" is just "Eh"


To create this layout I have layered my photo taken at the Sistene Chapel Rome in 2008 on Cardstock and coffee stained canvas and then layered images from the cut and create sheet around the photo.


I placed a little mesh ribbon peeking through under my photo and placed a round Filigree in the corner of the photo and then added raffia and string . I've used staples to adhere the dark brown rafia and also the natural  jute ribbon in the corner.
Thank You for calling by and I hope you take the time to pop over to Megs Store .
Happy Creating
Mary x

18 March, 2016

Chantilly Cream Greeting Card

Hello my crafty friends, this is Patti back with you using up some of my leftover Chantilly Cream bits and bobs.


I hope you'll join me on todays video where I even reveal my messy desk!  I'll share how my 'mind' process works on creating a card with bits and pieces.  Such a fun project, I just love doing this and seeing what evolves.  I've used mainly Meg's Garden Chantilly Cream collection, there may be a stray item or two from another collection or my stash.  I've used a 6" square card base today, using Spellbinders Celebra'tions Cuddle Cream cardstock, one of my favs.


I've layered this gorgeous Gardenia flower with a few of the Copper Paper leaves and tucked in some tiny flowers here and then.  I went back off camera and scrunched and tucked in some tiny pieces of lace I'd been saving, just what the flower cluster needed for depth.


On the right side I cut a doily in half and pleated it in the middle.  A small staple holds the pleats together until I get it glued in just the right spot.  I added a tiny bow of dyed seam binding in the lower right and even though you don't see it in this photo I used my Scallop Corner Chomper on the outside corners of the card base.


After I finished filming I thought this upper right corner was a little naked so I went back hunting for a sentiment and found this Live Today snippet.  I fussy cut it out and backed it with a couple of layers of packaging scraps.  The antenna are the left over piece I snipped off the pearl spray that's tucked into the flower cluster.  I went over the antenna with Diamond Stickles to give them a little sparkle. The layers are distressed with my Tim Hotlz distressor and then tucked between are little pieces of lace.


Inside is a simple distressed mat of the Chantilly Cream striped paper with a trimmed flag of lace and a strip of Meg's lace over top.  Thanks so much for joining me today, I hope you'll stay and watch the video.  All supplies will be linked directly below the video.


Supplies from Meg's Garden

09 November, 2015

Vintage Victorian Christmas Card

Hi everyone, it's Patti sharing with you today.  I've created a card for you combining both of the new Christmas releases, Vintage Christmas and Victorian Christmas both available in the Meg's Garden of Papercraft Delights store in either digital download or printed paper.

This is a standard A7 card 5"x7" on a Kraft cardstock base.  Both of the Christmas Papercraft Packs come on 8 1/2"  x 11" paper including 3 sheets of 5.4" design blocks with an accompanying 1.5" x 5.4" strip along with 3 sheets of ephemera.  I chose the on block design of the Santa and Compass and snipped them apart.


I took accompanying strips, ephemera and snipped pieces from the block to create a collage around the focal images covering up the Kraft card base.  The video will show this whole process from start to finish so any of you who hesitate making a card like this will see first hand it's really simple and anyone can do it.  Diamond Stickles on Santa's beard and NOEL along with a black flat backed bling finish off the front of the card.


Across the bottom I laid a strip of burlap and covered with a floral cluster.  My flowers started out as white blooms from the store, small white roses and white apple blossoms which I changed up to match the designer paper.  I used a combination of Tim Holtz Distress inks in Rusty Hinge, Gathered Twigs and Fired Brick to transform the white to the correct color.  The tiny flowers were actually pink but picked up the distress inks well to alter their appearance.  I tucked a couple of Copper Paper Leaves behind to finish the cluster and completed it with a bow from distress ink dyed seam binding.


The inside sentiment is a piece of white cardstock inked with the same three Distress inks as the flowers and die cut with Spellbinders Nestabilities Labels Forty-Two.  I then added two ephemera pieces from the collection.  Both mats were inked with Tim Holtz Distress Ink in Ground Espresso, I also used this darker ink around the outer edge of the card front to tie everything together.  The finishing touch is a raffia bow in the corner. 


I hope you'll join me on the video where I'll share the paper collections with you and do a start to finish of how to make the card.

Supplies from Meg's Garden