Showing posts with label Meredith Hilly. Show all posts

25 March, 2018

Easter eggs by Meredith Hilly


Hello everyone.
I would like to show you the Easter eggs I made using Megs Garden embellishments and papers.
I used duck eggs as they are larger but chook eggs can be used instead.
After blowing the egg yolk out I painted this egg with a moss green paint and then a coat of crinkle crackle paint. I used toilet rolls as frame work for all of my Easter eggs stands. Decorating the roll in different ways.


This velvet flower was the perfect colour for my egg.


This lovely egg I painted first. After drying I cut out pictures and scrunched them into balls. There are so many pictures you can choose from at Megs garden to cut out. Clocks , flowers , ladies. The possibilities are endless. The scrunching breaks down the paper fibre making it easier to glue onto a curve surface. Then using wood glue mixed with water I softened the paper. Gentle smoothing the paper onto the egg. Don't over work the paper as it will loose the picture and colour.


While the eggs has the wood glue mixture on it you can attach lace or ribbon to the egg.
When the egg is dry the hole used to blow the egg can be used as a anchor for flowers and leaves.


I did the same process with this egg. Glitter works great on the flower and pictures.


Adding pearls and small embellishments like dragon flies makes the egg more detailed.


The base of this egg stand was painted with pink paint and I added lace with pearls drops. I cut up the round silver trim ribbon to use  for smaller decorations. Don't ever be afraid to cut off small portions of lace and ribbon. They make wonderful embellishments.


And now for the boys.  I  choose my photos to cut out from  Alchemy 101 papers. I followed the same process as above but when the egg was dried I coated it with crinkle crackle. When this layer dried I used a dark coloured ink pad to wipe over the egg. This will go into the cracks. Before the ink dries wipe of excess with a tissue.
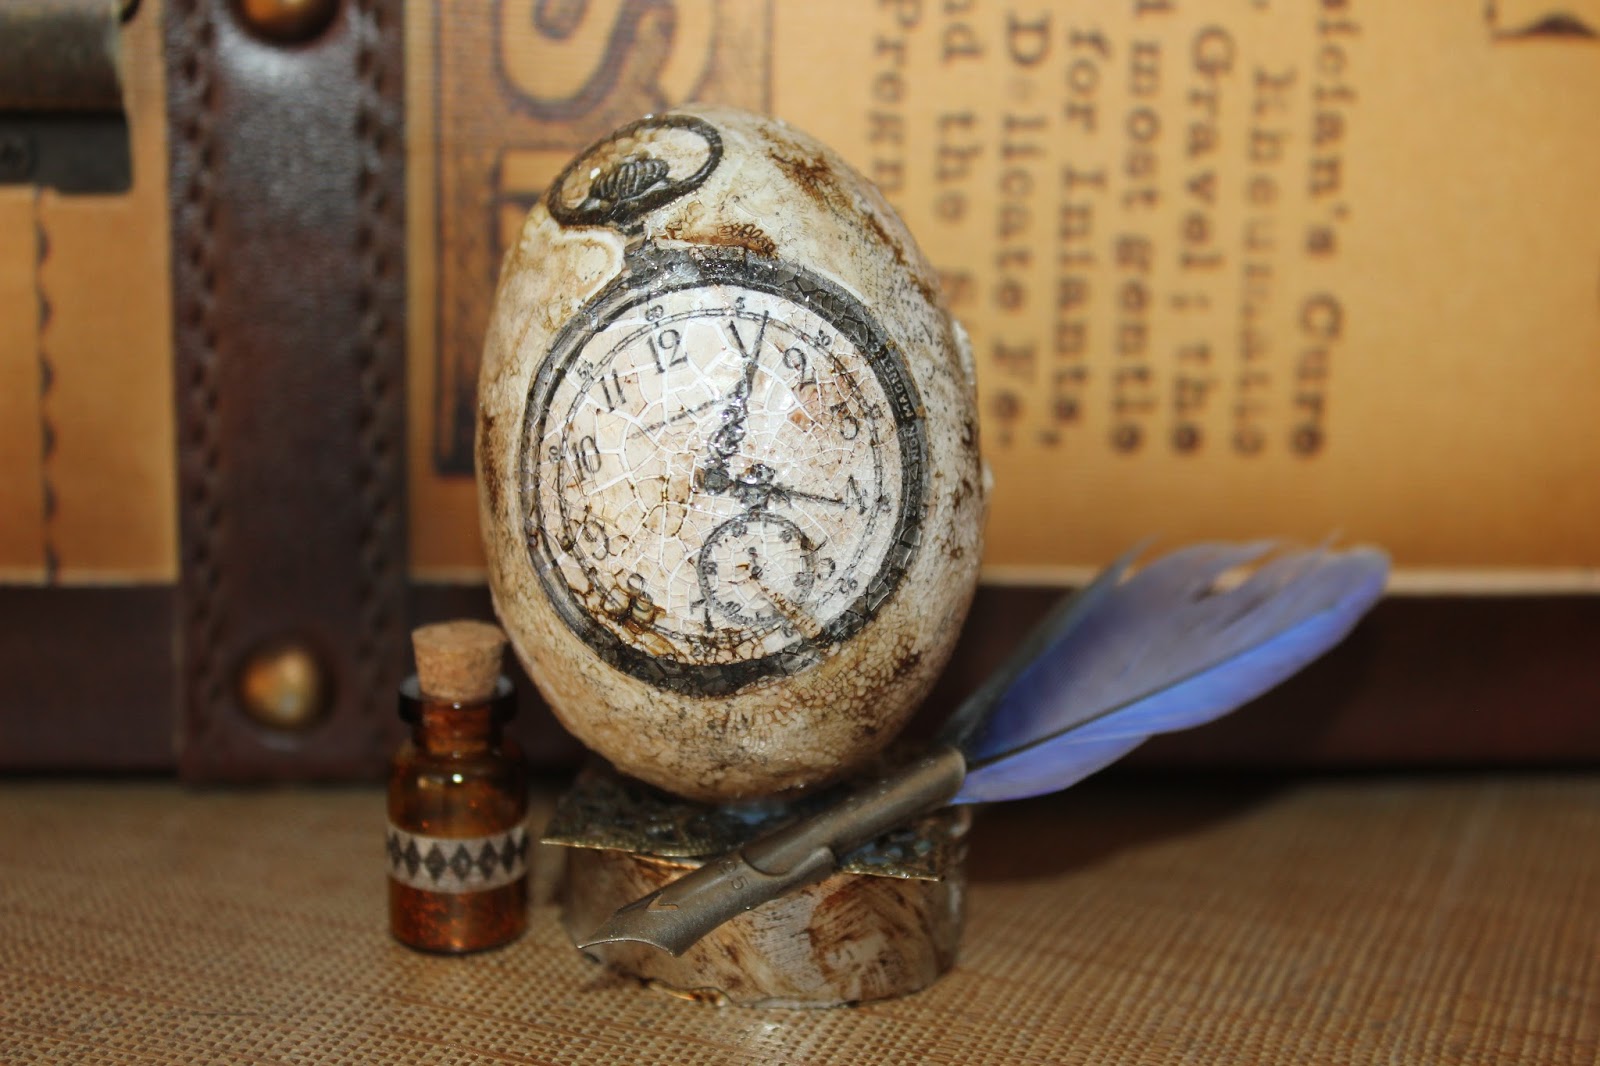


This egg I did not paint. I stamped it with stamps. You will need to roll the egg along the stamps to get most of the image on the stamp.


Again I used a toilet roll and painted it. Attaching the ribbon with the very cute cog and frog.


I hope you enjoyed this post as much as I did making the eggs. There is so much to be created using megs garden supplies on your very own Easter egg. Give it a try. Makes a lovely gift at Easter time without the calories.


Megs Garden

My Stash
Paint
Ink


03 March, 2018

Vintage Ladies by Meredith Hilly

Hello my crafty friends.
I have made three cards for you this post. I absolutely love the pictures of the ladies
in Megs "Vintage Ladies" papers.
The first card I used the "painted flowers die and stamp set."
I found these stamps and die sets very easy to use with a lovely finished flower to decorate my card.
The benefits of using the stamp and die sets are you can ink them what ever colour to perfectly match you project.


This next card I used one of the many new dies at Megs Garden. Its the wreath die and can be used
as a lovely border for a picture.

Don't be afraid to cut up flowers out of the lace you have. I cut the flowers out of the border lace of this card and randomly glued them on the wreath.


I have been using the "French Chic Card Artist Pkt 1" for these cards.
The colour in this pack goes lovely with the vintage ladies collection.


Thanks for dropping by and looking at my cards.

Megs Garden


27 December, 2017

Christmas cards by Merdith Hilly


Hello everyone. It is that time of year when Christmas cards are made.
I used "A Twinkling Christmas Collection" to make my cards.
Lots of glitter and lots of bling. Makes for a fun Christmas card.


I hope everyone has a merry Christmas and a wonderful new year.

Megs Garden.

My Stash
White cardstock
Glitter

21 December, 2017

Gold Tin Journal by Meredith Hilly

Hello everyone. I have been using Megs Garden Alchemy 101 papers.
I feel they are simply wonderful. There are so many pictures to cut out and use.
Recently my son celebrated his 21st birthday at Luna pack, Sydney.
 I wanted to make a keep sake book and tin to store the fun day in.


Megs garden has a lot of metal embellishments to decorate with. Using a tin I already had I glued brass corners and a scroll on the lid. Then using a clock I layered it onto the brass scroll. Layering metal embellishments gives depth to your projects. I glued a small gold photo frame onto the plastic lid.


I embossed gold tin and rubbed the surface with black and blazing red StazOn ink.
The cute lock was glued on to the side.


I made a book using the Alchemy 101 papers and bound it with a metal spiral.


I decorated the pages of the book with the Alchemy 101 pictures.


This is the inside of the tin. I used the Luna park ticket stub and inked the edges to make it look dated. I tried to use pictures and items to represent my son. For example the mini compass shows that he is always off exploring the world.


Thanks for looking at my latest project. Have a happy and safe Christmas followed by a wonderful new year.

Megs Garden

My Stash
Metal tin
Gold photo frame


29 October, 2017

A Ladies Christmas Planner by Meredith Hilly

Hello. I hope everyone is well. Its never to early to start planning for Christmas.
I like to write down what presents I am buying for family and friends. My daughter , my  mum and I like to plan our Christmas meals with who's coming for dinner and what will be needed.
So the project I would like to show you is a ladies Christmas planner.
Using thick card stock I cut out a book which was half a Christmas tree and half a rectangle book.
I bound the book using metal circle clips.


I strongly recommend you try a project or card with the German Scrap borders and strips. There are so many uses of German Scrap borders and strips from Megs garden.
They are so detailed with the embossing and fine cut out patterns. I used the borders through out the book. Framing or high lighting each page. This makes the layout of each page flow as one theme throughout the book.
Thanks for having a look at my latest project.
Megs garden
My Stash
Thick card stock
glitter glue
diamonds coloured


29 September, 2017

Christmas is fun but where to store it when your done? by Meredith Hilly


Hello my crafty friends. Christmas is coming closer and we can now spoil ourselves with
 glitter and over the top projects that celebrate good times with family and friends.
My mum puts a lot of effort into choosing a colour palate to decorate her home. Each year you can see the thought put into her table and wall display and they always look amazing.
So where does it all go when the festive season is over?
Into old cardboard boxes and plastic bags.
So my project I would like to show you this week is a bucket with a lid I have decorated with the beautiful papers from Megs garden to store it in.


I choose a paper that I could glue onto the bucket and then fussy cut out the same Christmas  baubles to match. Using foam tap I attached them so this gave a 3D look to the picture.


Like I said Christmas to me is glitter. So glitter glue was used on everything.


 I hope you like my project. You could cover old shoe boxes , storage bags or even what your Christmas items are stored in now to jazz things up.
Bye for now.
Megs Garden
My stash
Pine tree die
glitter glue
Black bucket with lid
Pearls


11 July, 2017

Old Times Book by Meredith Hilly


Hello everyone. I had a fun time using the Sherlock Journal Vol.ll papers. Recently at a garage sale I found some old hard cover books with beautiful gold gilded covers. The actual book pages and binding was damaged. So I removed the pages and replaced them with the Sherlock papers.


I cut the paper to fit inside the book and then distressed the edges to make them look worn. Using a walnut stain ink and then Versa Colour 171 Pinecone on the paper edges to achieve an aged look. 
The binding of the book was to far gone to repair so I found some matching card stock. Using gold embossing and stamping it with a similar pattern I matched the rest of the book.


I attached a clip onto the top of the book binding with which I hung a key on.


Most of the pages I fussy cut out to embellish the book pages with.


The old hard covered books use to have there own ribbon book marks sew into the binding.
I was able to keep this one and use it.


My good old Guinea fowl donated a lovely feather to be used with the metal quill on the page.


This book is the perfect size for a small keepsake album. Now you can go find some hard bound covers of unloved books and transform them with Megs papers into a classy project.
 Thanks for having a look at my latest creation.


Megs Garden


From my stash
Hard cover old book
Gold diamonds
Inks