Showing posts with label French Chic Paper Collection. Show all posts

25 March, 2018

Easter eggs by Meredith Hilly


Hello everyone.
I would like to show you the Easter eggs I made using Megs Garden embellishments and papers.
I used duck eggs as they are larger but chook eggs can be used instead.
After blowing the egg yolk out I painted this egg with a moss green paint and then a coat of crinkle crackle paint. I used toilet rolls as frame work for all of my Easter eggs stands. Decorating the roll in different ways.


This velvet flower was the perfect colour for my egg.


This lovely egg I painted first. After drying I cut out pictures and scrunched them into balls. There are so many pictures you can choose from at Megs garden to cut out. Clocks , flowers , ladies. The possibilities are endless. The scrunching breaks down the paper fibre making it easier to glue onto a curve surface. Then using wood glue mixed with water I softened the paper. Gentle smoothing the paper onto the egg. Don't over work the paper as it will loose the picture and colour.


While the eggs has the wood glue mixture on it you can attach lace or ribbon to the egg.
When the egg is dry the hole used to blow the egg can be used as a anchor for flowers and leaves.


I did the same process with this egg. Glitter works great on the flower and pictures.


Adding pearls and small embellishments like dragon flies makes the egg more detailed.


The base of this egg stand was painted with pink paint and I added lace with pearls drops. I cut up the round silver trim ribbon to use  for smaller decorations. Don't ever be afraid to cut off small portions of lace and ribbon. They make wonderful embellishments.


And now for the boys.  I  choose my photos to cut out from  Alchemy 101 papers. I followed the same process as above but when the egg was dried I coated it with crinkle crackle. When this layer dried I used a dark coloured ink pad to wipe over the egg. This will go into the cracks. Before the ink dries wipe of excess with a tissue.
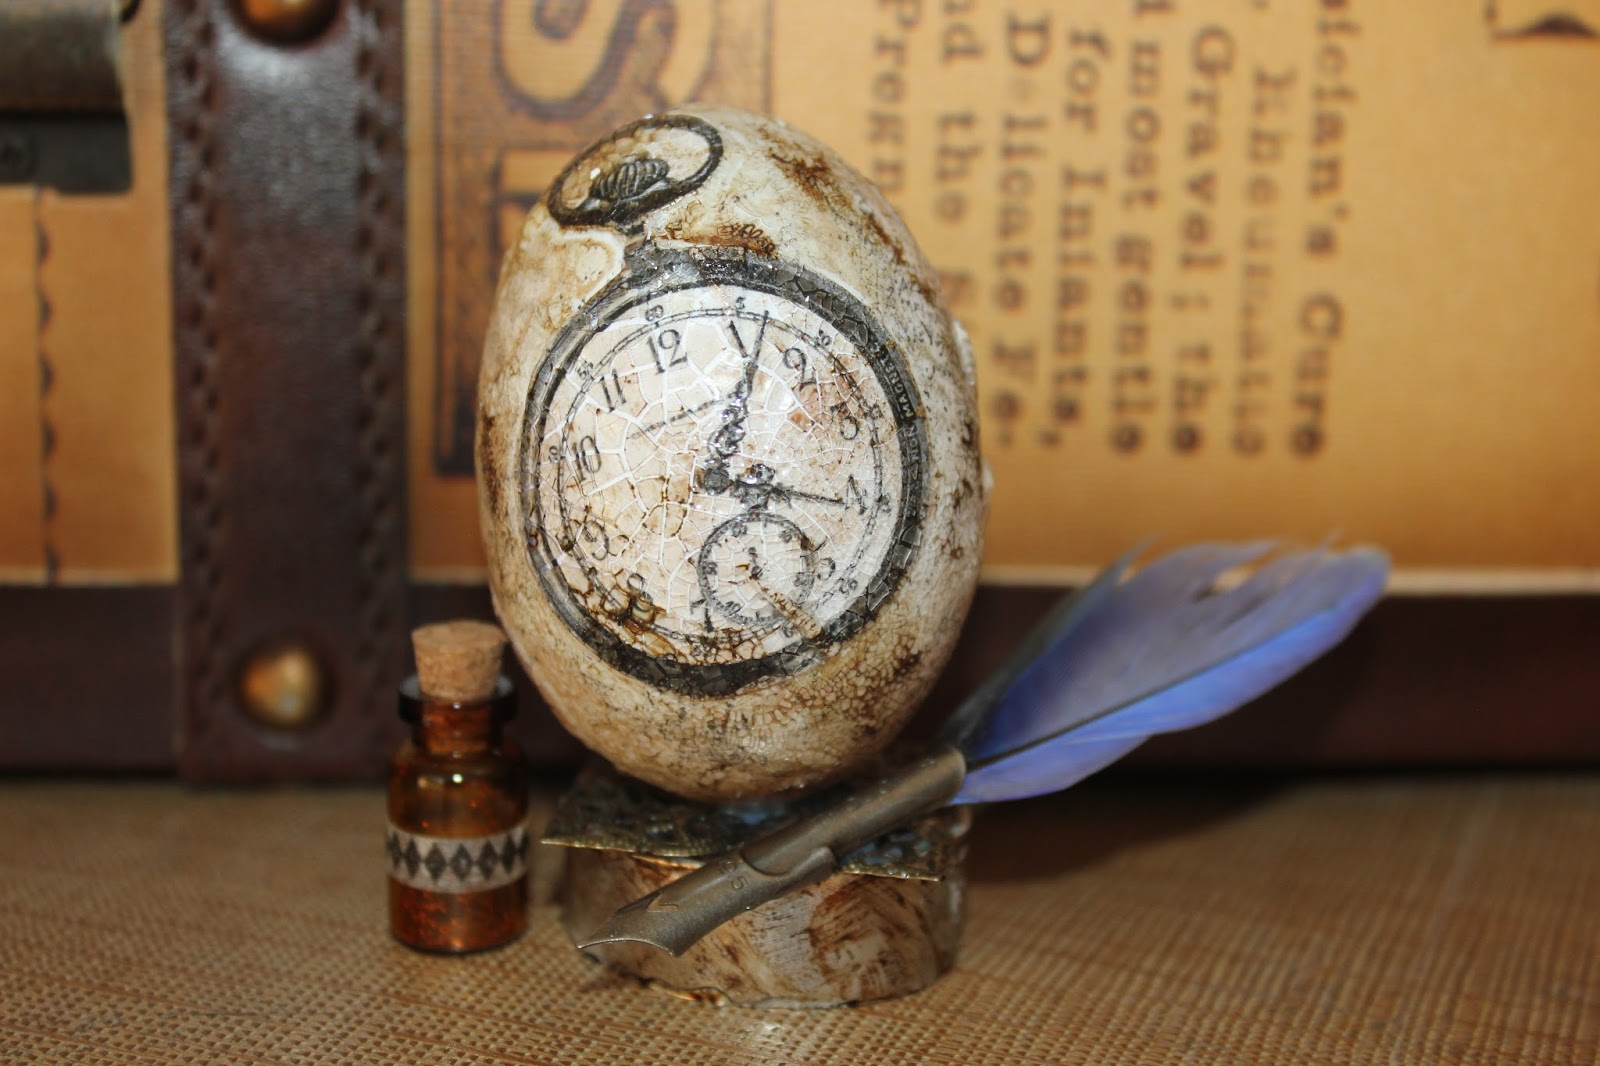


This egg I did not paint. I stamped it with stamps. You will need to roll the egg along the stamps to get most of the image on the stamp.


Again I used a toilet roll and painted it. Attaching the ribbon with the very cute cog and frog.


I hope you enjoyed this post as much as I did making the eggs. There is so much to be created using megs garden supplies on your very own Easter egg. Give it a try. Makes a lovely gift at Easter time without the calories.


Megs Garden

My Stash
Paint
Ink


02 March, 2018

Into the Chic Garden

Hi Everyone,

Thank you for allowing me to take a stroll through this magnificent garden, I hope you'll enjoy and find inspiration in the cards I picked along the way!

Using French Chic Card Artist Packs 1 and 2, I created the below four cards. Meg's Card Artist Packs are very versatile and the perfect companion to all card makers. Be sure to check them out in the shop today!


I love "building" cards, adding height and dimension and also making them interactive.


For my Butterfly Card, I added dimension by curling the paper, including flowers as a focal point and also using a butterfly die cut on the curves. The butterflies are really flying off the card!


For the extra special someone in mind, I created this interactive Hearts Card. The side corner embellishments also act as a small pocket to hold the smallest die cut heart. I added ribbon to gently pull out the heart for the receiver to read the sentiment. The heart fits back in to the pocket, until it is to be read again.


With so many ribbons and pearl trims available from Meg's shop, I enjoyed grouping several together to make this stunning effect. The end result is full of different textures and an ideal card for any event or person.


Now, one thing you should know about me is.. I can't bin anything! I love left over scraps from previous cards, I believe everything has a use and purpose. With all my left over bits and pieces, I created this Flower Card. I used a petal template I had previously created and traced it onto the scraps ready to cut out. I always arrange my design before adding any adhesive to ensure I am happy with the look and size. For the base of my card, instead of paper, I used one of the many paper doilies Meg has on offer. The humble doily has never been more effective. I finished by embellishing the card, using another scrap of doily from a previous project and an eye catching flower.


My go to favourite techniques when making cards - I always ink around the edges of both the papers, card stock and base. I find it adds that finishing touch when using a complimenting ink colour.

I also try to make use of my dies to help add texture and embellish, you can also make a feature out of the paper. Have you seen Meg's new range of cutting dies? They are perfect for your next project!


Have a wonderful 'crafter-noon', everyone!
Julia.

28 February, 2018

Take Flight Everyday

Hello everyone...
I have been working on a few things for Meg's Garden recently and love working with her products.
Using the French Chic range with the Card Artists' Packs/Mini Papers, I have made a few more cards.


My cards are simple, trying to make the most of the pattern paper from Meg's design because they are so beautiful and could be a card on its own. 


I have used Meg's rose satin seamed ribbon, a Pink & White Apple Blossom Flower and the pearl trim looped under the flower.  I didn't want to lose the butterfly behind the ribbon so I cut around the wing to lift it up on top of the ribbon.  And I used the sentiment 'Take Flight Everyday' to finish the card.  My photo is very light, so the dusky pink is more like the image above.


My next card uses the French Chic Card Artist Pk 2


I have used the oval frame of the patterned paper to guide my card here and I love how it's turned out,


 I have used a cream satin seamed ribbon along with the pearl trim to make a layered bow on an oval chipboard frame that I inked black with a stamped image of a silhouette portrait inside. The paper was a perfect frame for this simple design.  It's a card that is suitable for any occasion.

My final card, was using the candy striped PP from French Chic Card Artist Pk 1


I wanted to show the flowers in this background paper so I turned the paper horizontally...


I braided 3 coloured, 3mm satin ribbons, that matched the pattern paper, on top I used a pink rue flower with stamens with a simple Hello clear sticker and it's another simple card that shows off Meg's paper.
I hope you've enjoyed popping by to see my card samples today.
Bec
xxx

03 February, 2018

French Chic looking very Chic


Hello bloggers, I hope you like this beautiful French Chic
collection as much as I do
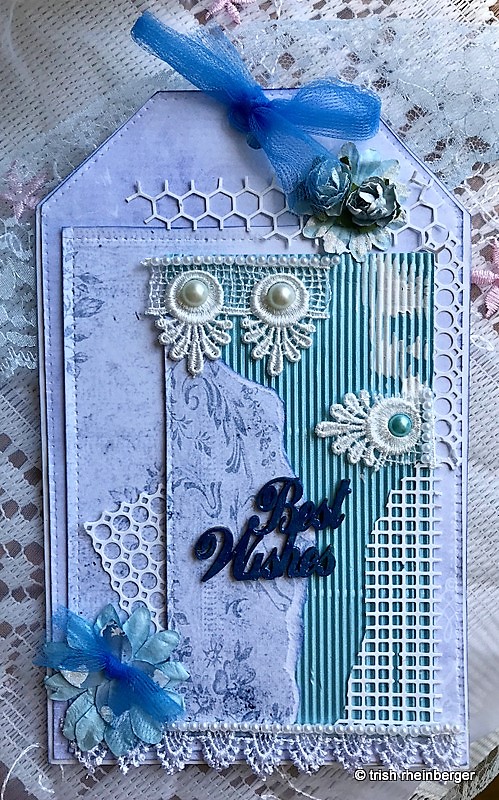
Firstly a Shabby chic tag


Ornate border die below
with the greens in the French chic paper range

I fussy cut one of the flowers for dimension
Beads and stickles


 French Chic Vintage ladies A4 sheet cut out 
Using the French Chic paper with the embossed paper
Love this dragonfly

Thanks for the visit and don't forget to look at Megs new Dies and paper
ranges. And to see what the other talented DT ladies create.

27 January, 2018

Romantic cards (part 2)

Hello, everyone!

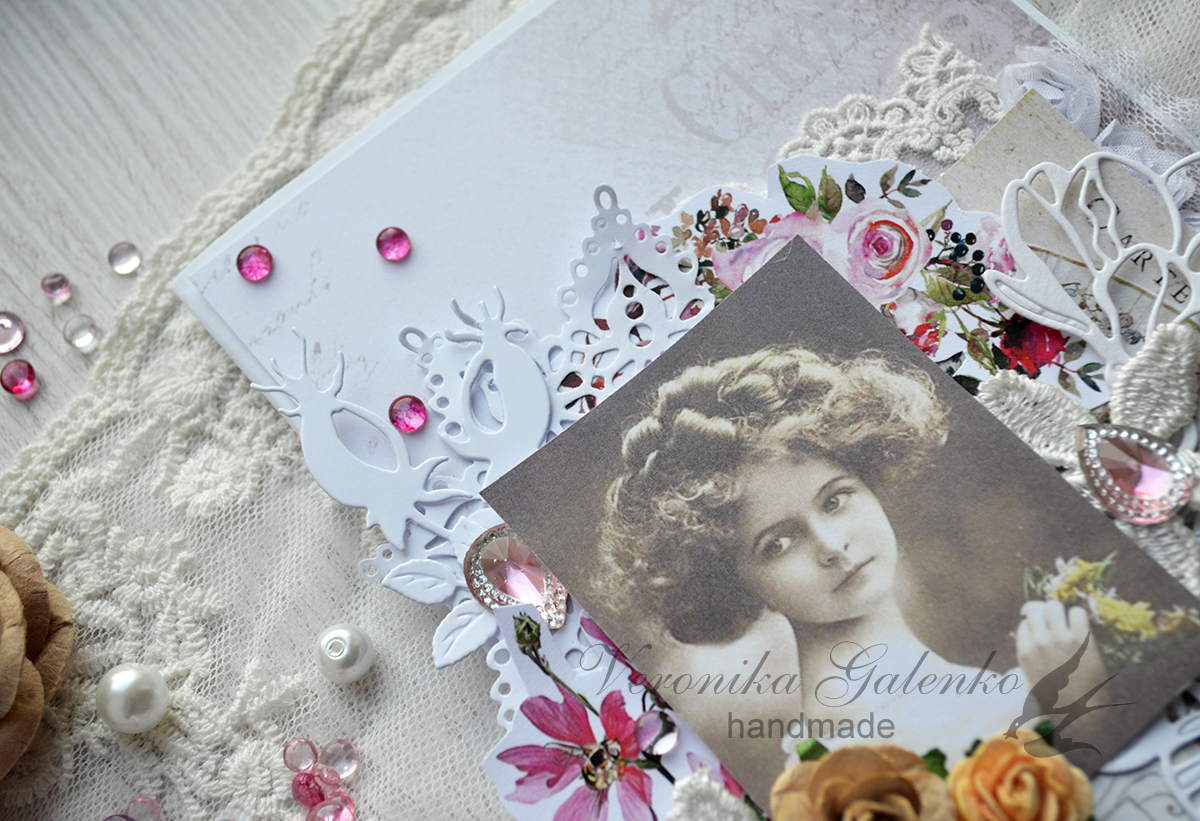
Veronika here to share another part of my set of romantic cards with papers from French Chic collection from Meg's Garden.
I have a good tradition to use in my cards a lot of die-cuts. They makes my cards more detailed and more floristic. Do you like this tradition?


Please check this awesome French Chic collection 
here in Meg's Garden.

Best regards,
Veronika

24 January, 2018

Romantic cards (part 1)

Hello, everyone!

Veronika here to share new romantic cards with papers from French Chic collection 
from Meg's Garden.
Are you waiting for a spring! I am waiting! And with these beautiful papers the time of waiting is shorter.
Only try to make cards or romantic album and you feel spring in the air!


Please check this awesome French Chic collection 
here in Meg's Garden.

Best regards,
Veronika