Showing posts with label gold bee. Show all posts

01 March, 2019

FRENCH ROSES COLLECTION - FAMILY LAYOUT & NOTEBOOK

Hello again Bloggers,

Well the months are certainly moving along and it is hard to keep up with all that is happening in the New Year.

For you today I have created a layout using Meg's Garden new Collection - French Roses.  Such beautiful soft colours in this range as you can see.


A small amount of fussy cutting with images of papers and cut and creates to add that special touch.


Finally I added more trim and beautiful flower  and metal bee.


Next for you, I have covered a little notebook that I have had for awhile and thought it would make a lovely gift for a friend to place in their handbag......what do you think???
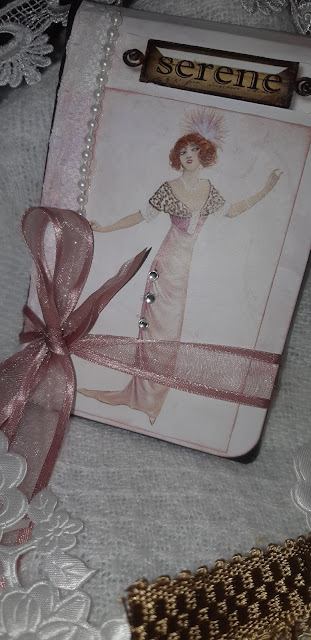
It was such fun to do and has a very elegant feel to the notebook.


I trust you have enjoyed the journey today and be sure to check more out on Meg's Garden  HERE.
Until next time....happy creating.....Love Liz

25 March, 2018

Easter eggs by Meredith Hilly


Hello everyone.
I would like to show you the Easter eggs I made using Megs Garden embellishments and papers.
I used duck eggs as they are larger but chook eggs can be used instead.
After blowing the egg yolk out I painted this egg with a moss green paint and then a coat of crinkle crackle paint. I used toilet rolls as frame work for all of my Easter eggs stands. Decorating the roll in different ways.


This velvet flower was the perfect colour for my egg.


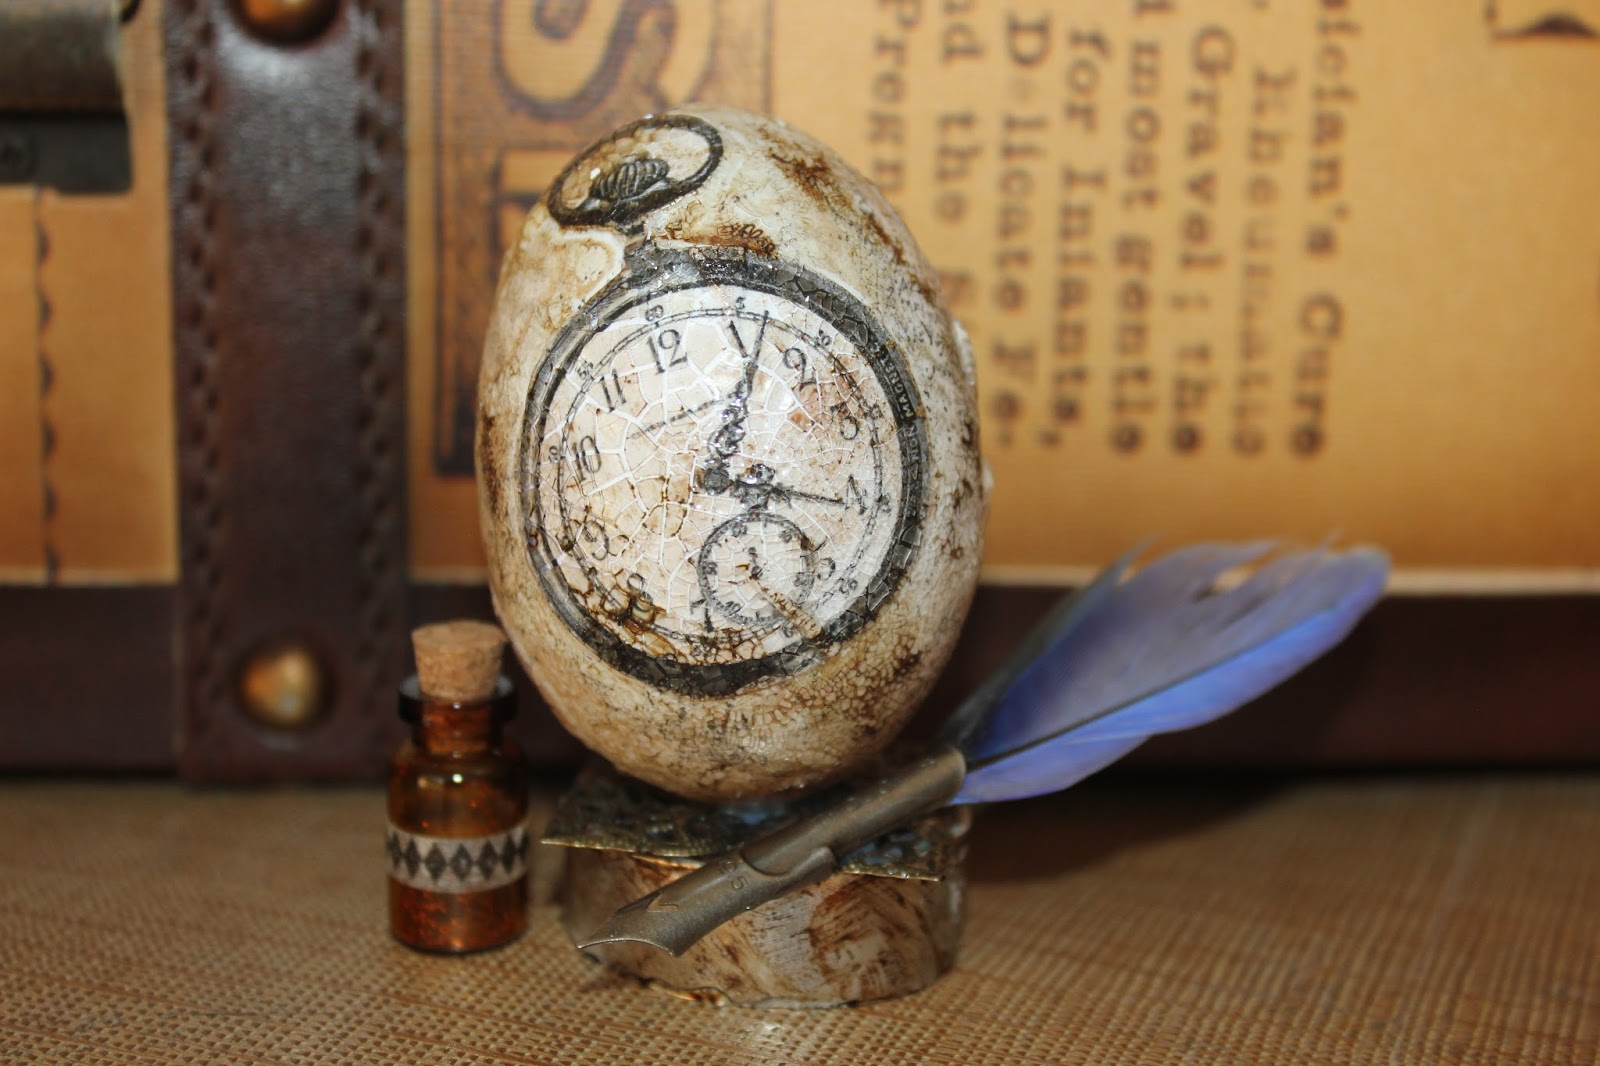
This lovely egg I painted first. After drying I cut out pictures and scrunched them into balls. There are so many pictures you can choose from at Megs garden to cut out. Clocks , flowers , ladies. The possibilities are endless. The scrunching breaks down the paper fibre making it easier to glue onto a curve surface. Then using wood glue mixed with water I softened the paper. Gentle smoothing the paper onto the egg. Don't over work the paper as it will loose the picture and colour.


While the eggs has the wood glue mixture on it you can attach lace or ribbon to the egg.
When the egg is dry the hole used to blow the egg can be used as a anchor for flowers and leaves.


I did the same process with this egg. Glitter works great on the flower and pictures.


Adding pearls and small embellishments like dragon flies makes the egg more detailed.


The base of this egg stand was painted with pink paint and I added lace with pearls drops. I cut up the round silver trim ribbon to use  for smaller decorations. Don't ever be afraid to cut off small portions of lace and ribbon. They make wonderful embellishments.


And now for the boys.  I  choose my photos to cut out from  Alchemy 101 papers. I followed the same process as above but when the egg was dried I coated it with crinkle crackle. When this layer dried I used a dark coloured ink pad to wipe over the egg. This will go into the cracks. Before the ink dries wipe of excess with a tissue.


This egg I did not paint. I stamped it with stamps. You will need to roll the egg along the stamps to get most of the image on the stamp.


Again I used a toilet roll and painted it. Attaching the ribbon with the very cute cog and frog.


I hope you enjoyed this post as much as I did making the eggs. There is so much to be created using megs garden supplies on your very own Easter egg. Give it a try. Makes a lovely gift at Easter time without the calories.


Megs Garden

My Stash
Paint
Ink


09 March, 2018

SHABBY CHIC COLLECTION LAYOUT

Hello Crafters,

Liz here today with some more of Meg's Shabby Chic Collection.

I have created a layout for you using the Pinks in this collection.  As you will see, they are so soft and pretty.


A bit hard to see in this photo (I am sorry) I have cut the edges of Meg's doily and placed on the edge of the cardstock and then laid the paper on top.   I have then used the centre of the doily under the photo matts.

Here a couple of close ups of the fussy cutting from the Shabby Chic Background.


The pinks are well suited to Meg's Garden Doily, ribbon, lace and large brass corner.

 The flourishes are made from clay and inked.

Thanks for taking the time to look and if you would like to see more from this collection check it out HERE.

Until next time.....happy creating....Liz.

30 March, 2017

WHITE FLOWERS ON GREEN COLLECTION - 'THOUGHTS' JOURNAL

Hello Bloggers

A very exciting time coming up with Meg's Garden new collection  'White Flowers on Green'.
Such a beautiful soft collection with quite a great deal of Ephemera for you to make your wonderful creations.

Today I am sharing 'My Thoughts Journal' that I have created using this Collection.

I have inserted some cards for writing thoughts.  Meg's Garden collection of flowers, ribbons and trinkets work so well for this journal. Here are a few close ups.


I then put it altogether and I hope that you agree such a beautiful Collection of papers this month.


I hope that you can find the time to check out more this 'White Flowers on Green' Collection HERE Until next time.....enjoy your time creating.....Love Liz

07 March, 2017

STROLL THROUGH THE GARDEN ~ PARISIAN GARDENS RANGE

Hello Mary here to share a layout created with the Beautiful Parisian Gardens Range . I love this range a lot !


With very little water (living in the country we only had tank water)  my Mum had a big, beautiful garden. She loved pottering and planting and nuturing her garden, so the Cut and Create Sentiment Stroll through the Garden , gave me the idea for my layout.


I am also a little addicted to making these tags at the moment for my layouts and cards. The gorgeous images from the Cut and Create sheets are perfect for them. On this tag I have used the filigree and added some gold stick on dots. I added the gold bee charm to my flower and leaf cluster, all from Megs Store and finished off with the soft , green nylon ribbon from Megs Store.


The bead added a nice touch , along with some lace .


then of course the lady and gentleman strolling through the garden from the Cut and Create Sheet was a must.

I added a little texture with a stencil and texture paste.
Also I would like to share another couple of tags created with the images from the cut and create sheet


Such beautiful images


I have added the butterfly charm to the above tag


The tags are so much fun to make and with the cut and create images you can't go wrong.
Thank you for calling by and until next time I hope you find time to create with this gorgeous range
Mary x

03 December, 2016

Hello Bloggers,

Well there is such a lot happening at home and at Meg's Garden.  We have new members on our Design Team and their work is amazing with lots to inspire and showcase Meg's new collections.

Today for you I am showcasing the new 'Spring Pastel Collection'.  You may remember last month that I completed a Card Box?  Well here today are the cards I have created to place inside the box.  I hope you agree that this makes a lovely present for a special friend.

This Spring collection is amazing, with suiting various  colours of cardstock .

With this frame, I reworked an old plastic frame, that I am sure we all have in our stash somewhere :)
A bit of gesso and some embossing powder and then Stayz On  stamping and there we have it....a new frame to suit.


A couple of Meg's Garden embellishments, lace and some fussy cutting from the 'Cut and Create' range here.


With this final card, ribbon and string pearls to finish off this card.

I hope that you have be inspired here and take a closer look at the Spring Collection HERE.  Until next time ....happy creating   and hope you can have some time to create of the Christmas break.  I wish you all a happy Christmas.  Liz.

17 June, 2015

Forgotten Meadows Gift Box Card by Meredith Hilly


Forgotten Meadows Gift Box Card by Meredith Hilly.

Hello everyone.
 I love to give cards with something extra as a gift. I used the Forgotten Meadows paper to cover my gift box card and fussy cut out a frame from the papers. Using foam tape I stuck it along with a gold leaf and a white flower.


I attached this tiny door knob to open the card and stuck a key on the leaf to give the impression that this was the key to unlock it. A gold ribbon was tied around the card to keep it closed.


I just love this owl and used it on the spine of the gift box card. I glued a small frame to highlight the owl and then filled it with Glossy Accents. Once dried it gave the frame a  deep gloss. Like a lacquer.


When you open the gift box card enclosed is a small treat to eat. This could be changed to enclose bath crystals or lottery tickets. Your imagination is the limit. On the left hand side is a pocket where you can write your message on the gift tags.


There is a clear plastic sheet to see the goodies through and a flap at the top to get them out.
I used small gold corners to frame the card and rubbed Inka Gold Paint on all the edges of the card. The Inka Gold Paint comes like a shoe polish consistency and I find you can colour most any surfaces with this. Like the love heart pin on the cover was white and I rubbed a bit of the Inka Gold on it and this made it blend into the gold and white colour theme I was going for.


This gift box card is no bigger then your hand and I find it is a lot of fun to make and give to someone special.


Thank you for taking the time to look at my project.

From megs garden-

From my own stash-
Inka Gold by Viva
Glossy Accent by Ranger
White love heart pin
Gold and black Washi Tape
Spotted feather from own fowl