Showing posts with label azaleas. Show all posts

01 March, 2017

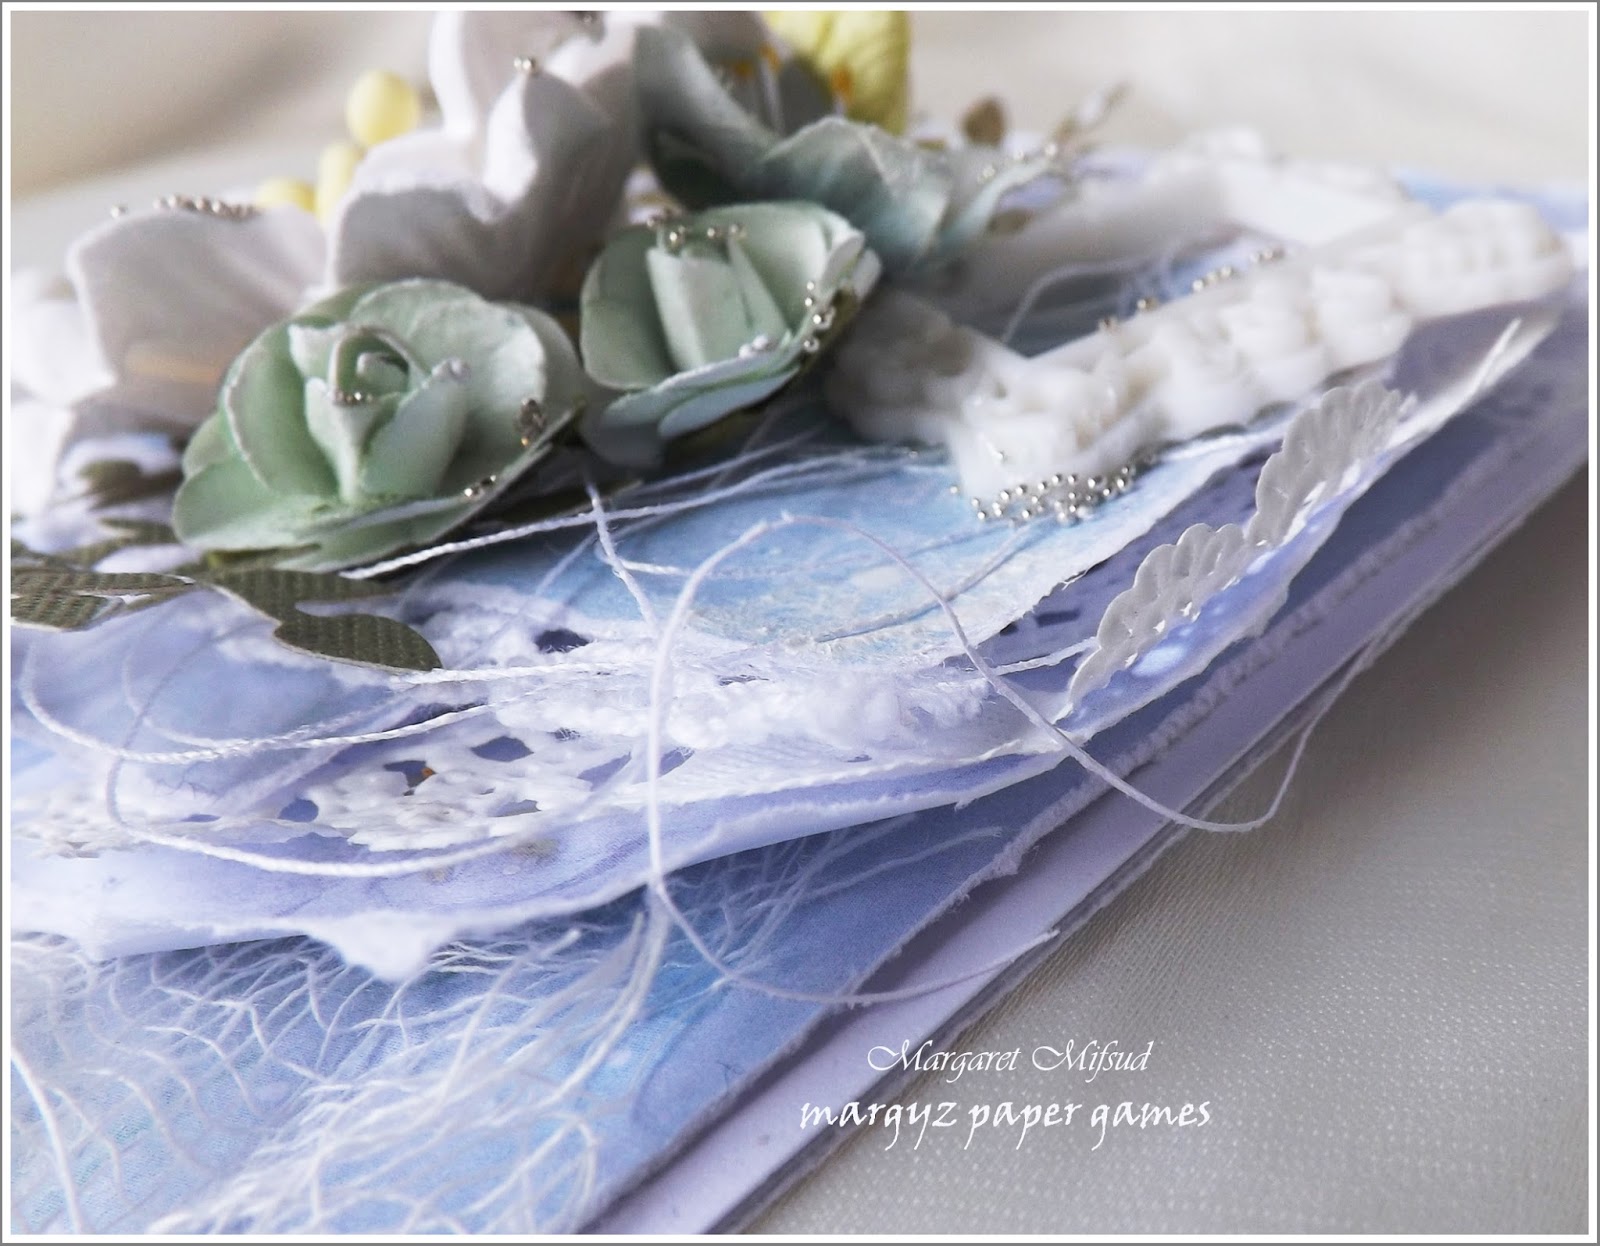
Spring Pastels Take #2 by Margaret Mifsud

Hello sweet visitors and welcome to Megs Garden.  So pleased you dropped by for a visit.

I am back today to share a card made with more lovely goodies from Megs Garden.

The papers are from the Spring Pastels Collection.  You can buy them already printed but  the ones I've used here I printed out myself from the digital version.  


Edged the top layer of paper with Martha Stewart's Floral Vine Deep Edge Punch and added the chippie pieces for extra interest.

The yellow bloom below is the Puffy Paper Flower which is available from the Garden (I will list all of Megs products at the end of this post).   It was white originally and I simply sprayed it with some Liquitex ink.

The large white bloom is the Azalea .. available from Megs Garden of course .. and so is the large Mini Rose Bud.  The Azalea was left as is but I did re-colour the rosebud.

The other flowers in this cluster are from my stash.

Sprinkled the flowers and card with a mix of clear and pale pink micro beads and added some glitter to the chipboard pieces.


The papers used on the inside were also edged with the same punch as before.  Aren't those papers pretty??? 


A little gauze under the cluster just to soften the look and my card was done!!


Megs Garden Products used
Spring Pastels Mini Book/Album/Journal Papers
Puffy Paper Flowers
Azaleas
Lge Mini Rose Buds

Thank you so much for dropping by and taking a look.  Why not take a further stroll through the Garden and check out all the lovely projects from the rest of the Team.
Also, why not take a look at all of the wonderful products available from Megs Garden shop .. I am sure you will find lots of things you cannot live without!!  LOL!!

Take care and God Bless.
oxox  Marg

26 September, 2016

Vintage Journal - A card by Margaret Mifsud

Hello everyone and welcome to the Megs Garden Blog.  So pleased you came by for a visit.

I'd like to share a card I created with the gorgeous new paper line by Megs Garden called 'Vintage Journal'.  I have used one of the papers from the A4 printable sheets.  I absolutely love this version because I can print out exactly the page I want and even alter the size if necessary .. brilliant.  

The paper used is Vintage Journal 01 and, as I wanted a soft and subtle look to my card, I did lighten the colour a little before printing. 


This card was actually made as a Get Well card for a very dear friend of mine who was in Hospital for an operation.  I wanted it to be bright and cheerful and to, hopefully, raise her spirits.

The extra layers were simply torn to size and, to soften the look even more, I gathered some lace from my stash and layered it in between.

The flowers are all available at Megs Garden.  I will leave a list of products at the end of this post.  I usually get my flowers in white so that I can then colour them to suit my project if necessary.   


The frame was made with a silicon mould and Mod Podge Melts.  The chippie is from a Circle Word by 2Crafty Chipboard.  I simply cut away the circle, coloured the word with gesso and then, while it was still wet, sprinkled it with glitter.

The inside was decorated with the same paper.  I'm afraid the lighting wasn't very good when I took the next two shots, hence the colour looks greyish.  I use natural light so am very dependant on the weather being nice and sunny but on this day it wasn't co-operating.  Still, it does show the lovely pattern on the paper and next time I will just have to take all the photos at the one time.

With all the layers and flowers, etc. that I place on the front of my cards it is sometimes difficult to keep them standing up so I do, at times, have to add paper to the back to balance the weight a little.  It works!! 


I am very happy to say that my friend came through her ordeal with flying colours and is well on the mend.

Megs Garden products used:

Thank you so much for stopping by and taking a look at my little creation.  While you're here, why not check out the amazing projects made by my Teamies and also, take a look around the 
Megs Garden store.  I am sure you will find lots of things you cannot live without.  I know I do .. every time .. LOL!!

Take care and God Bless.
oxox Marg

21 August, 2016

Watercolour in Blues - Cards by Margaret Mifsud

Hello sweet visitors and welcome to the Megs Garden Blog.  
Hope you are having a wonderful day.

I'd like to share two cards with you today created with the beautiful Watercolour in Blues Paper Collection. 
I have to say, one thing I really love about the Megs Garden papers is that they come in so many different sizes.  There's the Mini Paper Pack (which is what I've used here), the Papercrafter Mini Packs, the A4 papers, the 12" x 12" Scrapbooking papers and also the Mini Book Papers.   On top of that you also have the matching ephemera papers and they all come in either a printed version or a digital downloadable version.  So, whatever you choose to create, you will find a Megs Garden Collection which is eminently suitable for your project.  I think that is awesome don't you??

For my first card I used the Watercolour in Blues 03 paper.


Added a touch of stenciling with texture paste and also did a little stamping.


The flowers used are all from Megs Garden. (I will pop a list of all Megs' products used at the end of this post)  I just added some colour to the puffy paper flowers to match in with the papers.  The frame was made with a mould and some hot glue and then painted with acrylic paint.  
I was asked by a couple of people to do a tutorial on these frames but there's not really very much to it.  You simply need a mould and then just squirt the hot glue into it.  One little tip I can give you though is, make sure you place the nozzle right down into the mould so the glue can run into all the little details before it cools.  It took me a couple of tries before I realised this, so my first few frames had a few bubbles and missed detail.     Also, make sure you don't overfill the mould as you want to keep the back nice and flat.


The doily is also from Megs Garden.


The small lock came from my stash.


Watercolour in BLues 04 is what I used to create two pockets on the inside.  One is for a Gift Voucher and the other for a tag with a personal message to the recipient.


My second card was created with Watercolour in Blues 01. 


In between the papers I layered some gauze, some lace and a doily cut in half.


The large bloom is from Megs Garden and I have again added another small frame.  To make the frame this time I used some Mod Podge Melts.  I have discovered that they are much easier than hot glue to fill the moulds with.  Once heated they are a thinner consistency than the glue and they fill the moulds better.  Plus the sticks come in different colours so may not need to be painted.


I added a few micro beads and some die cut leaves ..


.. and some cotton for more interest and texture.


As I prefer to add my personal message on a tag or journaling card I usually create at least one pocket for the inside of my cards.  Here I have used Watercolour in BLues 06 and Martha Stewart's Floral Vine Deep Edge Punch.


Thank you so much for dropping by and taking a look at my little creations.  While you're here why not take a further stroll through the Garden and see what the rest of the Team have created.

Megs Garden Products used
Watercolour in Blues Mini  Cardmakers Pack
Puffy Paper Flowers
Azaleas
10 cm Doily
1.2cm White Lace

Take care and God Bless.
Marg xoxo

26 April, 2014

Fairy Spotters Journal from Sue


Fairy Spotters Journal  
By Sue Smyth 


Do you believe in Faries at the bottom of Garden?
This cute little journal is just perfect for those who believe.
I plan on giving this to a young lady who is collecting 
photos and cards of fairies.


I have started with a plain mini album 
and carefully cut an oval from the front cover.
Then just cover with Damask Garden papers, I like 
to use Gel medium to adhere the papers down securely.
Dry brush the edges with gesso and spritz with a contrasting glimmer mist.


I have added a Megs Garden chipboard frame.
First I have painted it with Gesso, several coats
gives a good finish.
Then I stamped Sepia archival ink with a 
text stamp all over the surface.
When dry cover with Dimensional Magic and sprinkle
a small amount of white glitter.


I have altered the gorgeous azalea flower, spray it with water
then either spritz carefully in the centre or 
do as I do, use a pipette to drop a small amount spray ink into the center.
The wet flower then wicks the colour out from the center
for a neat natural look.

When dry spray with spray adhesive 
and sprinkle with a little white glitter.


I have covered each of the panels inside the album with 
papers from the Damask Garden set.
Then matt fairy panels with Kraft cardstock and 
adhere to each panel 


Make sure you include some of the poems in the Fairy panels

Megs Garden Materials 

Added Materials 
Imaginarium wrought fencing
extra flowers & pearls
Kraft cardstock
Chipboard album 

Happy Crafting '


What a beautiful journal - well done Sue.  Totally love the effect of the pearls on the frame; thank you for your mini tutorial on how to colour the paper flowers - they are gorgeous & give a wonderful lift of colour to the cover.

Bye for now
Meg
www.megsgarden.com

05 November, 2013

Christmas Farm Stays from Heather

Hello Bloggers

REMEMBERING  CHRISTMAS FARM STAYS .

'Hello and a warm welcome here at Meg's Garden.
Heather with you today sharing a layout I created with the new Christmas collection
Deep and velvety colors reminding me of the richness of Christmas memories .


I have fond memories  of our childhood Holidays on the farm . Our favourite Aunt Sylvia had a farm a few kilometres out of Naracoorte, in a place called Lochaber. As children, my twin sister & I spent a great deal of time in the school holidays on the farm with Auntie Sylvia. She had a pianola which we played constantly, it is a wonder we didn’t drive her crazy !!
Such amazing memories with milking cows, table tennis, music, singing, late nights, laughter, delicious food, great company.  Auntie Sylvia really was the best !!! love these memories x


I cut the leafy dies and flowers with assorted papers and twisted them around the chipboard door . I adore the finished effect when cutting dies with these papers, as I never know what colors will be in the cut pieces … this makes my layouts very organic and unique .


The chipboard door is altered by painting with gesso first . The Next step is adding the  ink. I used lime, slate and burgundy. I finished of the effect  with Tim Holtz crackle paint . My aim was to mimic  an old broken down door to the potting shed on the farm.


More closies of the door .


A cluster of elements, including the white paper flowers and more of the dies twisting their way around my page . By looking closely you may spy the Tim Holtz metal name plate which I altered in the same manner as the door .


Items used from Megs Garden
 Christmas Flowers 6362
Christmas Plaid P6365
Christmas Cherries P6363

Tim holtz Ornate Plates

Azaleas – paper

Thanks for looking and these papers are perfect to get you started on cards and layouts ready for Christmas cheer
Until next time , Hugz from Heather x'

Gorgeous LO - well done Heather. So many ideas for projects in the fabulous LO & thank you so much for the memories associated with these photos. There are so many beautiful elements on the page - the layers of paper & distressing, the treatment of the door & ornate plate; the string ties around the photo, the gesso dots & the punching down part of the side.  All fabulous.

Bye for now
Meg
www.megsgarden.com