Showing posts with label Doily. Show all posts
11 September, 2019
21 May, 2018
The Best and Most Beautiful Things in the World Cannot be seen or even Touched, They Must be felt with the Heart ~ Shades of Green
Hello Mary here again to share a layout using the Shades of Green range that will go in the album next to the last layout I shared as a kind of double page spread.
Once again I used two of the A4 Shades of Green Papers to create my 12 x 12 page.
So I just overlap my two A4 Pages to create a 12 x 12 size.
In my cluster I have used paper roses, pearl trim, paper leaves , a charm key and mesh ribbon, The Love word is cut from the cut and create sheet and I added a filigree strip with a enamel dot. In opposite corners of my photo I placed the brass corner drop with loop .
I have a strip of lace running down my page and for texture used a stencil and texture paste and added colour with my paints, I then added some light stamping
Thanks so much for calling by .
Don't forget to pop over to Megs Store for all your supplies
Happy Creating
Mary x
Once again I used two of the A4 Shades of Green Papers to create my 12 x 12 page.
So I just overlap my two A4 Pages to create a 12 x 12 size.
In my cluster I have used paper roses, pearl trim, paper leaves , a charm key and mesh ribbon, The Love word is cut from the cut and create sheet and I added a filigree strip with a enamel dot. In opposite corners of my photo I placed the brass corner drop with loop .
I have a strip of lace running down my page and for texture used a stencil and texture paste and added colour with my paints, I then added some light stamping
Thanks so much for calling by .
Don't forget to pop over to Megs Store for all your supplies
Happy Creating
Mary x
25 September, 2017
A TWINKLING CHRISTMAS - WITH SLIDER CARD AND FRIENDS.
Hello everyone,
This month I have been fortunate to receive the new Christmas range from Meg's Garden called 'A Twinkling Christmas'. I have used the Card Pack which contains 2 x 6 gorgeous papers, along with the Ephemera sheets. These are so divine as you will see.
Firstly, I created a 'slider' card, which I thought would be a little different for Christmas. I love making this card as it involves a little sewing.
I then embossed some snow around the bauble for a little extra effect when the card opens.
and this is the card when it is fully open.
My next card was using the Ephemera sheeet. I simply adore these images.
and embellished with Meg's Garden lace trim and metal emb.
Finally, for my next card I fussy cut the snowflake and embossed and sprinkled with a little glitter.
added a little of the Meg's silver trim and doily and here is the finished result.
I hope you have enjoyed our little trip into Christmas today and that it has inspired you to start making your Christmas cards. To see more of this fantastic Christmas range see HERE
Thanks for taking the time to look and until next time.......happy crafting.....LIZ
This month I have been fortunate to receive the new Christmas range from Meg's Garden called 'A Twinkling Christmas'. I have used the Card Pack which contains 2 x 6 gorgeous papers, along with the Ephemera sheets. These are so divine as you will see.
Firstly, I created a 'slider' card, which I thought would be a little different for Christmas. I love making this card as it involves a little sewing.
I then embossed some snow around the bauble for a little extra effect when the card opens.
and this is the card when it is fully open.
My next card was using the Ephemera sheeet. I simply adore these images.
and embellished with Meg's Garden lace trim and metal emb.
Finally, for my next card I fussy cut the snowflake and embossed and sprinkled with a little glitter.
added a little of the Meg's silver trim and doily and here is the finished result.
I hope you have enjoyed our little trip into Christmas today and that it has inspired you to start making your Christmas cards. To see more of this fantastic Christmas range see HERE
Thanks for taking the time to look and until next time.......happy crafting.....LIZ
15 February, 2017
Parisian Gardens Card and Card Envelope Box
Hello friends of Meg's Garden. I am thrilled to have returned to the Meg's Garden Design Team. It's great to back creating with such beautiful papers and products. Today I have two projects to share which use papers from the Parisian Gardens Collection.
For my card, I have used two sheets of the patterned papers and used one of the vintage images from the ephemera sheets as my focal image. I used lots of foam tape between my layers to add dimension.
The 'love' sentiment also came from the ephemera sheets. I fussy cut some tags from the ephemera sheets to frame the focal image. The edges of my base papers were distressed and all of the papers were inked with vintage photo distress ink. I used a variety of paper flowers to frame my image, varying the size to add interest and depth. The butterflies, doilies and chip board elements came from my stash.
I used up some of my left over paper to embellish this card envelope box so that it would coordinate with my card. Again, I used pieces from the ephemera to frame and create layers. This box accommodates my embellished 6 inch card perfectly.
The sentiment was a stamp and die set from my stash by JustRite. The doily is from Prima. The paper flowers are all available from Meg's Garden.
Below I have video tutorial showing how to make one of these envelope card boxes.
For my card, I have used two sheets of the patterned papers and used one of the vintage images from the ephemera sheets as my focal image. I used lots of foam tape between my layers to add dimension.
The 'love' sentiment also came from the ephemera sheets. I fussy cut some tags from the ephemera sheets to frame the focal image. The edges of my base papers were distressed and all of the papers were inked with vintage photo distress ink. I used a variety of paper flowers to frame my image, varying the size to add interest and depth. The butterflies, doilies and chip board elements came from my stash.
I used up some of my left over paper to embellish this card envelope box so that it would coordinate with my card. Again, I used pieces from the ephemera to frame and create layers. This box accommodates my embellished 6 inch card perfectly.
The sentiment was a stamp and die set from my stash by JustRite. The doily is from Prima. The paper flowers are all available from Meg's Garden.
Below I have video tutorial showing how to make one of these envelope card boxes.
https://youtu.be/uHfC06t1T4Y
Supplies:
Parisian Gardens Collection
Thanks so much for stopping by Meg's Garden today.
Cathy
21 August, 2016
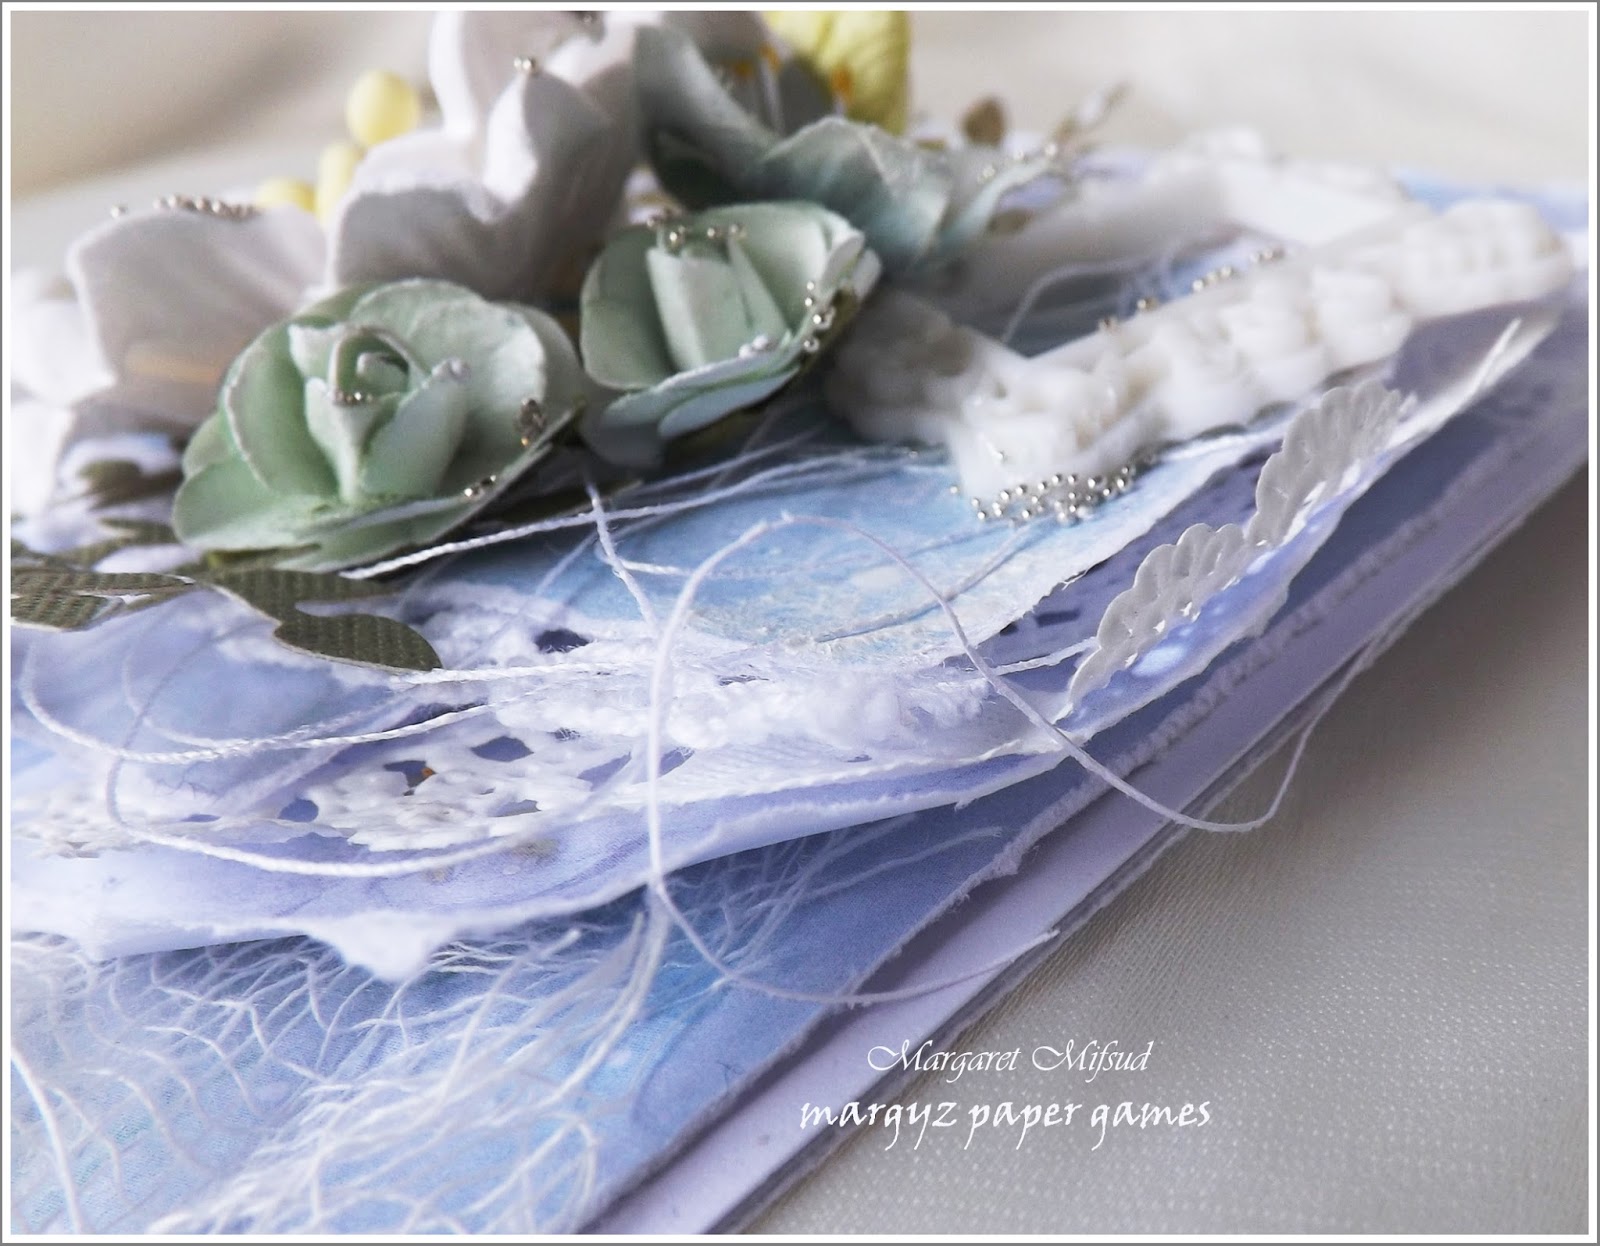
Watercolour in Blues - Cards by Margaret Mifsud
Hello sweet visitors and welcome to the Megs Garden Blog.
Hope you are having a wonderful day.
I'd like to share two cards with you today created with the beautiful Watercolour in Blues Paper Collection.
I have to say, one thing I really love about the Megs Garden papers is that they come in so many different sizes. There's the Mini Paper Pack (which is what I've used here), the Papercrafter Mini Packs, the A4 papers, the 12" x 12" Scrapbooking papers and also the Mini Book Papers. On top of that you also have the matching ephemera papers and they all come in either a printed version or a digital downloadable version. So, whatever you choose to create, you will find a Megs Garden Collection which is eminently suitable for your project. I think that is awesome don't you??
For my first card I used the Watercolour in Blues 03 paper.
Added a touch of stenciling with texture paste and also did a little stamping.
The flowers used are all from Megs Garden. (I will pop a list of all Megs' products used at the end of this post) I just added some colour to the puffy paper flowers to match in with the papers. The frame was made with a mould and some hot glue and then painted with acrylic paint.
I was asked by a couple of people to do a tutorial on these frames but there's not really very much to it. You simply need a mould and then just squirt the hot glue into it. One little tip I can give you though is, make sure you place the nozzle right down into the mould so the glue can run into all the little details before it cools. It took me a couple of tries before I realised this, so my first few frames had a few bubbles and missed detail. Also, make sure you don't overfill the mould as you want to keep the back nice and flat.
The doily is also from Megs Garden.
The small lock came from my stash.
Watercolour in BLues 04 is what I used to create two pockets on the inside. One is for a Gift Voucher and the other for a tag with a personal message to the recipient.
My second card was created with Watercolour in Blues 01.
In between the papers I layered some gauze, some lace and a doily cut in half.
The large bloom is from Megs Garden and I have again added another small frame. To make the frame this time I used some Mod Podge Melts. I have discovered that they are much easier than hot glue to fill the moulds with. Once heated they are a thinner consistency than the glue and they fill the moulds better. Plus the sticks come in different colours so may not need to be painted.
I added a few micro beads and some die cut leaves ..
.. and some cotton for more interest and texture.
As I prefer to add my personal message on a tag or journaling card I usually create at least one pocket for the inside of my cards. Here I have used Watercolour in BLues 06 and Martha Stewart's Floral Vine Deep Edge Punch.
Thank you so much for dropping by and taking a look at my little creations. While you're here why not take a further stroll through the Garden and see what the rest of the Team have created.
Megs Garden Products used
Watercolour in Blues Mini Cardmakers Pack
Puffy Paper Flowers
Azaleas
10 cm Doily
1.2cm White Lace
Take care and God Bless.
Marg xoxo
27 July, 2016
Like from Attic..Part2
Hi everybody,
today I am coming to share with you Part 2 of this project.I used again amazing collection of papers from Meg's Garden shop.This beautiful new relist "Watercolour in Blues" you can find like a Book kit as well and I believe that it will be amazing journal out of it.
I used this beauty for decorating tags,envelopes and mini books.
today I am coming to share with you Part 2 of this project.I used again amazing collection of papers from Meg's Garden shop.This beautiful new relist "Watercolour in Blues" you can find like a Book kit as well and I believe that it will be amazing journal out of it.
I used this beauty for decorating tags,envelopes and mini books.
Same as in part 1 I have small photo tutorial.Today about how you can decorated your envelopes ;-)
Hope you will find some inspiration.
I hope you found some inspiration.Of course I made a video for this project and as I said this is part of my Giveaway so go to pop up there if you are interested ;-)
Watch Eva's Video Like from Attic.. Part 2
This is all my sharing for today.For more inspiration you can visit Meg's blog .
All designed team made outstanding projects out of this collection.
Thank you so much for stopping by.Will see you soon with Giveaway winner announcment yeeey.
Hugs Eva
25 April, 2016
Rose Quartz Layout
Hi there, Kelly-ann Oosterbeek here today with a layout I made using the
Rose Quartz Collection from Meg's Garden...
This whole layout was made using cardstock, a paper doily, Meg's embellishments and some small sheets of patterned paper from the Rose Quartz Mini papers/ card makers pack :)
Rose Quartz is the perfect collection for any soft feminine vintage project you might have in mind.
Thanks for stopping by for a look.
Cheers from Kelly Ann xo
Subscribe to:
Posts (Atom)