Showing posts with label The Gentlemen Collection. Show all posts

01 September, 2016

Fathers Day Card and Treasure Tree by Liz Hocking

Hello Bloggers,
Thanks for visiting today and what a day to visit, with new collection this month.  I was over the moon with it, as it is perfect timing here in the Southern Hemisphere being Fathers Day this Sunday.

Fathers Day Card

For this card I have used Megs Garden new collection of 'Time' and 'For the Gentleman' Ephemera, along with Megs Garden ribbons and metal embellishments.


Treasure Tree for Father

I have had this tree in my stash for some years and decided to create a 'little treasure' tree for Fathers Day.  I really love Megs Garden new Collections and decided to keep the theme going using 'Time' and 'For the Gentleman' Ephemera papers.

 and here are a few close ups to see how both collections work together.  I also used Pinecone Versa Ink which matches perfectly with the collections.  Meg's Garden also has wonderful embellishments such as this little glass message bottle and metal trinkets.

 Also Meg has some gorgeous ribbons and this navy double sided ribbon is perfect for masculine work.
I hope that you have enjoyed todays journey through Megs Garden new collection and thanks for taking the time in stopping by.  Until next time.....happy creating....Liz

14 December, 2014

'Gentleman Collection' Christmas Cards with Margaret Mifsud

Hello everyone and welcome to the 'Garden'.  So lovely that you dropped by.

I have finally started making my Christmas Cards.  Yes, I know, I have started them way too late, but my life has been a bit hectic over the last couple of months and hubby and I have been away on the most wonderful holiday as well so I haven't really cottoned onto the fact that Christmas is just around the corner.  Oh My Gosh!!!  Did I just say that!!  Yikes!!  I really do have to pull the proverbial finger out!!
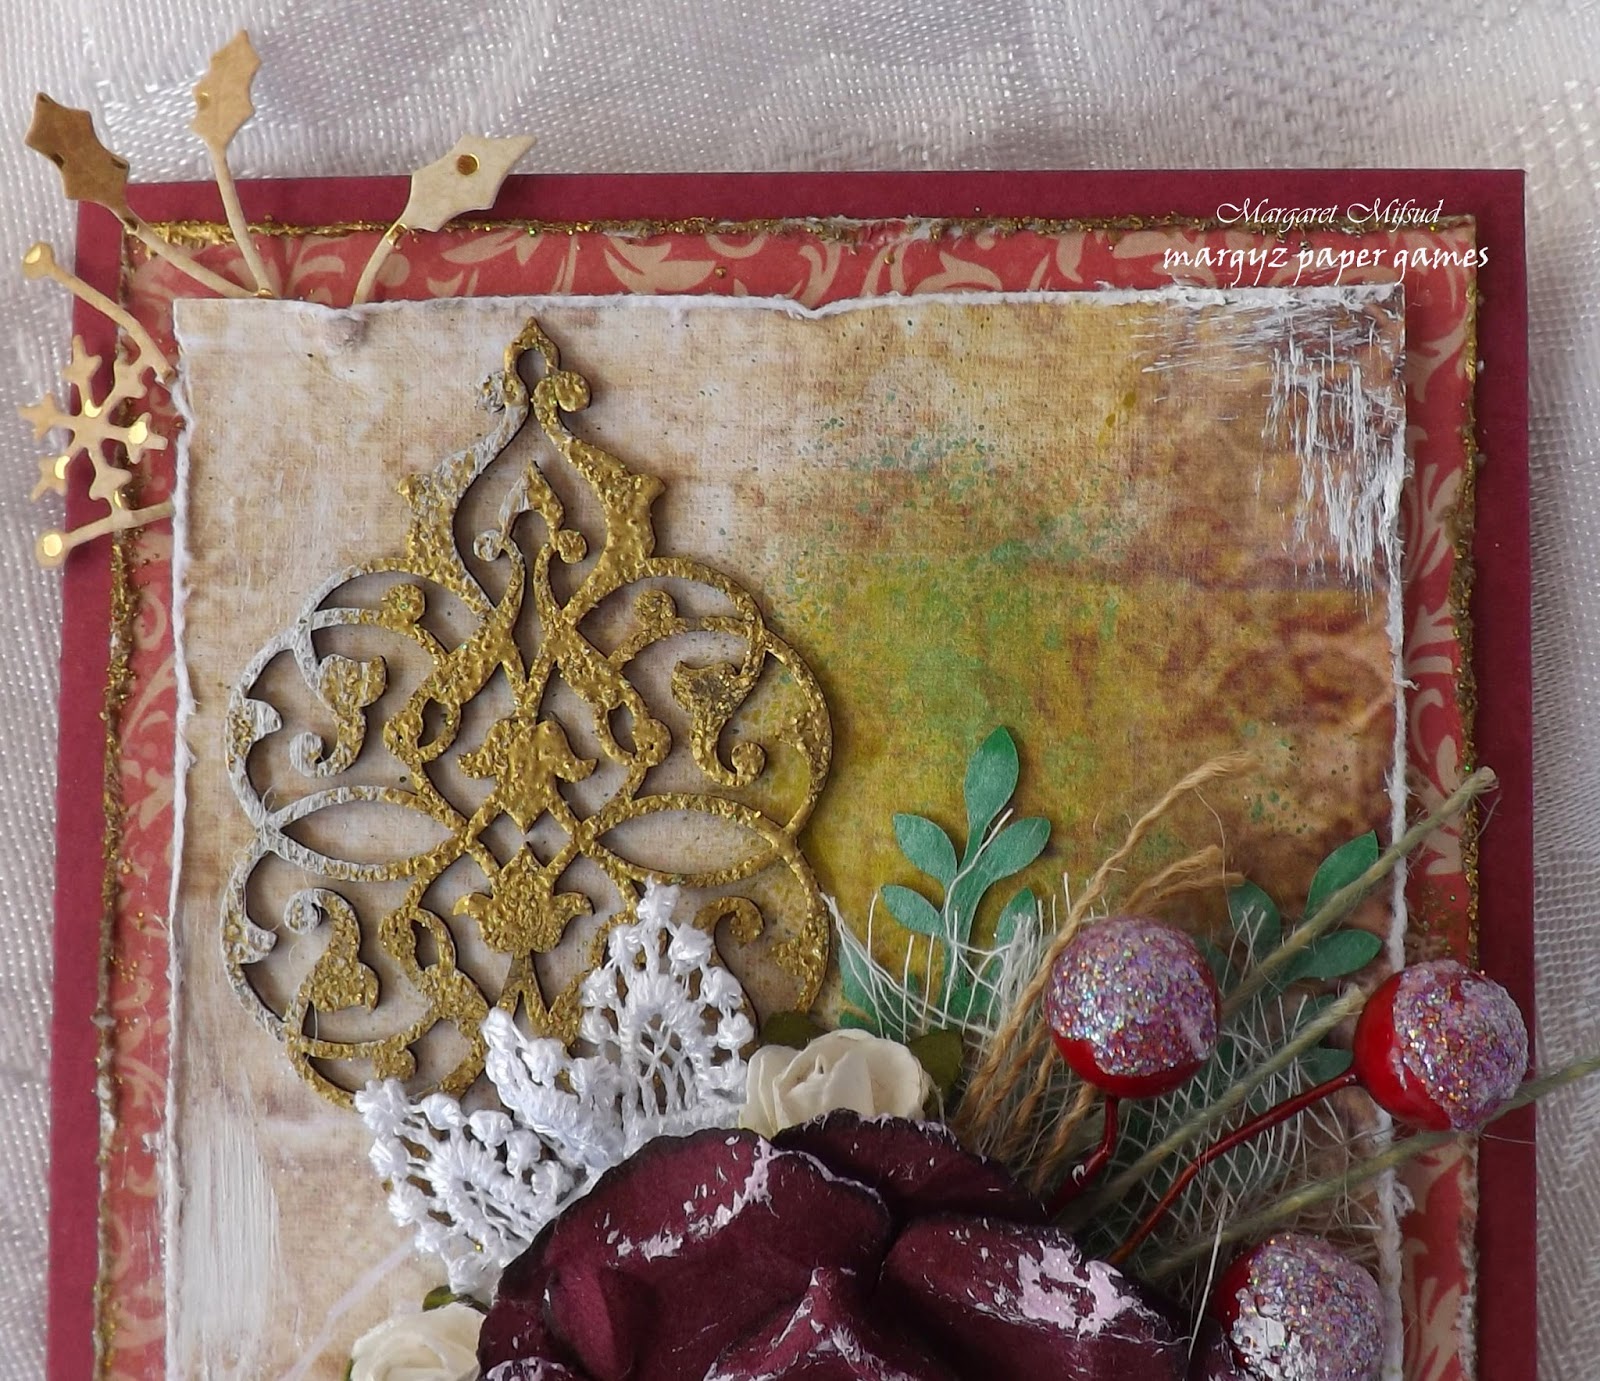
 Anyway, back to the business at hand (before I totally freak out LOL!) I'm here to share a couple of Christmas cards that have been made with some sheets from Meg's Garden's 'Gentleman Collection' and I really love how they have turned out.  You all probably realise that don't need to use dedicated Christmas paper to make your Christmas cards.  For me, it's more about the colour and texture than it is about the designs so I decided that the 'Gentleman Collection' papers would be perfect.

Card No. 1


I did use a small piece of Christmas paper from Kaisercraft underneath but the top layer is 'A Gentleman's Auto' 12" x 12".  Did a tiny bit of spraying with watered down Distress Ink in 'Peeled Paint' and 'Pine Needles'.


Used some fabulous 2Crafty Chipboard and a die cut  from Memory Box.  The lovely lace is available from Meg's Garden.  


Love that gorgeous deep red bloom.  Meg's Garden has some beautiful flowers available in her shop but you should check it out on a regular basis as the stock does change from time to time.   To the cluster I added some die cut leaves, berries, gauze, the lace of course and some bits of twine as well.  


The inside was also decorated with the same paper.  Heat embossed the edges with gold and I created a pocket on the left hand side to hold some gift vouchers.  The right hand side was left blank so I could add the sentiment.


Card No. 2
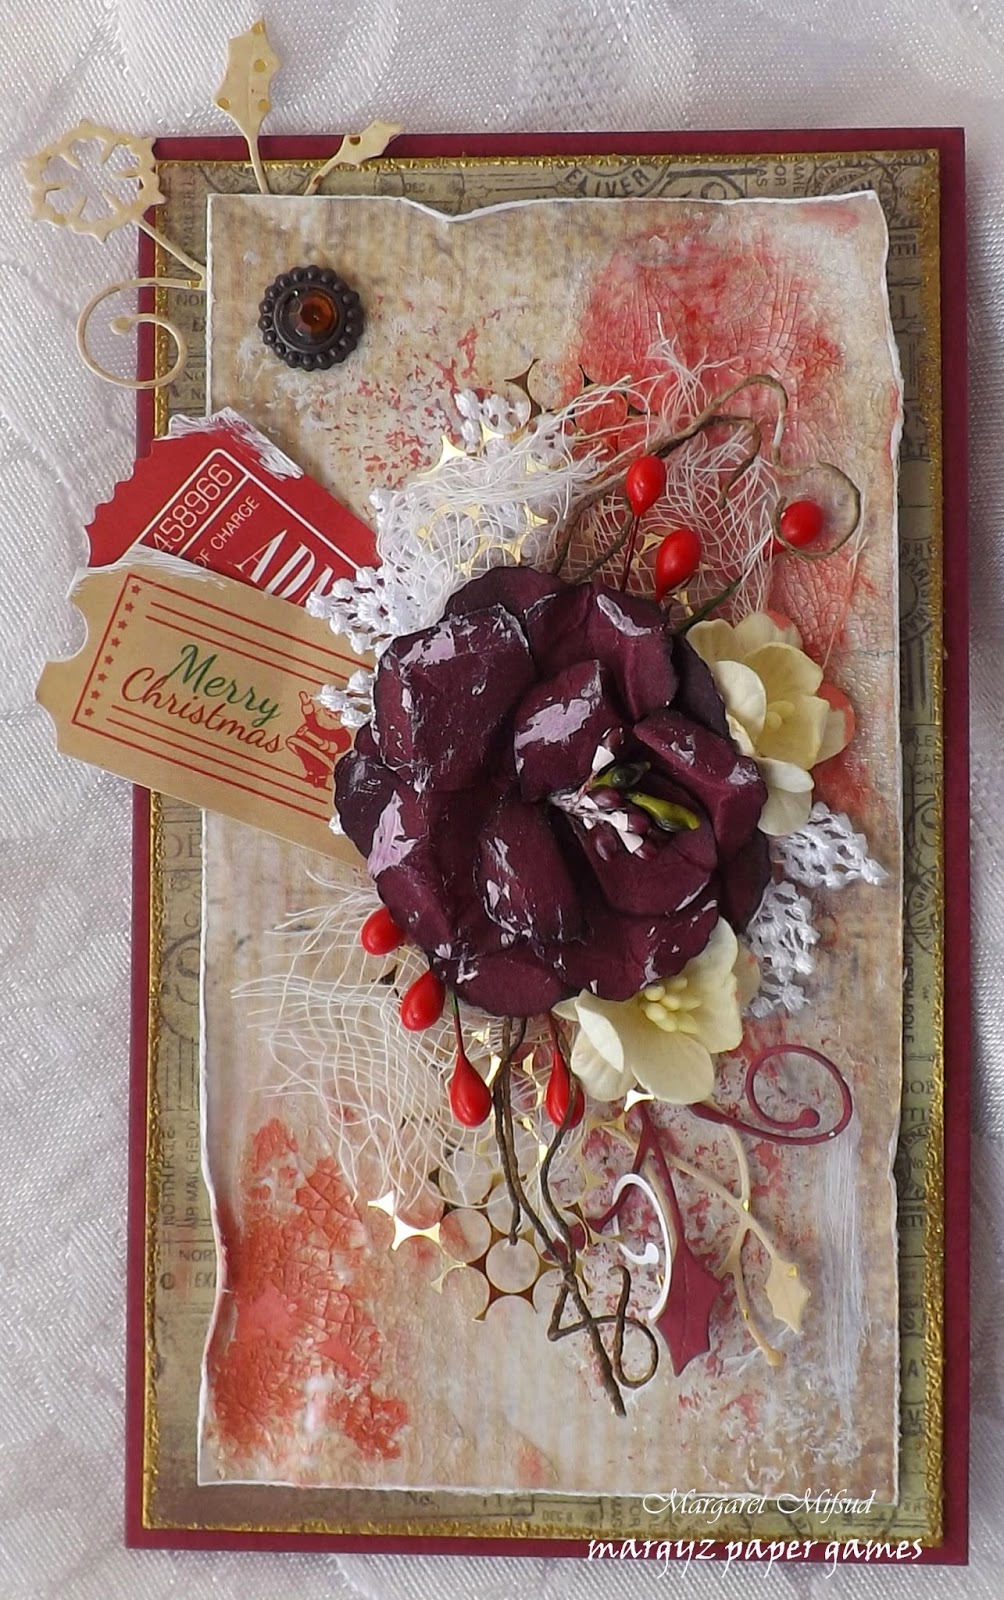
This one is very similar to the first.  The sheet used here is 'Gentleman' 12" x 12" and I've just added some different colours and different embellishments.


Spread some crackle around on this one and inked it with 'Fired Brick' DI.  The tags are a freebie received with a crafting magazine.


Used the same type of flower and lace in the cluster but this time I added some dodo wire and different berries as well as a piece of  gold mesh and some die cuts.


The inside was decorated the same again just with different colours and different stamps and I've added a small piece of dry wall tape as well.


There you have it!!  My 'Gentleman Collection' Christmas cards.  As I said before, I am really pleased with how these cards turned out so I will be making all of my cards this year in the same manner.  I will be posting those up on my own blog over the next few weeks so I hope you will pop in there to take a look.

Meg's Garden products used
'Gentleman's Auto' 12 x 12
'Gentleman' 12 x 12
Dodo Vine
Lace 1.6cm white

Thank you so much for visiting.
Take care and God Bless.
 Marg oxox


15 November, 2014

Skater Boys: A Layout featuring the Sherock Book Kit


Hello fellow scrappers! Cathi here with another project using the gorgeous The Sherlock Book Kit by Watson.  I decided to make a layout with mine using the book pages and amazing ephemera provided in the kit!  

For the background 12 x 12 inch page I used the The Gentlemen Collection: Gentleman paper. To me, in the Sherlock Book Kit there was a lot of masculine ephemera, many using new inventions for the turn of the century and one even looking like a globe...which reminded me of the Worlds Fair... I tucked that into the layout here and decided to use this amazing photo I have in my family collection of my Great Great Uncle Leo at the St. Louis World's Fair in the early 20th Century. Roller skating was being demonstrated there as a possible entry into the Olympics. Leo and his buddies looks so cool posed here!!


Above you can see several layers of ephemera cut out and layered under my photo. I have also made some gorgeous flowers using the Bitty Blossoms die I have in my stash and papers from the book kit.

I have twirled and tucked in the gorgeous Brown Dodo Vine Wire for some cool detail and added a Vintage Trinket: Cog.


I added a fun ticket cut out from the kit, and here you can see the masking misting and stamping I have added to my background. I thought the title "Skater Boys" worked well for this!!


Tucked in behind the photo cluster I have one of the tag cut outs from the kit and have added some journalling information. I attached the Filigree Oval Vintage Trinket to the tag to help pull it out and to add some gorgeous detail to the layout.

I had a great time putting this together and I hope that you enjoyed it!!


Supplies from Meg's Garden:


Supplies from Stash:
Bitty Blossoms Donna Salazar Die
Tim Holtz Dot Fade Stencil
Prima Stamp

13 November, 2014

Sherlock's Travel Journal

Hi everyone, Patti here sharing my latest journal using The Sherlock Book kit desinged exclusively for Meg's Garden by Kerry-Jean Watson.  I decided this time I'd like to try stitching the spine once again and opted for a book to house travel photos and notes in.


This journal consists of six pages which are double thickness.  I glue two pages together to create this stronger page and stitched them down the middles to the spine of the cover. I'm finding I really like stitching the signatures (pages) to the spine to create the binding. This stitch technique is called Daisy Chain.


I followed tutorials from Pocket Full of  Vintage and Sea Lemon on YouTube to learn how to do this type of book binding.  I'll link below to both tutorials.  The cover is two layers of decorative paper with two layers of Tyvek and then bound with cardstock strips that I colored with Distress ink and coated with Collage Podge for strength.


Each two page spread give lots of opportunity to add photos and journaling recording memories for years to come.


I really like adding interactive elements like the accordion fold out above.  Don't you just love that ribbon?  It's available in the Meg's Garden store as well (links to all products are below).


Here's another interactive element, a flip out on the page so that you can journal on the back of the small flip out and place a large 5"x 7" photo on the page beneath.


There's so much to share with you, I hope you'll join me on the video for the walk through of each page.  I'll also explain in more detail how I designed the book and follow up with lots more photos to inspire you to create your own Sherlock Book.

Supplies from Meg's Garden


Thanks for sharing your time with me, I hope you'll stop by my and visit on  

Tutorials for Binding:
Pocket Full of Vintage - Daisy Stitch  


18 October, 2014

Vintage Paper bag Mini Album plus a Video Tutorial


Hello friends! It's Cathy here today and I'm so excited to share with you my second mini album using The Sherlock Book kit. This mini album uses paper bags, LOTS of paper which enables you to fill it with lots of photos, embellishments, journalling and memories.

To help you get started, I have supplied a list of measurements for the album, to make things easier for you as well as a start to finish video tutorial to help you along the way. My second video is a walk through of the completed album to give you ideas on how you can start to embellish your album. I used stamping as a way of personalising my album. These papers are so versatile that you can use your stamps to start your album in the theme/direction of your choice.

I was inspired by My Sisters Scrapper and followed one of her tutorials for the construction of this album. The decorations/embellishments are my style!

Here I have used some stamps to add some spaces to journal.....they are interactive as well....

The album has flaps that fold out, giving more space for photos etc. Again stamps have been used for embellishments.

This is a page with a photo mat....


Project Cutting Guide


Item
Measurement
Extra Information
6 x  black paper bags

Trim paper bag to 7 6/8”

(purchased from Spartys part of Spotlight)
Flap  using black cardstock
7 ½” x 5 ½” six in total
Score on side at ½ and use a decorative punch to punch along the other side
Flap mat using papers from the collection 
4½ x 7 3/8” twelve in total

Page
No trimming required
six pages in total

Back of page
Trim 3” of the bottom of one book page from the collection, leaving you two parts.
This is the page where there is the folded section of the paper bag. It will form a pocket.
Photo mat using black cardstock
7½ x 5”
This will be inserted inside the paper bag. There will be a total of six.
Photo mat contrast
7¼ x 4 7/8”
This is where you place your photo.
Hidden Hinge Binding
11¼ x 7¾”
Score both ends at 2”. Then score at :
½"  ½ " ¼", repeat until reaching the end 2” score line.
Cover using chipboard
two 5 ¾ x 8½” for the cover and one 2” x 8½” for the spine
I used a 0.6mm chipboard thickness for my album.
Cover Papers
two 12.5cm x 21.5cm for the covers and 12.5cm x 4” for the spine.
Yes, I do work in both cms and inches. This will leave a small border around your papers.


Meg’s Garden Supplies
Bridal Veil flowers


Other Supplies:

Paper: Chipboard 0.6mm, Black Cardstock, Stampin’ Up! Very Vanilla

Ink: Distress Ink Walnut Stain, Versafine Onyx Black

Stamps: Kaisercraft Clear Stamps: Vintage Believe, Vintage Cherish, Vintage Love, Vintage Imagine,  Art of Life, The Looking Glass, Miss Match Bingo Cards, Confetti, Curiosity, Waltzingmouse Stamps Victorian Frippery, Bobunny Weekend Market Clear Stamps, Stampin’ Up! En Francais.

Cutting Dies: Spellbinders : Classic Squares Small, Captivating Squares, Timeless Rectangles, D-lites Ornamental Tags Two, Marvelous Squares, Stately Circles, Classic Circles Small, Memory Box Elegant Scrollwork and Delicate Butterfly Arch, Sizzix Fancy Frame Rectangle, Magnolia Doohickeys Doily, Rose Leaf and Heart Doily.

Other: Martha Stewart Vintage Doily Punch, Stampin’ Up! Tab Punch,  Scrapmatts Scrap Words and Assorted Words, Lindy’s Stamp Gang Embossing Powder Midnight Bronze, Brown Organza Ribbon, Kaisercraft Black Lace Pack, Petaloo Mixed Textures Blossom Mocha, Prima Flowers Layla, Hemp, Assorted Charms, Beads, Jump Rings, Spacers, Bead Caps, Eye Pins, Eyelet.


 Thanks so much for stopping by today!

Cathy