Showing posts with label Tim Holtz Mini Gears. Show all posts

29 June, 2015

'Nature' - a Journal by Margaret Mifsud

Hello everyone and welcome to Meg's Garden.  So pleased you dropped by for a visit.

Today I would like to share with you a small Journal I have created with the stunning Forgotten Meadows Book Kit designed by Kerry-Jean Watson.


These papers have some gorgeous floral graphics and I chose the lovely Wisteria for my cover.  Added a hint of colour  under the cluster with a spray and also added a little texture.


The chippies are from 2Crafty Chipboard and they were simply coloured with acrylic paint and then coated with Crackle Accents.


These lovely blooms are also from Megs Garden.   The 'Puffy Paper Flower' and the 'Mini Rose' were coloured with watered down acrylic paints.


Instead of cutting the papers to size I decided to tear all the edges and then ink them with Gathered Twigs Distress Ink.  Found some lovely 'Nature' quotes on the net and incorporated them into my Journal.  Added some washi tape and ribbon and also some seed beads.

The first two pages ..


The pages in this booklet simply fold out.  Opening the left hand page reveals these two pages.


 Another 2Crafty Chipboard piece ...

 ... and the lovely vintage image came from the cut and create pages.


Opening the right hand side reveals these pages.


Added a little stamping on this page and sewed it around the edge.  I did quite a bit of sewing in this book, it's a great way to attach paper strips, ribbons and labels etc.


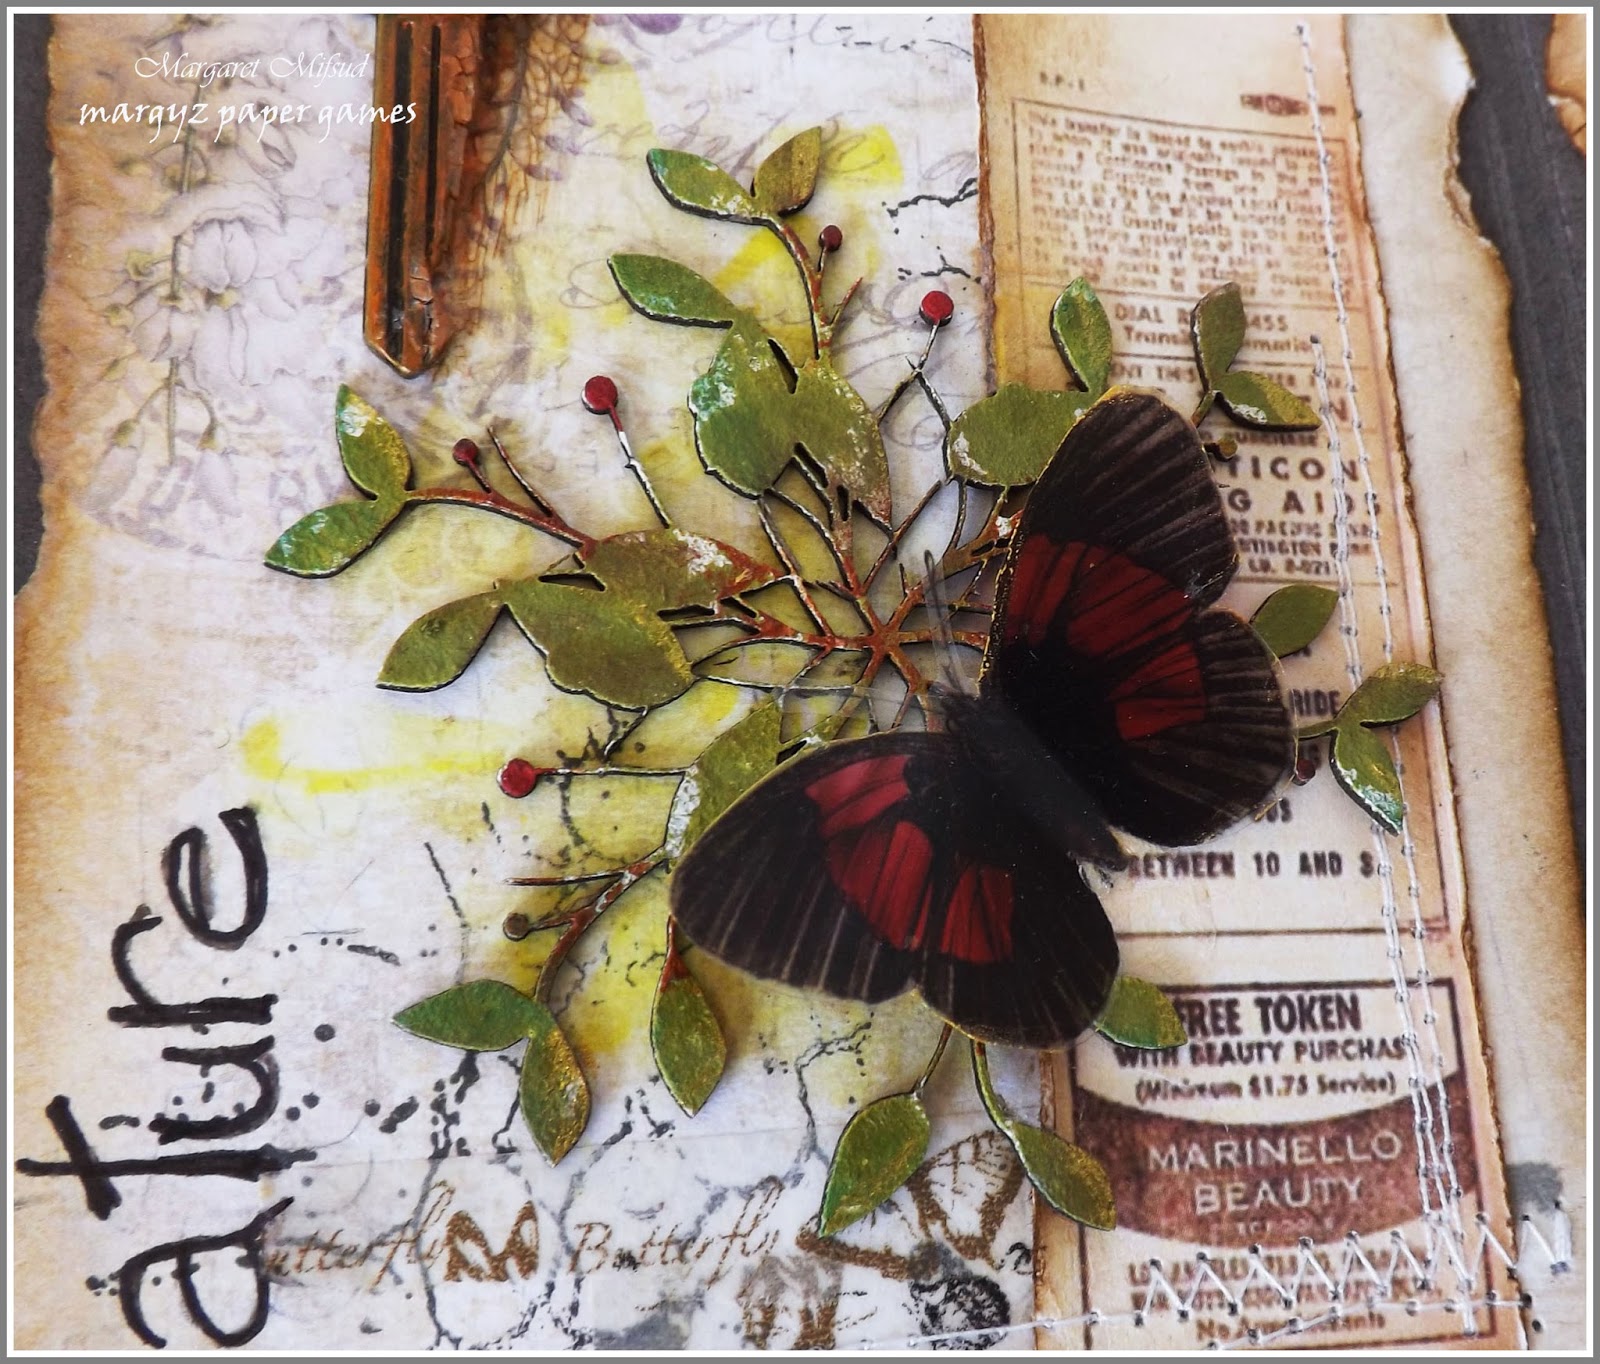
Love the brilliant colours on this butterfly.


The 'butterfly' page opens again to reveal these two pages.


I fussy cut one of the floral graphics and mounted it with some foam dots.


All the metal pieces are available at Megs Garden and I swiped them all with Ranger Metal Patina in Rust.


Here is the book fully opened.


 The back cover showing another beautiful floral graphic.  

 
 ... and the back of the booklet fully opened.


  I love the details on these papers.  Apart from the floral graphics there's lots of yummy crackle effects and textures .. simply stunning to work with.
To take a close look at this collection HERE is the Link.  It is available in 12 x 12 papers, a mini pack specially for card makers and also the fabulous Book Kit I've used here.  You can buy them already printed or as a digital download.

Well, I hope you have enjoyed this post and gained some inspiration.  Why not take a stroll around the Garden and take a look at all the fabulous projects created by the rest of the Team.
To see all of the wonderful products Megs Garden has in store HERE is the link to the Website. 

Megs Garden products used
Forgotten Meadows Book Kit
White Heirloom Flower
Small White Roses
Puffy Paper Flower
Primrose Posy - Cream
Dodo Vine Wire
Tim Holtz Mini Gears
Vintage Trinkets - Leaves #1
Filigree long Oval
Lace - Off White 1.2cm
Lace - Cream 2.2cm
Black & White Washi Tape
More Butterflies Transparency

Thank you so much for visiting and do enjoy the rest of your day.
Take care and God Bless.
Marg oxox

23 September, 2014

The Sherlock Planner 2015 by Watson

Hello creative creatures. I have my official first project for The Sherlock Book by Watson to show you. 
I wanted to make a planner for 2015 and I thought The Sherlock Book would be a great thing to use. I wanted a sturdy cover so I bought a file folder and cut it down to size. This was then covered with a strong craft paper and covered with the kit's cover and then sealed with a varnish. From there I added some Tim Holtz Corners and a bookplate and also one of Meg's lovely Lions Head door knocker charms


The inside of the book was a bit tricky as I wanted a lot of pages for the planner.  I ended up having double the pages. This gave me around 36 pages to have in my planner. 12 were turned into a calendar and the rest were added the the divided sections. The back of the pages (because this was a printed kit rather than the download) I inked misted and splodge to add some distressing. 

The ephemera I added here and there to the sections of the planner to later use which they are held in with paper clips. I also used some extra ephemera from the Vintage Ephemera Packs

The closure of the book is really simple, two islet holes on the front and back cover and some twine attached which just get tied together when the planner is in my bag. 

Here is a video of a flick through of the planner. 


29 August, 2014

The Gentlemen Wallet/Brag Book by Margaret Mifsud

Hello everyone and welcome to Meg's Garden!  Hope you are having a wonderful day!
It's my turn again and this time I would like to share with you a Wallet style Mini or 'Brag Book' made specifically for the men.
I must point out that this is not my design.  I first saw this style of Mini Book on Astrid Maclean's blog 'Astrid's Artistic Efforts' and she actually got the instructions for this design from a video on You Tube made by Dawn's Inspiration.  I really loved this design and thought it would be perfect for the 'Gentleman' papers.
I should warn you that this will be a long post as there are quite a lot of photos so I hope you won't get bored.  Perhaps you should grab yourself a cuppa before we begin!!  LOL!

Here is the front cover.

For this wallet I used the strips from the bottom of the 12 x 12 Gentleman's Collection papers and also some sheets from the Mini paper pack.  On the cover I used the strip from 'A Gentleman on Time' page.  Roughed up the edges with a distressing tool and inked them with Gathered Twigs Distress Ink.  I then scraped some Clear Rock Candy Distress Paint in the top right hand corner and, when it was dry, swiped some gesso  around the corners as well.  The inkwell and quill was fussy cut from the 'Letter from a Gentleman' strip and the labels are from the 'Cut & Create' page.


The clock was cut from the 'Old World Time' Transparency and the cute little metal clock and key are also available from Meg's Garden.  As you can see, I wrapped some wire around the twine to hold the clock and key in place, but I need to practice that a bit more so I can make it look a bit tidier.  LOL!


Unfortunately the crackle paint doesn't show up very well in the photos, but you can see where the gesso cracked as well.  The metal gears are the Idea-ology Mini Gears from Tim Holtz.  All the papers (with only one exception) and embellishments used in this project are available at Meg's Garden.  Below is a closie of the fussy cut inkwell.  I used some foam dots  underneath to pop it up off the page.


When closed the whole booklet measures 4" x 7" but there are lots of flaps to open and some pockets as well for holding tags and journaling spots.
Here it is with the top flap open.


This flap has one of the pockets.  The tags were cut from the 'Create & Cut' page.  I inked the edges and backed them with some kraft cardstock so they can be used as journaling spots.  Stenciled a flourish on the pocket itself with some translucent texture paste and, as an embellishment, I cut out the small graphics from the mini pack and trimmed them with  some fancy scissors.


On the flap below there is space for a photo and you can see some more of the labels from the 'Cut & Create' page to which I have added the small metal clock and a piece of Tim Holtz's Mini Film Strip.


The page above and some of the following pages were stenciled with either the Lattice work Stencil or the Burlap Stencil from Tim Holtz using Gathered Twigs Distress Ink.


All the removable tags and labels were mounted on kraft cardstock.  The clock can be used as a journaling spot and the tag beneath as a photo mat.


The page above opens to the right to reveal a photo mat ...


... and opens to the right again to reveal a pocket and tag ...


... and another photo mat.  The coffee stains and splats were made with Bobunny's Stained Textures Stamp.


The tag was stenciled with 'Black Soot' and  'Gathered Twigs' Distress Ink and some circles created with a bottle cap dipped in gesso.


I hope you are all still with me.  I did warn you about the photos didn't I???

 This page opens to the left ...


... to reveal another photo mat and opens to the left again ...


... to reveal a pocket and tag ...


... and another photo mat.


More stenciling and stamping and circles.


Here is the middle of the wallet with both sides open.  The belly band was made with paper from Prima's Engraver Collection.  I simply attached it with some eyelets.  The gorgeous Filigree oval trinket is also available from Meg's Garden.


The tags and calendar were cut from the 'Gentleman's' papers.

Don't despair people, we're nearly finished!!!  Hope you're still with me!! LOL!
These photos show you what the whole piece looks like.
It was very difficult to photograph the whole wallet so I elected to do one side at a time.
This is the front left side ...


... and the front right side.


The back left side ...

... and the back right side.


I didn't add much in the way of three dimensional embellishments because in the first instance, guys don't really go for that and in the second instance, the wallet would have ended up way too thick.  Besides, this paper collection is awesome all by itself and doesn't really need too much embellishment.

I do hope you managed to stick with me to the end and that you like my Gentleman's Brag Wallet and are inspired to try it, or something similar,  for yourself.

Meg's Garden Products used:
Gentleman's Collection 12 x 12 papers
Gentleman's Collection Mini Paper Pack
Old World Time Transparency
Filigree long oval
Tim Holtz Mini Gears
Tim Holtz Film Strip Ribbon
Clock Charm
Hardware Metals - Key Antique Chest

Thank you so much for visiting and I hope you enjoy the rest of your day.
Take care and God Bless.
oxox Marg