Hi Bloggers
Three more cards:
First card is simpler than most:
- ivory cardstock with a grey mat under the Shabby Chic cream & white patterned paper
- champagne organza ribbon is tied under the gray mat to the front of the card
- the cut & create flower is from the sheets with this collection; the edges are distress to cover the white core of the paper (also a great way to hide errors in fussy cutting)
- only 1 side of the inside of the card is used.
- grey mat has a pocket with tags & decorated on the edge with die m3129 Edge with curls.
- the pockets hold tags tied with cream satin ribbon for sentiments, journaling of any other insert
Second card:
- uses the same patterned Shabby Chic Background as the first
- I decided to experiment with colours on this one - the card is made with grey cardstock with an ivory mat.
- the edge of the cream & white patterned paper is torn & distressed - Frayed Burlap
- a chocolate organza ribbon is tied around the top of the card which opens up - anchored with clear glue dots
- a brass corner charm is glued to the bottom corner
- a white paper flower with black stamens, 3 chocolate small roses & taupe satin ribbon added just below the half mark of the card. A green stem is used as a small colour element
- only the bottom half of the inside of the card is decorated
- an ivory mat is added, a brass corner charm for the corner, the small oval frame (the smaller frame from Scalloped Oval Frame die p6745 holds one of the vintage ladies from the Cut & Create Vintage Ladies pack 28139 (digi & printed)
- the vintage beauty is finished with some pearls & a taupe ribbon
Card number three:
After 2 simpler cards I let my head go to get very busy with some embellishing & inside card decorating
Especially when the papers are in blues.
- blue cardstock is the base for the blue & white multi media patterned paper
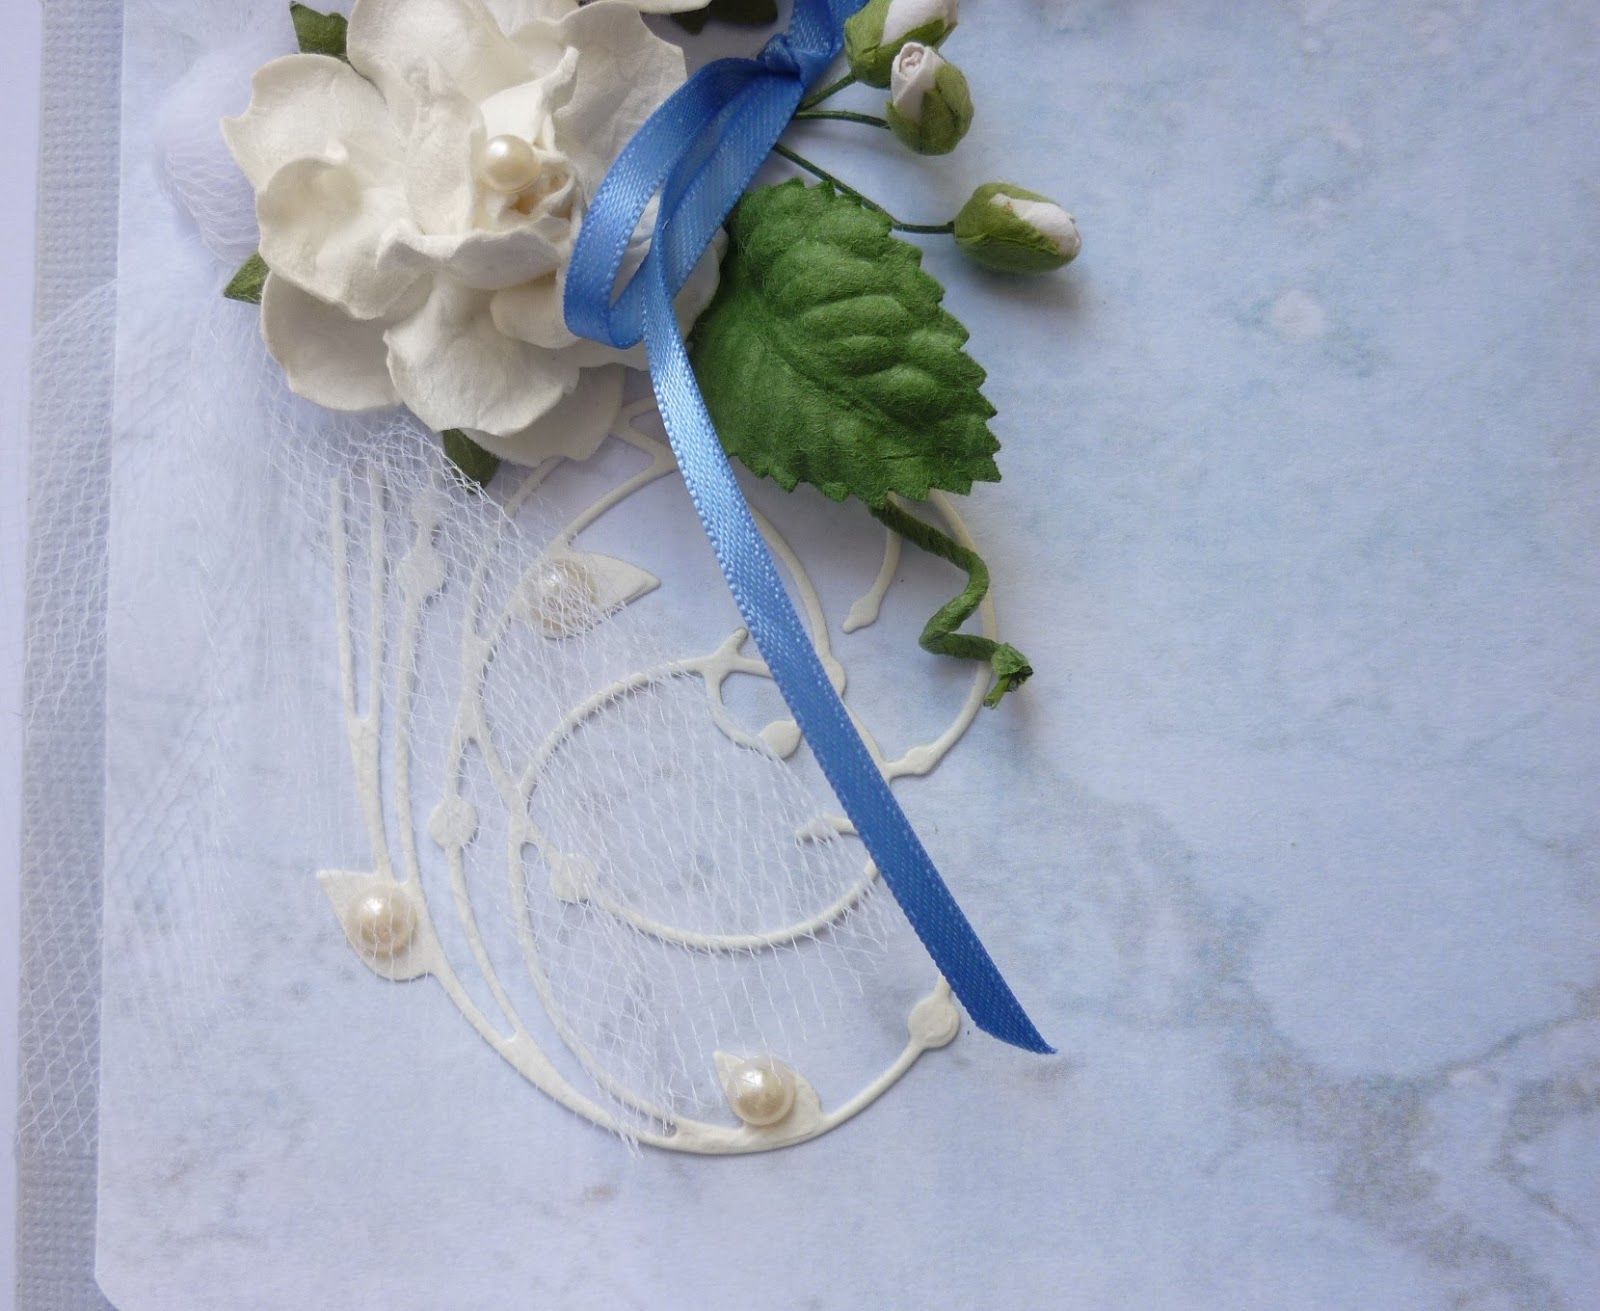
- the netting is tied in a knot; 2 puffy white roses, 3 white mini rosebuds & a blue iris satin ribbon added. The stems of the puffy roses are curled & added.
- the die used is Elegant Lines m242 but it is actually cut in half horizontally, blush pearls added & the 2 pieces added above & below the floral embellishment
- pearls were also added to the 2 large roses - probably not necessary
- inside the card I was very busy
- on the left side I created a pocket on top of the panel of patterned paper. A vintage beauty & some tags were inserted. Lace along the edge & some velvet flowers & rose paper leaves decorate the front of the pocket

- the right side of the inside of the card has a vintage beauty anchored on 1 side only for tags & inserts.
- the die cut is done in a dark lavender & is the same one as the front - Elegant Lines
- a close up of the front of the card
I think these 2 posts cover the details of the 5 cards made using Shabby Chic Backgrounds with Dies.
Have fun creating your cards. Step outside your comfort zone with colours, textures & embellishments. There is nothing better than when giving someone a card, that they say how 'gorgeous, beautiful, elegant etc' for the front & when it is opened they say even more!! Oh Wow!! The card is a finished art piece.
Experiment when using your dies - because the die is pictured vertically does not mean you have to use it that way - try it tucked under a floral embellishment & coming out at an angle; use just pieces of it; cut off flowers from a frame; cut it in half. Keep you cardstock scraps to experiment with.
I would love to hear from you on your ideas using dies.
Bye for now
Meg
megsgarden@outlook.com
www.megsgarden.com