Showing posts with label enamel dots. Show all posts

04 August, 2019

More easy cards using Megs VJC slightly masculine cards

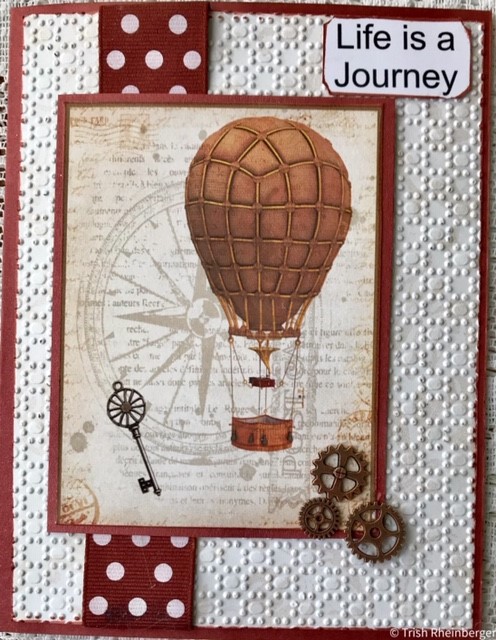
For my cards today I have embossed and torn my papers
My embossed paper is from Megs range


 Again my background paper i have embossed MG papers 
Added some bits and pieces from my stash of MG goodies
Thanks for taking a stroll in the garden, 
until next time
Cheers Trish

19 March, 2019

Vintage Journal Cards

Hello Bloggers
Two more fabulous cards from our Guest Designer Rose Parker.
Both cards use the Vintage Journals Cards - Floral.

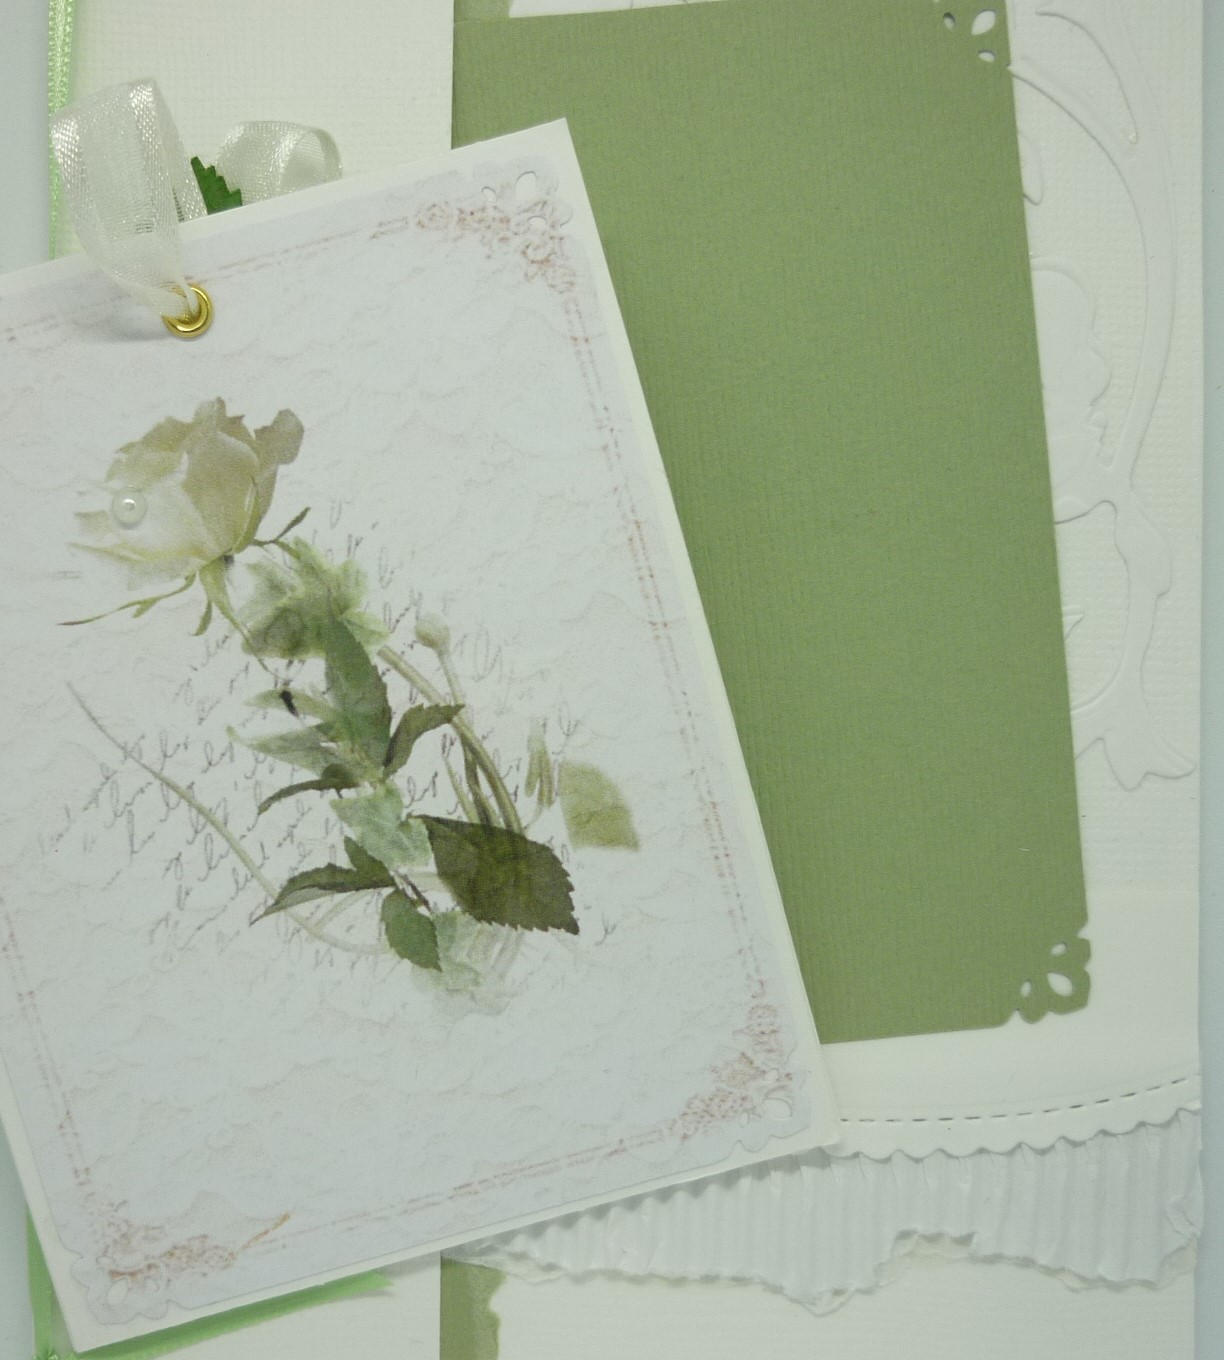
The 1st card:  Rose has picked up the green leaves on the VJC (Vintage Journal Card) with a many layered card. The 1st layer is a white cardstock floral diecut, next  a green cardstock strip which has a distressed edge, a green cardstock mat & then topped by a white cardstock strip pocket. The bottom of the card has another layer with a stitched curve over a white concertina fold piece.  The VJC is actually separate & is matted with white cardstock & tucked into the white strip pocket.
The pocket is embellished with green paper leaves, white satin & organza ribbon & a silk green flower.


The 2nd card also has several layers - a strip of lace down the right side, a piece of embossed white cardstock, a strip of concertina paper, a piece of blue cardstock, an oval frame, & a white diecut corner.  The blue VJC is first mounted on white cardstock, a blue ribbon loop is attached, a magnet is added underneath the ribbon & the whole is then mounted on a distressed-edged blue cardstock.  The opposite magnet is behind the layers on the card.
The VJC just tucks into the white corner pocket & stays in place by the magnets.

Embellishing is kept relatively simple - a vintage trinket with a pearl on the top right corner, an enamel dot on the VJC, a length of blue satin ribbon ties around the card, a floral bouquet of white diecut leaves, a white cherry blossom & blue paper petals.


Both cards are really well done & show how many layers of the same colour but different textures are so effective.  Just hints of colour are used to pick up the shades in the Vintage Journal Cards.

Bye for now Meg

12 September, 2018

Vintage Journal Card

Hello Mary here to share a card created with the new Vintage Journal Cards now available in Megs Store


I mounted the journal card on a piece of cardstock and used foam dots to raise the image. As my base I have used the Watercolour Background Paper, which has the lovely touch of the photo corners.


Under the raised image I have placed the Lattice and circle die cut and a strip of lace at the side  . I finished off the card with some pastel enamel dots and the sheer green ribbon bow.


I decorated the inside with a image from a cut and create sheet.
The Vintage Journal cards come in Florals,  Vintage Ladies and Vintage Men. I think these along with the cut and create images are also great for Journals and Mix Media Projects. 
I hope I have inspired you to get creative with the lovely goodies in Megs Store

Happy Creating
Mary x


10 September, 2018

VINTAGE JOURNAL CARD

Hello ! Mary popping in to share another card using the Vintage Journal Cards, using the flower theme journal card.
They make for soft and romantic cards.


For this card I have used along with the Journal card a image of the lady from the cut and create sheet , the pastel enamel dots and the soft sheer green ribbon. I have used the lovely water colour  PP from Megs Garden as my background.


Thank You for calling by and I hope you take the opportunity to visit Megs Store, these products truly inspire one to create.
Happy Creating
Mary x

29 August, 2018

A Feminine Card made with Love just for you

Hello everyone & welcome,

Leanne here with you today to share a card that I have made using the very latest gorgeous Vintage Journal cards: Vintage Ladies.  I have also used lots of products to embellish my card that are available form Meg's Garden online store.   

Until next time.
Have a wonderful day & happy creating.
Leanne

12 August, 2018

Vintage Journal cards

Hello Mary again to share another card  using the Vintage Journal Cards


This card is a tri fold card and I have used the gorgeous Vintage Journal card on the front with satin edged ribbon, punched butterflies  and enamel dots. I added a decrotive border punch at the edge of the opening of the card.


On the inside of the card I have adhered Water Coloured PP and in the centre a Lace Paper doily and a Image from the cut and create sheet framed by the scalloped oval die.


Thank you for visiting , we love to read any comments you have .
Happy Creating
Mary x

18 July, 2018

Life is Better with Friends ~ Shades of Green

Hello dear Friends ,Mary here to share another layout using the Shades of Green Range.
I used two of the A4 pages in the range and adhered to a piece of white card stock to create my 12 x 12 page.


LIFE IS BETTER WITH FRIENDS

I received the gorgeous Branch with Flowers Die and used it straight away , I know I am going to use this die a lot !
I've also used the Lattice and Circle die behind my photo, placed some pastel enamel dots to my page and fussy cut the flowers and vintage lady from the cut and create sheet .


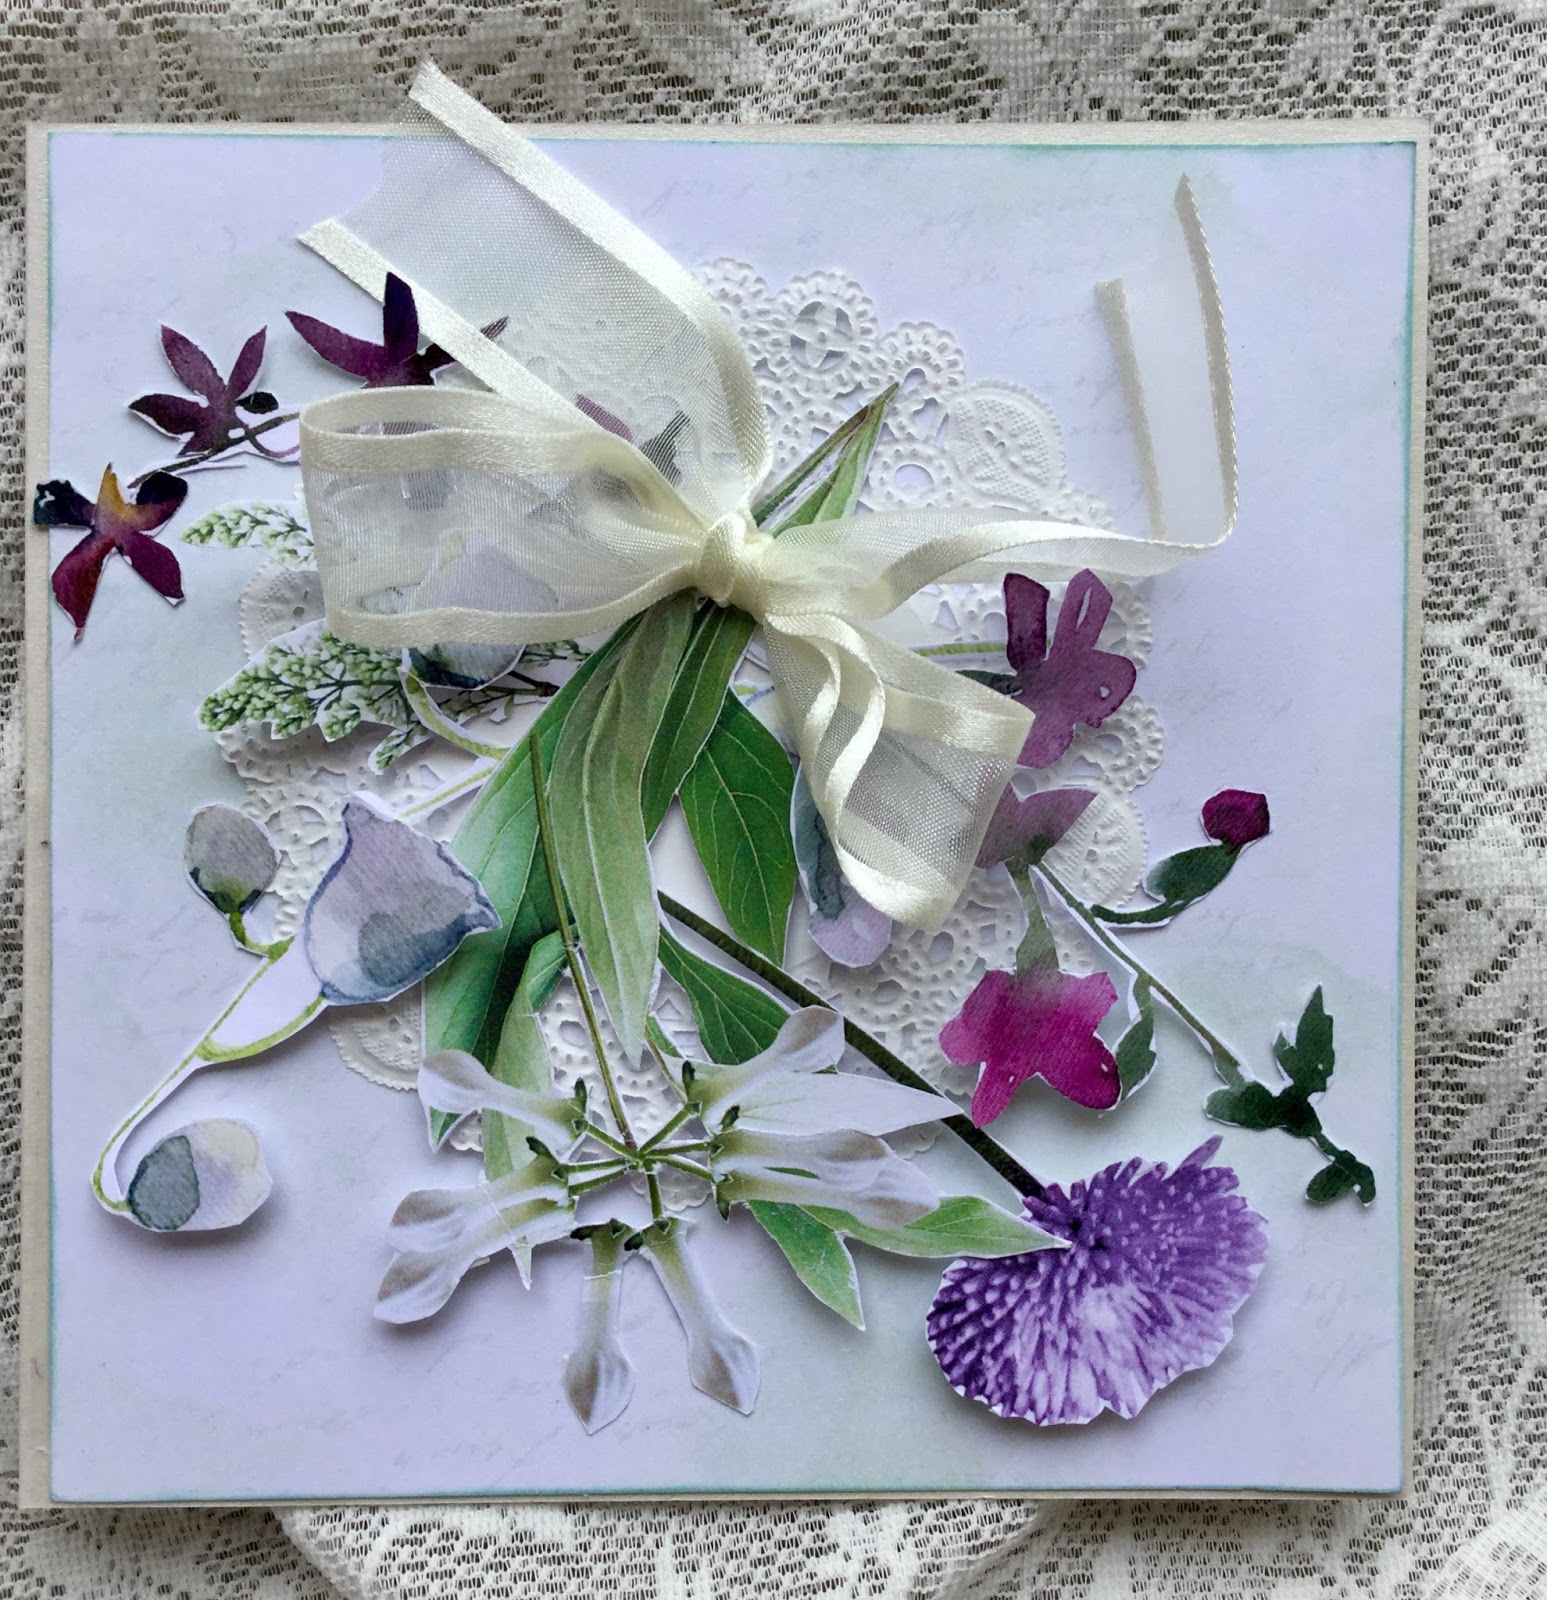
I also would like to share a card I made using the Shabby Chic Backgrounds card pack papers . I made this as a Sympathy Card so decided I wanted to create a bouquet of flowers to send. 
I fussy cut various flower images from the cut and create sheet , bundled them together and raised them on foam dots for dimension and tied them with a satin edged organza ribbon. I placed the bouquet on top of a doily.


Thank you for calling by, I hope I have inspired you to pop over to Megs Store and be delighted with all the gorgeous Papers and embellishments.
Happy Creating 
Mary x


13 June, 2018

Sherlock III: a New Case - Be as awesome as you can...

Sherlock III: a New Case
Be as awesome as you can.
I am popping in to show you my latest creation for Meg's Garden, using the NEW collection.

Using the Sherlock III, paper collection, I have created this layout of my nephew, Nathaniel.
I have tried to replicate the peeling paper with the brown kraft paper on the background.


I have used the layered papers from one of the background sheets as ephemera.


I really like the reflection of the owl in the water so I tried not to cover it.


I have used black enamel dots to repeat the black brad holding the sentiment tag.
BE AS AWESOME AS YOU CAN.

I hope you like what I have created today with products from Meg's Garden, follow the link to her website below for more of an idea of what she sells.

http://megsgarden.com/


Take care everyone
Bec
xxx

21 May, 2018

The Best and Most Beautiful Things in the World Cannot be seen or even Touched, They Must be felt with the Heart ~ Shades of Green

Hello Mary here again to share a layout using the Shades of Green range that will go in the album next to the last layout I shared as a kind of double page spread.
Once again I used two of the A4 Shades of Green Papers to create my 12 x 12 page.


So I just overlap my two A4 Pages to create a 12 x 12 size.


In my cluster I have used paper roses, pearl trim, paper leaves , a charm key and mesh ribbon, The Love word is cut from the cut and create sheet and I added a filigree strip with a enamel dot. In opposite corners of my photo I placed the brass corner drop with loop .


I have a strip of lace running down my page and for texture used a stencil and texture paste and added colour with my paints, I then added some light stamping

Thanks so much for calling by .
Don't forget to pop over to Megs Store for all your supplies
Happy Creating
Mary x


18 May, 2018

THE PERFECT DAY ~ IT REALLY WAS . CREATING WITH SHADES OF GREEN RANGE

Hello fellow crafters,

Mary here today to share another layout for my Daughters wedding album using the Shades of Green Range.
The Perfect Day ~ it really was


Once again I have created a 12 x 12 page by using a piece of cardstock to adhere the A4 shades of green pattern paper to.


I recently purchased the Oval Die cut which comes with two dies, this is the large, but the small is also a good size, perfect for framing your photo. On the opposides of my page I added the Screen Print die in mint green  to add a touch of colour and a decorative element to my page.


I created a cluster in the corner of the photo with a filigree Flower placed a paper flower and leaf on the top , attached a charm heart with pearl trim and also placed a clear gem ball and 3 pastel enamel dots, all placed on a ribbon of lace.In the opposite corner I placed the Filigree stip with the Honey Bee charm.


I used the satin edged sheer ribbon to tie a bow so to me it almost looks like a book that you can open . For texture I added the flower pattern in each corner through a stencil with texture paste and coloured with distress oxide inks . The Happiness chippy was given to me by my friend Bec and I also coloured it with Distress Oxide.
Thank You so much for calling by, I hope I have inspired you to pop over to Megs Store and get yourself some gorgeous product to create your memories with.
Happy Creating
Mary x

14 May, 2018

Shades of Green Cards

Hello bloggers and welcome to Megs Garden
Shades of green collection.
I love this image of Queen Ann,s lace 
Here I have added some glitter on the flower head
Along with a die cut the matched from a lovely Crafty friend
so I tied them into a bow also

 The snow drops I have tied in a bow


And the delicate pink rose
looks perfect without any additions

Thanks for dropping by Megs Garden and don't forget to checkout
the other clever ladies create
Happy Scrapping

02 May, 2018

HAPPY MAIL ~ SHABBY CHIC BACKGROUNDS

Hello, Mary here to share a Flip Book I created for my Pen Pal using the Shabby Chic Background Card Pack Papers.


For my cover, I have used a Doily and flowers with  a satin edged organza ribbon, all from Megs Garden Store


On opening the Flipbook the first page is decorated with images fussy cut from the Cut and Create Sheet, enamel dots and a little fairy charm, Opposite page a lines and curls die cut to decorate a fussy cut stamp from the cut and create sheet and I made a little envelope from The Pattern paper and placed the  angel on the flap of the envelope .


I have placed some of the lovely images from the cut and create sheet inside the little envelope for my Pen Pal.


I decorated the next pages with images from the cut and create sheet, a large doily and inside the little glassier bag I have a tea bag for my friend and placed the Cafe Paris Image on the front from a cut and create sheet.


I made a opening in the letter image from the cut and create sheet to place my letter to my friend inside , added some images from the cut and create sheet and then made a lace paperclip banner using a small piece of left over PP , lace and enamel dots from Megs Store .


This flap then opens out to create another two pages. I made a tag with an image from the cut and create sheet and added a sentiment from the cut and create sheet which I shaded with a soft pink ink.
The top page I made a pocket from an image from the cut and create sheet and placed some washi tape inside and decorated with the images of the ladies from the cut and create sheet.


To finish my flip book I added the large butterfly image.

Thank You for calling by, I hope I have given you some ideas and that you visit Megs Shop to be inspired to create a beautiful product.
Happy Creating 
Mary x