Showing posts with label green leaves. Show all posts

01 March, 2019

FRENCH ROSES COLLECTION - FAMILY LAYOUT & NOTEBOOK

Hello again Bloggers,

Well the months are certainly moving along and it is hard to keep up with all that is happening in the New Year.

For you today I have created a layout using Meg's Garden new Collection - French Roses.  Such beautiful soft colours in this range as you can see.


A small amount of fussy cutting with images of papers and cut and creates to add that special touch.


Finally I added more trim and beautiful flower  and metal bee.


Next for you, I have covered a little notebook that I have had for awhile and thought it would make a lovely gift for a friend to place in their handbag......what do you think???
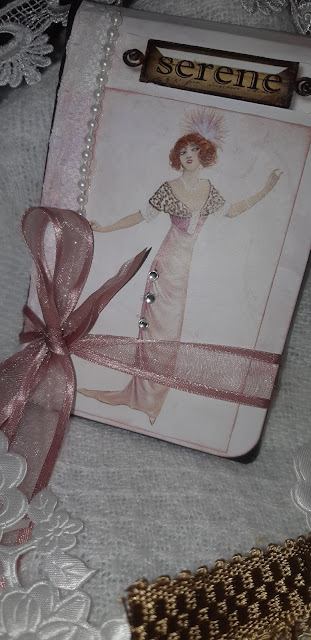
It was such fun to do and has a very elegant feel to the notebook.


I trust you have enjoyed the journey today and be sure to check more out on Meg's Garden  HERE.
Until next time....happy creating.....Love Liz

31 October, 2018

CHRISTMAS BAUBLES - MEG'S XMAS COLLECTION

Hello fellow crafters,

Well it certainly is coming around quickly, i.e. Christmas time.  Early preparations are a good start, so that the festive season does not sneak up on you.

For you today, I have dressed some wooden baubles that I have had in my stash for far too long to remember!!!

Meg's new collection is so beautiful and inspiring and had so much creating for you today.

Front view 


Back view (although it does not matter which )  :)


and now for a closer look see .  The top of the baubles are heat embossed with gold and then Meg's Garden trim used to finish off.


You can see that Meg's Garden foils are superb for all your Christmas needs.


Well I trust you enjoyed today's journey and hope you are inspired to commence work on your Christmas stash of decorations and cards.  Until next time.....happy creating...love Liz

19 April, 2018

SHABBY CHIC BACKGROUNDS, ENAMEL DOTS AND DIES

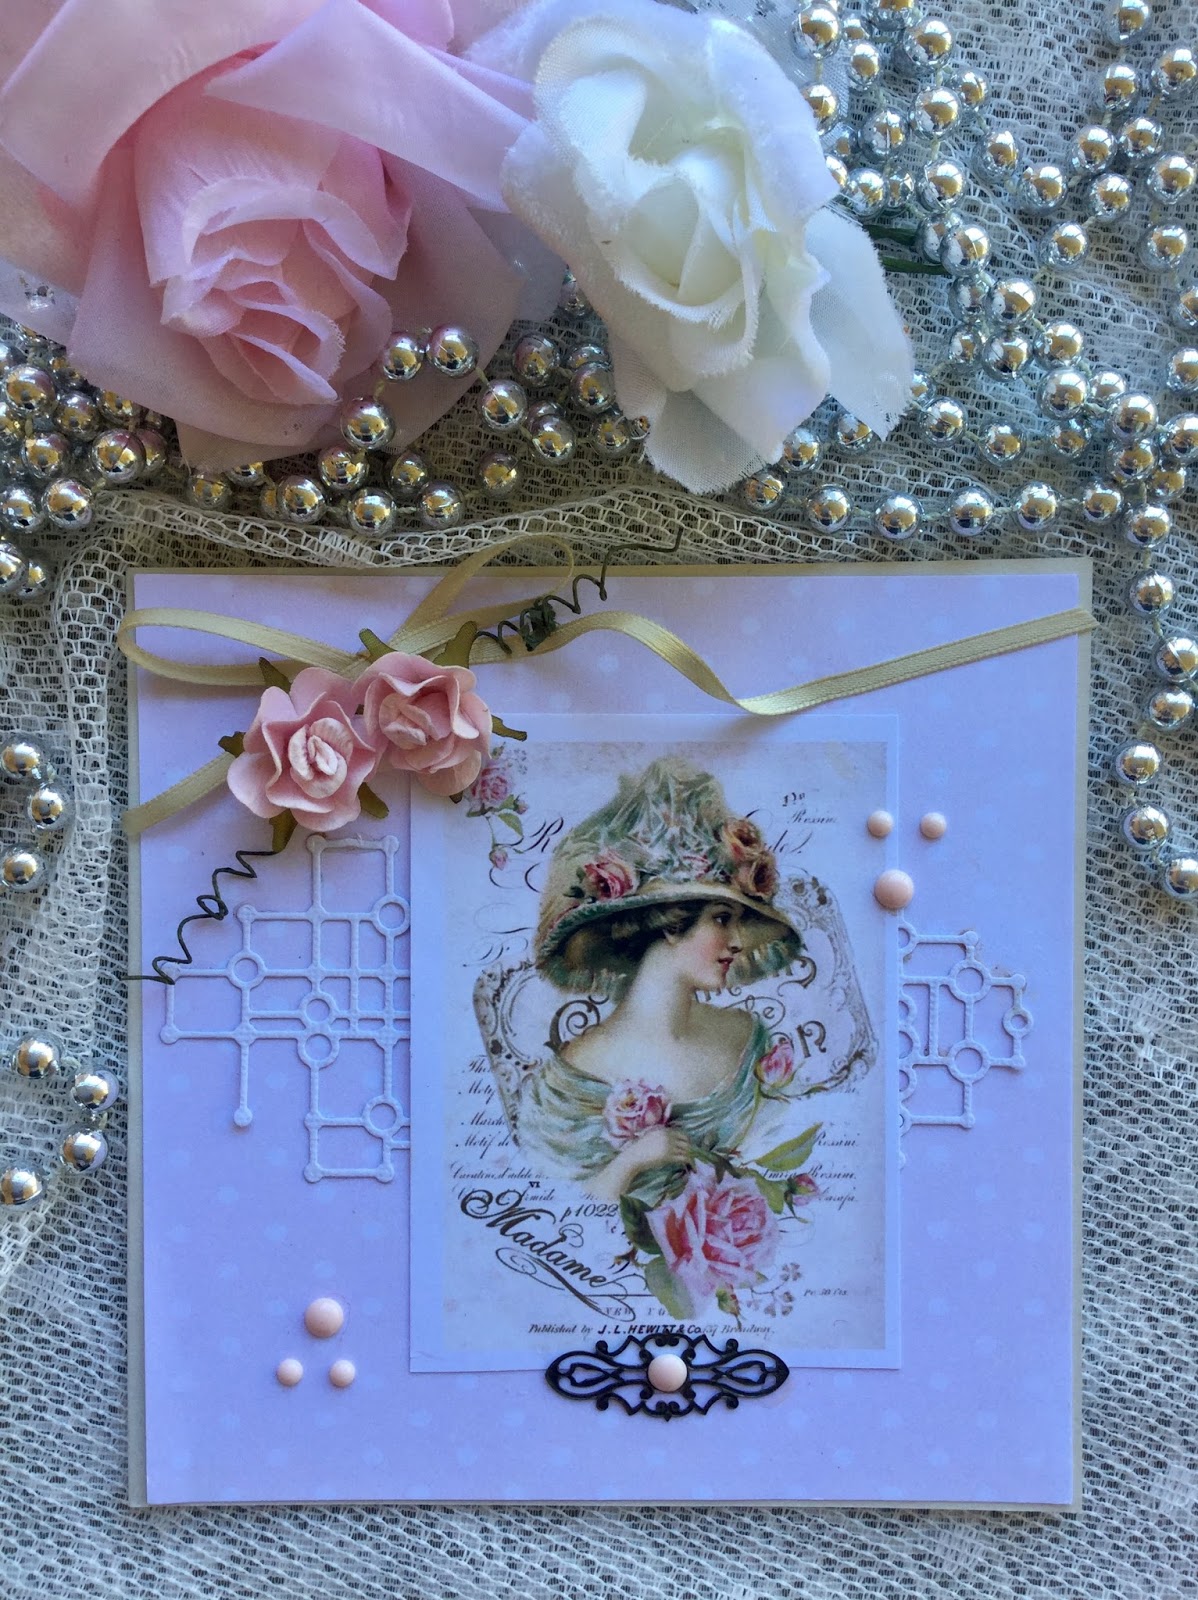
Hello Mary here to share some cards I have been working on with the Shabby Chic Backgrounds card pack. The colours are so soft , pretty and romantic.


Everything I have used to create my cards can be found in Megs Store. I love this die , which is called lattice and circles  , it is so versatile and I purchased the pastel enamel dots that work beautifully with the shabby chic papers, but there are all the colours available in the store.  The background is a soft pink and white polka dot patten.


This card the Background is lovely shades of green, so I chose embellishments with green hues. The ladies dress has touches of gold in her green dress , so I added the green and gold ribbon and also added white lace under the lattice and circle die. I used the pink enamel dots to compliment the flowers and die cut and used a organza ribbon for a touch of softness. The image of the lady and the Dream sentiment can be found on the cut and create sheets.


My last card the background is shades of mauve and once again I have used the Lattice and circle die ( told you I liked it ) I then used images I have fussy cut from the cut and create sheets and added the enamel dots and a sheer green ribbon on my fussy cut rose.
Thank You for calling by and if you have a special person that you would like to create a beautiful , unique card for , especially made by you, visit Megs Store for beautiful supplies.
Happy Creating
Mary x


07 June, 2017

Celebrate Your Uniqueness ~ Lavande Range

Hello Mary here to share a layout using the new Lavande Range. When I received this range, Oh my, so beautiful. The range inspired me to document my Granddaughters Year 12 Graduation, so far I have created three layouts using the range.
Today I would like to share this one with you.

Celebrate your Uniqueness


I love the Brown Dodo Vine Wire and it gave me the idea to create a hanging garden at the side of my photo


the flowers and leaves can all be found in Megs Store
I can't wait to share some more of this gorgeous range with you. Everything besides the Laugh Chipboard word  and the diecut behind the photo is from Megs Store. I encourage to have a look at the rest of the range of Lavande it is just so beautiful.
Until next time, happy creating
Mary x


08 May, 2017

White Flowers on Green Mini Album

Hello Bloggers
Finally finished this album which ended up being very 'wide' & as you go through the pics you will know why.
I used vanilla cardstock inside the book & green cardstock for cover.. 

There are 7 pages in total that are 11 3/8" with the 3/8" score & fold in the centre at 5 1/2" in from each edge. Each page has an outside front 5 1/2", an inside left 5 1/2", an inside right at 5 1/2" & an outside back 5 1/2".

There are 2 pages tied with ribbon that have an additional inner set 
- pages 3 & 5.

Video of Mini album
Front Cover with green cardstock, vintage trinket corners & handle, butterfly transparency, silk flowers
& crown jeweled pin.  The Life was torn, distressed & curved with foam mounts.


Spine with vintage trinket, puffy rose, champagne tassel, key charm & bottle

Back of book with vintage trinket, puffy rose, green leaves & charm

Side view of book. Inside pages were 11 3/8" - scored with 3/8" at centre.
In addition, there were 2 pages  towards the centre that  were tied together with ribbon as seen above

Cherish side is attached to back of front cover. The rose is fussy cut & a foam mount added inside to keep the rose open for the tickets.  The back of page 1 is left as is

Inside page 1. Ephemera added on both sides with lace belly band

Back of page 1 & front of page 2 used ephemera, lace, heart doily & vintage trinket with pearl

Inside of page 2 - corners torn to open for ephemera, tickets & flowers

Back of page 2 - ephemera & doily tucked behind ephemera on green.
Front of page 3 on the right is the 1st of the double pages. The ribbon was attached to the back of page 3 with ephemera tucked into the ribbon.  This page is  16 3/8" - 3/8" at centre with 3 1/4" folded in on each side.  The inner piece  is 8 6/8" with 2/8" at centre. 

View of page 3 with ribbon untied.  The edges of the flaps & the inside smaller page were deckle edged & the same matching paper used on the outside & inside of the flaps

This one shows the left flap open, the inside of page 3 & the outside of the smaller insert - the lace allows ephemera to be inserted

Back of the insert page & right flap

The back of the insert page is  on the left, the right flap is open & the inside of page 3 

The  inserted page is now open & shows the embellishments

The back of page 3 & front of page 4 sere just decorated

Inside of page 4

Back  of page 4 has a fussy cut wreath which is decorated with green tassels & ribbon.
The left page is the front of the second page that has a mini insert tied with ribbon - page 5

Close up 

Inside of page 5 & front of the insert page. There were no flaps on page 5. The insert page had green cardstock to allow ephemera/photos/journaling to be tucked in.  The insert page has vintage trinkets folded over the edge for turning
Inside the insert page - same size as inner of page 3


Back of insert page & inside of page 5.  All the pages had the same papers used on them

Back of page 5. The front & back of page 5 has a small vintage trinket & pearl in front of the ribbon.  On the right is outside front of page 6 with a lace belly band

The insides of page 6 were simply embellished

Outside of page 6 with 'non white' flowers.  Ont the right is the outside of page 7. The fan ephemera was fussy cut & folded to appear as a fan

Insides of page 7 has matching pieces to tuck in notes, pics, journaling. The frames were fussy cut & could have pics in them

Back of page 7.  The right side is the back of the back cover with the rose fussy cut to allow tuck ins which fell out when photographing
All pages were glued directly to the spine.

Hope this has given you some ideas for mini albums.  The embellishing can easily be used on cards, scrapbook pages & more

Bye for now
Meg

11 April, 2017

LOVE ~ PARISIAN GARDENS RANGE

Hello Mary here to share some creating with Megs Gardens gorgeous range of papers and embellishments.
Firstly a layout from a range I truly love ~ Parisian Gardens. The papers are so pretty I really hate to cover them . Using some really old small photo's helps to solve this problem and keeping the page relatively simple.


I have had the little brass frames for ages , so decided to stagger them down the page with the narrow ribbon threaded through and cascading down the page also. For the middle frame I used a beautiful image from the cut and create sheet. The photo's are of my Mum and Dad and my aunt. To attach the frames I found Gel Medium was the best option. With the large fussy cut roses I placed them on foam squares to give dimension and then added green leaves to the roses


I have fussy cut quite a few images from the cut and create pages. The love Sentiment is cut from the cut and create page and shaded . I have used the oval filigree to attach the fussy cut images from. The large roses are fussy cut from the cut and create pages also.


I have added a little  antique pink lace under the top and bottom photo frames to add a touch of softness. I have used the little tags from the cut and create sheet at the side of my photos to add my documentation on .  All the products except the frames and heart chipboard piece can be found at Megs Store
Next I would like to share a card


I created the card with left over papers from the rose quartz range . I added the first layer of PP then  added the sheer green ribbon vertically down the page and placed another piece of pp over this.  I added a row of cream lace and a row of  antique pink lace under the  postcard image from the cut and create sheet. Behind the postcard image I have added another image and the Madame sentiment to add more layers.  I finished off by adding the filigree strip with a narrow ribbon bow and some pearl strips  and finally the fussy cut birds sitting on the branch .

I have been enjoying making these tags so much. This time I decided to make a masculine tag using the image and Monsieur word from the cut and create page.


My best friend is currently in hospital after having a double hip replacement, so I made a card to cheer her.


The background I have used  pieces of left over papers from layouts using Megs Gardens range of papers (nothing gets wasted ). I made a base using gesso, tissue paper , thread and mist to layer the images on. Lots of fussy cutting .I cut the centre from the Wreathe of flowers image and placed the Parisian lady underneath to show through. Fussy cut the two springs of flowers to place at the side, all are from the Cut and Create sheets. I added some Antique nylon Pink lace which is a little hard to see on the photo. On the opposite side I have the cream lace and Cream wide ribbon, which I have added the fussy cut decorative image upon. I then added a couple of  round silver Diamante Trim
Thank you for calling by , I hope you take some time to scroll through the blog for some amazing inspiration from the DT
until next time
Mary x