Hello and welcome to Megs Garden,i hope you like the forgotten Meadows collection as much as I do.I have used Forgotten Meadows Fresh daisies 12x4 strip with afternoon letters12 x12 paper and joined them together with a flower die.
Hello friends! I hope you are well. Today I would like to share a waterfall folio that I have created using papers from Meg's Garden. The collection I have used is called the Forgotten Meadows. It has muted tones, beautiful flowers and oodles of vintage charm.
To frame my main focal image I altered a chipboard frame. I placed it in an embossing folder and ran it through my die cutting machine. I used Distressed stain walnut stain, then applied Versamark embossing ink, then sprinkled Lindy's Stamp Gang Midnight Bronze Embossing powder and embossed the frame to create this aged vintage look. Once dry, I applied some more of the distress stain to tone it down.
Here is the inside of of the folio. There is a side pocket for tags and another for mementoes and on the right you can see the waterfall mechanism.
I used some left over papers as well as some of the of the ephemera from the cut and create sheet that is supplied in the collection.
I have a short video that I have made where you can see me going through my vintage waterfall folio.
I hope that'll have a go in creating one. Here is the link to a tutorial which I followed to create it.
Hi Meg's Garden Friends! Sarah here today to share a layout with you that I made using the gorgeous Forgotten Meadows collection! I just love the soft floral images on these papers and decided to make a layout that really played on a balance between a large floral image and my photo collage. Here is my son searching for his Easter Treats this year!
I used a basket-weave stencil and white molding paste along the right side of the layout and chose two colours of mist that match the tones in the large floral image on the left side of the page. I used the mini-papers to create the layering under my photos and added a flower (tinted with the same pink mist) and some lace from the Meg's Garden store. Finally, I added a few resin pieces, title and bling from my stash to complete the layout. Here is a close-up and a couple of different angles of the layout so you can see the layering!
Thanks so much for stopping by the Meg's Garden blog today! Happy Scrapping!
Hello Again Meg's Garden fans! Sarah here today to share a new project using a combination of the gorgeous Butterfly Garden and Forgotten Meadows collections, as well as some embellishments from the Meg's Garden Store and from my stash. Have you heard of pocket letters? I just recently learned about them and, since I love making Artist Trading Cards, I thought it would be fun to create a pocket letter page, which is (essentially) a collection of coordinated ATCs in a trading card page! The Meg's Garden Mini-Papers and Cut & Create Ephemera papers are absolutely perfect for creating pocket letters - you can also use bits and pieces leftover from your larger papers! I wanted this page to look as though it were a collection of vintage memorabilia from a trip to Paris, so I have distressed and added Vintage Photo distress ink to the edges of the papers.
Here are some close-ups of each of the rows (out of the plastic trading card page to avoid glare)!
I hope you like my pocket letter page - it was so fun to make! If you create one with Meg's Garden products, leave me a link in the comments below so I can pop by for a look!
Hello everyone, Patti here. Today I'm sharing a boxed gift set that I altered with not only scraps from the Forgotten Meadows collections but bits and pieces from other collections Meg has in her store. I save everything, even tiny pieces if they have a flower or a pretty piece on it that could be used as an embellishment or part of a larger project or card.
This originally was a gift box with an address and note paper book and a pad of paper. I only kept the pad of paper in this set and will use the other another time as a gift. I took the front of the box apart, painted it with Tim Holtz Distress Ink in the Seedless Preserves and Chipped Sapphire, mixed together to create the luscious color of purple to go with Meg's flowers from the store.
Meg's Garden has acetate sheets of butterflies, they are probably one of my favorite products. I love to fussy cut them out leaving a tab of acetate on the bottom. Gluing just this tab and tucking it behind the flowers gives the illusion the butterfly is flying in the wind! Aren't these flowers just beautiful!
The Fancy Scalloped iridescent border worked as the perfect accent not only around the window in the front but framing the pocket on the back. The tag was actually cut off a pair of jeans I'd just purchased but it was the perfect purple and had the ribbon attached I simply took a piece of paper from the collection for the middle and added the sticker that says follow your feelings.
Inside the box houses this stack of note paper that I wrapped with a band of the doily strips which had been glued atop a piece of lavender paper. The flower was actually a white gardenia which I dipped in a watered down solution of the paint I'd painted the box with. I did add a touch of Vintage Photo here and there to deepen the aged look. Again I have one of the acetate butterflies tucked in.
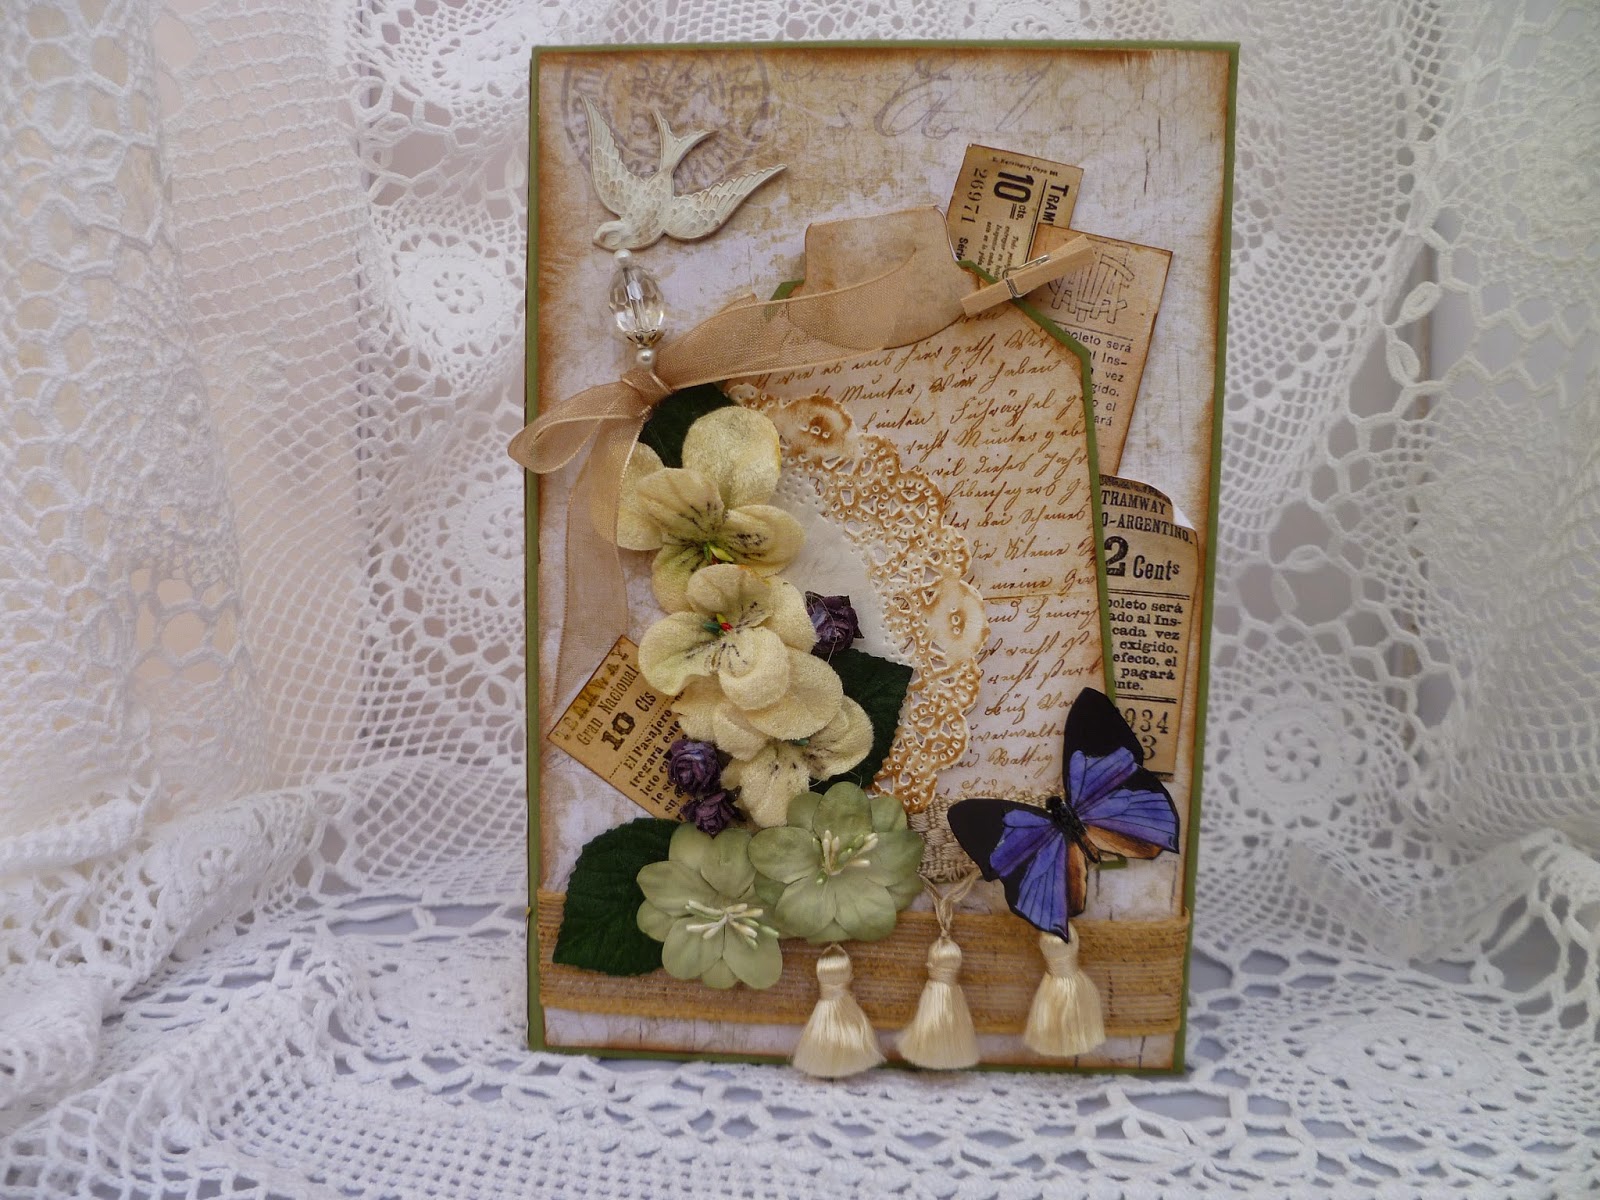
Every gift deserves a beautiful card to introduce it and here's mine. This was really a collection of scraps put together to form one piece. I tucked odds and ends of green papers into each of the four corners under the circle doily. All the edges were roughed up using the Tim Holtz distresser. The other elements have all been cut from different paper collections. Check your leftover pieces to see what you can piece together to create a one of a kind card for a special friend. To make the pleated border simply lay a strip of double sided tape and begin pleating your ribbon to it, knot the ends and glue in place.
Please join me on the video below as I share the note box, banded notes and card in more depth. Thank you so much for stopping by and be sure and check out Meg's Garden for lots of yummy goodness to make your crafting experience a true delight.
Hello everyone it's Patti here sharing an altered Kraft Journal. I picked up this book at our local Michaels craft store in the US and it's been sitting in my crafty drawers just waiting for me to dress it up. When I saw the Forgotten Meadows collection by Kerry-Jean Watson I knew this would be perfect for my alterations.
The book measures 6"x8" with a side flap that closes with a large magnet. I decided to color the original Kraft outer cover with a combination of Distress paints in Chipped Sapphire and Seedless Preserves. By mixing these two colors I came real close to the purples in the flowers. (You'll see the original in the video below, how I mixed the paint and changed it up.)
The latch to lift up the front right flap was a combination of two Vintage Trinkets from Meg's store. This is the bottom piece glued directly to the book
and this is the piece I bent and lifted the middle up and glued atop the other to create a unique handle
The back has fussy cut butterflies that I heavily covered in Glossy Accents, a hanging tag and some stenciled texture paste tinted the same color as the book.
This shows you the back, front, and front flap. You can see how well the Distress paint ended up matching the purples in the paper collection. Since the papers already had an inked distress look to the edges I just continued on that with my distress inks on any of the edges that I'd cut.
Here's a good view of the inside cover. I had the rub-on of the sofa for eons in my crafty space but this time it found the perfect home inside my book. I matted the inside and then matted again with a an angle slit to form a pocket for my mats. I took a ribbon strip from the paper collection but ended up using my distress paints to make it a little darker purple to go better with the paint color.
I did slip in one mat from The French Garden Collection and that's the one above on the inside back cover. I love this mat, it reminds me of my Grandma since she loved violets so. I again added another ribbon border on the last page of Kraft paper.
Thanks for joining me on my tour of my altered Kraft Journal using the beautiful Forgotten Meadows papers. I hope you'll join me on the video as I show the book more in depth, with peeks at what the original book looked like and it's transformation into this lovely gift.
Hi everyone, it's Miriam here with my May project for Meg's Garden using the Forgotten Meadows paper collection.I have kept the journal small and the pages plain, just let the papers speak for them self. I added some fussy cutting to the flowers and just a few embellishments here and there. I also used a leaf stamp then cut them out and added some vintage photo to the edges.I also used an embossing boarder folder to make two pockets to hold some tags on the front and back covers.