Showing posts with label brass corner charms. Show all posts
14 October, 2019
28 April, 2018
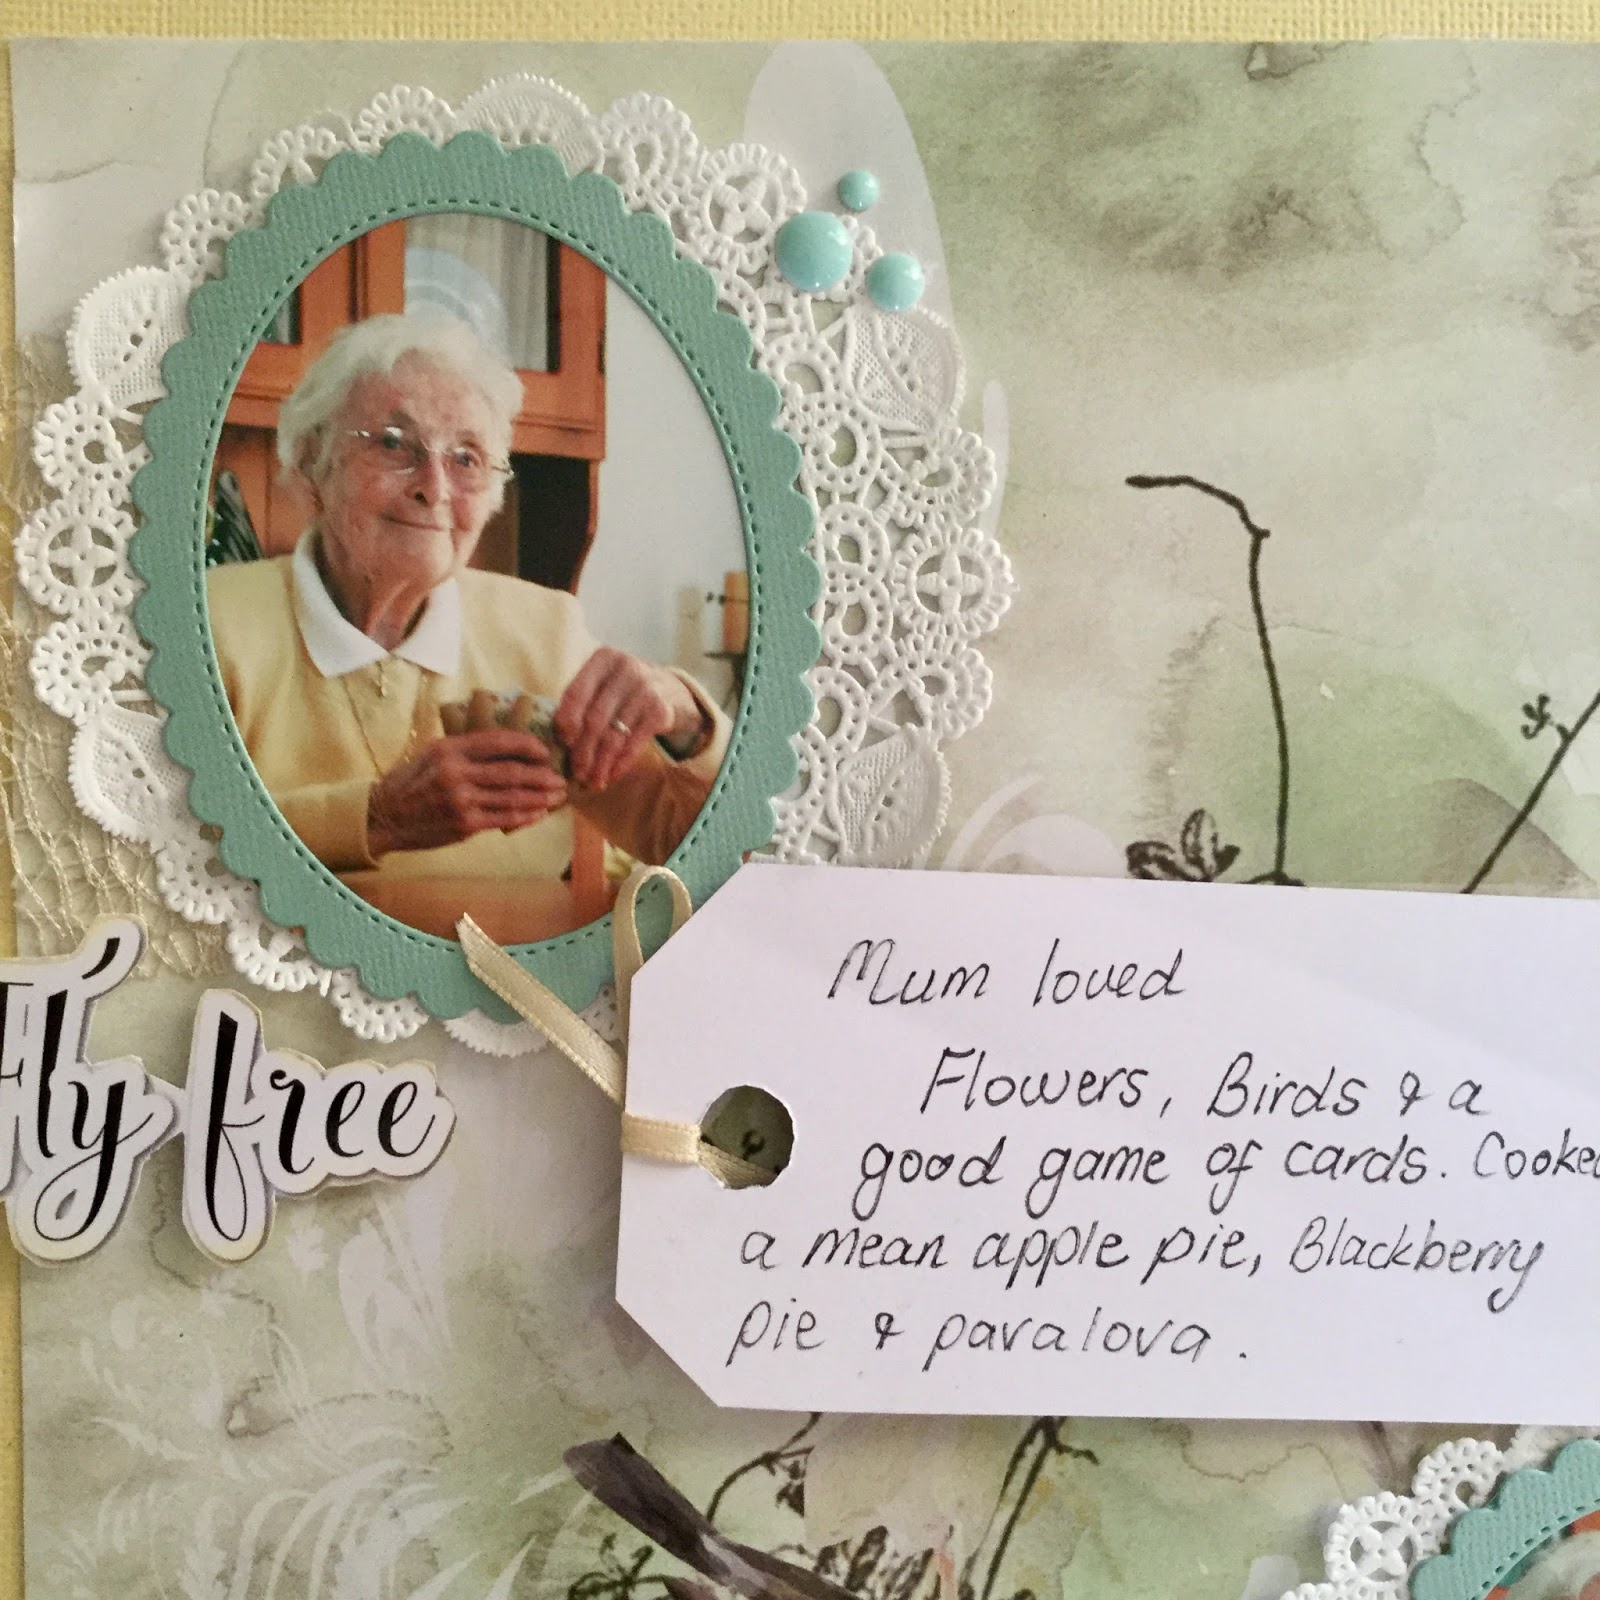
She Loved Flowers, Birds and a good hand of Cards
Hello Mary back again to share another layout with the gorgeous Shades of Green Range.
I wanted to use this beautiful Pattern Paper as my Mum Loved birds, so I immediately thought of her.
She loved Flowers, Birds and a Good Hand of Cards
How beautiful is this pattern paper ! I received my order of the dies and was keen to use them as well. This die has two in the pack and I used the smaller framed scalloped oval frame for this layout. I can see myself using this die a lot, they are a good size and will also be great for using to create cards as well as layout.
I have placed a little doily under my photo and frame and added a cluster in the corner. Flower , ribbon, dodo vine, circle filigree, salt mesh ribbon , doily and dragon fly charm are all from Megs store. I fussy cut the "admit one and Play from the cut and create sheets from Megs .
"Fly Free " I fussy cut from the cut and create sheet . To finish the layout I placed the corner droop with loop in opposite corners of the layout and some pastel enamel drops
Also I added a tag from the cut and create sheet that I tucked in the side of my layout for my journalling
made a bow the narrow ribbon to pull the tag out by
Thanks so much for calling by, I hope you take the time to pop over to the Store to take a look at the beautiful products available to create with.
Happy Creating
Mary x
07 April, 2018
SHADES OF GREEN - TEAPOT CARD WITH TIMELESS CARDS
Hello Everyone,
Here I am again today sharing with you Meg's Garden 'Shades of Green' Collection.
I am using Pack No. 2 and the Cut & Create from this Collection and hope that you enjoy todays viewing.
Firstly, to match last month's tea cup card, I decided it make a Teapot Card, which was lots of fun putting together.
Here is the other side.
The card can be opened up for the sentiment to be written inside and then tied together with ribbon bows.
I then set about making some matching cards from this Collection.
And now for some close ups, showcasing the many varied embellishments from Meg's Garden.
Love these Doilys.
I hope you have enjoyed our journey today and that it has inspired you to start creating your own beautiful cards from Meg's Garden Collections.
Remember to check out the Labels to see all the items used on my cards. Until next time.....enjoy your creating time. Regards Liz.
Here I am again today sharing with you Meg's Garden 'Shades of Green' Collection.
I am using Pack No. 2 and the Cut & Create from this Collection and hope that you enjoy todays viewing.
Firstly, to match last month's tea cup card, I decided it make a Teapot Card, which was lots of fun putting together.
Here is the other side.
The card can be opened up for the sentiment to be written inside and then tied together with ribbon bows.
I then set about making some matching cards from this Collection.
And now for some close ups, showcasing the many varied embellishments from Meg's Garden.
Love these Doilys.
I hope you have enjoyed our journey today and that it has inspired you to start creating your own beautiful cards from Meg's Garden Collections.
Remember to check out the Labels to see all the items used on my cards. Until next time.....enjoy your creating time. Regards Liz.
09 March, 2018
SHABBY CHIC COLLECTION LAYOUT
Hello Crafters,
Liz here today with some more of Meg's Shabby Chic Collection.
I have created a layout for you using the Pinks in this collection. As you will see, they are so soft and pretty.
The pinks are well suited to Meg's Garden Doily, ribbon, lace and large brass corner.
Liz here today with some more of Meg's Shabby Chic Collection.
I have created a layout for you using the Pinks in this collection. As you will see, they are so soft and pretty.
A bit hard to see in this photo (I am sorry) I have cut the edges of Meg's doily and placed on the edge of the cardstock and then laid the paper on top. I have then used the centre of the doily under the photo matts.
Here a couple of close ups of the fussy cutting from the Shabby Chic Background.
The pinks are well suited to Meg's Garden Doily, ribbon, lace and large brass corner.
The flourishes are made from clay and inked.
Thanks for taking the time to look and if you would like to see more from this collection check it out HERE.
Until next time.....happy creating....Liz.
26 December, 2017
IRIS FOLDING USING UP MEG'S GARDEN COLLECTIONS
Liz here with you today and a big hello to everyone and welcome to the New Year.
I trust that you had a wonderful Christmas with family and friends and ready to start the new year afresh?
As it is still the holiday period, I thought I would share with you a little trick to use up some of your Meg's Garden Collections. We all have those pieces that we don't want to throw out, so here is a different way to look at them and to create some special cards to give your family and friends.
Iris folding is an easy and lovely way to use up those small pieces of paper that reside in your collections .
Here is a closer look.
For the iris opening in the centre I used a picture from the collection, but you can use anything you wish.
Don't feel that you have to only make 'female' cards, here is an example how you can use 'time Ephermeral' and Cafe au Lait to create a 'gentleman' card.
I hope you have enjoyed our little trip today into the uses of small pieces of papers and that take the time to try this easy technique.
Until next time........happy creations..........love Liz
I trust that you had a wonderful Christmas with family and friends and ready to start the new year afresh?
As it is still the holiday period, I thought I would share with you a little trick to use up some of your Meg's Garden Collections. We all have those pieces that we don't want to throw out, so here is a different way to look at them and to create some special cards to give your family and friends.
Iris folding is an easy and lovely way to use up those small pieces of paper that reside in your collections .
Here is a closer look.
For the iris opening in the centre I used a picture from the collection, but you can use anything you wish.
Don't feel that you have to only make 'female' cards, here is an example how you can use 'time Ephermeral' and Cafe au Lait to create a 'gentleman' card.
I hope you have enjoyed our little trip today into the uses of small pieces of papers and that take the time to try this easy technique.
Until next time........happy creations..........love Liz
30 November, 2017
SECRET MYSTERY BOX & MINI JOURNAL with new PARIS CHIC COLLECTION
Hello Everyone,
Liz here today showing you the new PARIS CHIC COLLECTION. I was lucky enough to be given the new Journal pack in this wonderful collection.
But first let me tempt you with a 'Secret' mystery box that I created to hold the mini journal using Paris Chic.
And Meg's Garden new Box Handle Arch and decorative lock. Stunning items don't you think?? Then I was inspired to do a little Decoupage on the lid, with papers from Paris Chic and Vintage Beauties.
Now for a little side view and inside peek.
I made the little Journal from a couple of 12x12 album page inserts, then set about decorating my Journal.
Some special brass corners and metal hearts.
Meg's Garden lace and ribbon really set the Journal off.
Meg's Garden heart shaped doily and beautiful floral ribbon.
You will notice that I used a little 'Inca Gold' in gold to edge a few of the cutouts, which gives a real vintage look to the pictures.
Finally a little fussy cutting of the flowers and here is the end.
I hope you have enjoyed our little visit through Meg's new Paris Chic Collection and be sure to check out more HERE.
Thanks for taking the time to look and until next time........happy creating. ....Love Liz.
Liz here today showing you the new PARIS CHIC COLLECTION. I was lucky enough to be given the new Journal pack in this wonderful collection.
But first let me tempt you with a 'Secret' mystery box that I created to hold the mini journal using Paris Chic.
And Meg's Garden new Box Handle Arch and decorative lock. Stunning items don't you think?? Then I was inspired to do a little Decoupage on the lid, with papers from Paris Chic and Vintage Beauties.
Now for a little side view and inside peek.
Some special brass corners and metal hearts.
Meg's Garden lace and ribbon really set the Journal off.
You will notice that I used a little 'Inca Gold' in gold to edge a few of the cutouts, which gives a real vintage look to the pictures.
Finally a little fussy cutting of the flowers and here is the end.
I hope you have enjoyed our little visit through Meg's new Paris Chic Collection and be sure to check out more HERE.
Thanks for taking the time to look and until next time........happy creating. ....Love Liz.
20 April, 2017
SHERLOCK JOURNAL
Hello all .. Annette here..
thanks for popping by
today I'm sharing with you a journal I created using
SHERLOCK JOURNAL VOL II papers
I really enjoy playing with neutral colours
& distressing, grunging & making mini albums
so I LOVED this new range
'it was right up my alley' as they say
My cover was made from scratch with chipboard
using gel medium I adhered my chosen papers to front, back & spine
inked across the paper & around the edges for a pre-loved book look
decorating the join with mesh ribbon
then used photo corners & a metal flourish with a handle adhered on top .
there is a real feather under the quill
clocks are from a previous paper from Meg's Garden
acetate from my stash is adhered as a pocket so photos can be added
lift the metal ring to flip out the page for journalling &/or photo
tags slide out
mount for photo
tags for more writing & a mat for small photo
tag with key opens the flip out
final page with space to write the end of your journal entries
Are you ready for some Sherlock?
lift the metal ring to flip out the page for journalling &/or photo
tags slide out
mount for photo
tags for more writing & a mat for small photo
tag with key opens the flip out
The letter unties & opens out & the lions head page flips out as well
a post card for more journaling & a photo mountfinal page with space to write the end of your journal entries
Are you ready for some Sherlock?
The journal papers are ready for you!
Available printed or digital download
18 papers - 8.3x11"; pages for journal are 5x7.5"
Preview of papers:
https://www.youtube.com/watch?v=83YlrrTtba8
Whilst your here I invite you to scroll through the garden blog
& see the creations from Meg's design Team
you are sure to be inspired
thanks for visiting
Happy Scrapping
Hugz Annette x
Whilst your here I invite you to scroll through the garden blog
& see the creations from Meg's design Team
you are sure to be inspired
thanks for visiting
Happy Scrapping
Hugz Annette x
15 July, 2015
Gather Your Dreams mini book from Meg
Hello Bloggers
I finally finished this book. It sat on my project table while I had thoracic surgery; it sat again patiently while I semi recovered; the book itself wondered if it would ever get finished.
But I had to - other projects to start & complete. Like Christmas papers, a Christmas mini book in traditional reds & greens, a Victorian Christmas mini book, lacy Victorian ornaments, some new Australiana papers, new mini papers with ephemera project & more....
I used the 3 pale lavender papers on the cover, back & spine matted in a deeper lavender cardstock. The cover was kept fairly plain with lilac velvet violas & leaves & some pearl sprays on the front. No decoration was done on the back cover or spine but both were matted to match.
Then the 2 green pages were used. The inside cover has a pocket with ephemera, and its opposite page embellished with a simple transparent butterfly with its wings lifted.
Pages 3 & 4 were chosen to go together - page 3 has a brass bee with its wings lifted, a beaded pin, ribbon & paper flowers. Words were also added. Page 4 has a transparent butterfly
Page 5 uses the French writing paper with an envelope pocket to hide secret dreams. Page 6 has a beautiful Vintage lady, double matted & embellished with brass corners.
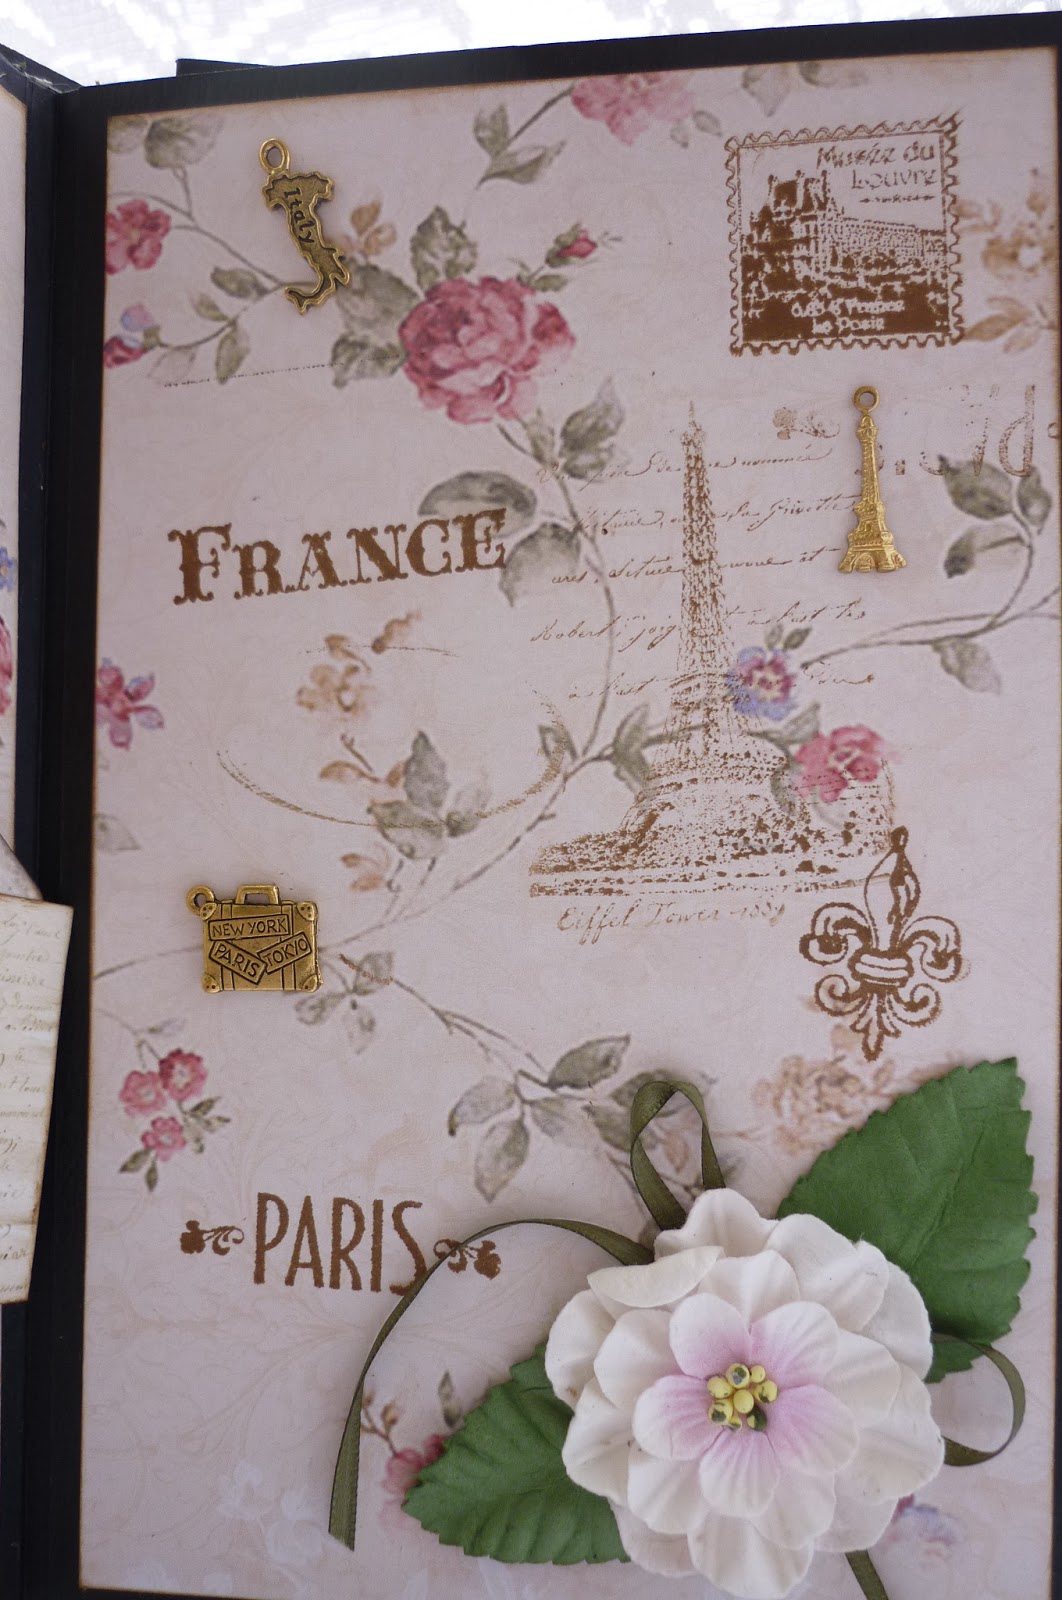
Pages 7 & 8 use the gorgeous pink papers with paper flowers, travel charms & Journey to France Rubber Stamp Collection - the theme being Dreaming of travel to Paris & France.
Page 9 is left as it is.
Page 10 is a lift out with the ribbon pull on the side & uses the 5 blue/green papers.
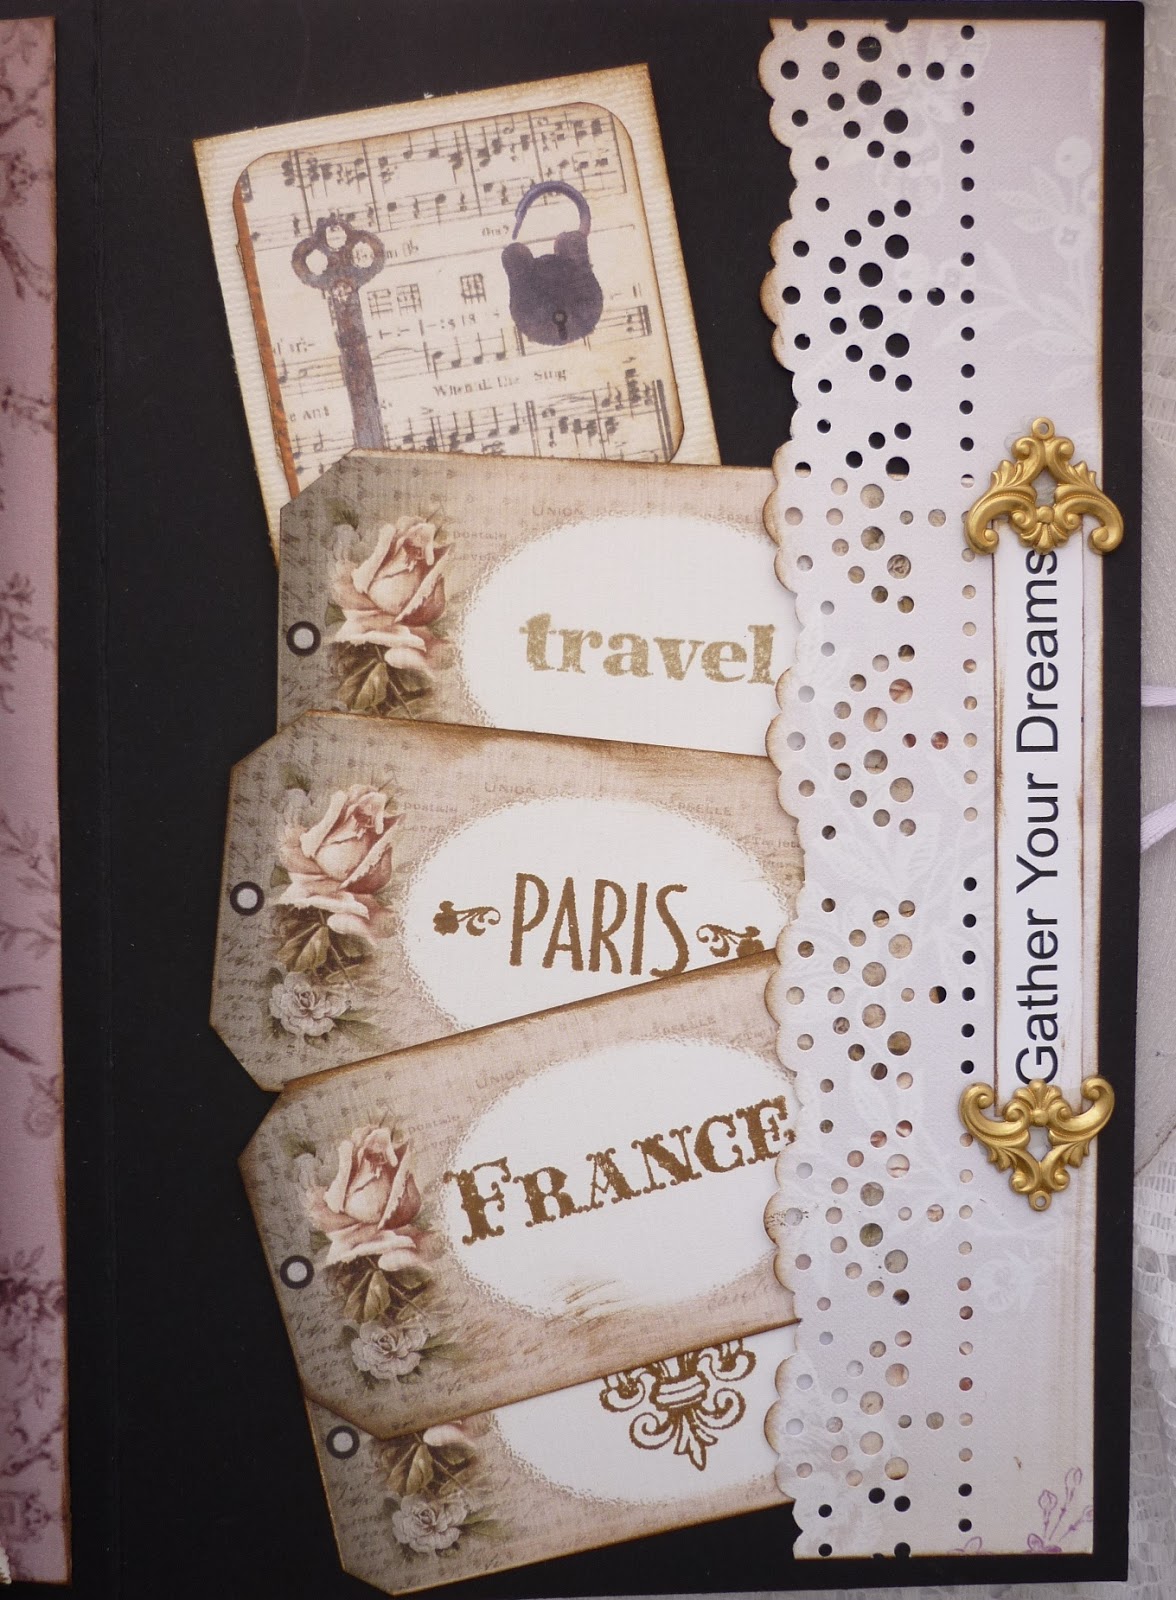
The inside of the pullout is embellished with paper flowers & leaves, has room for listing your dreams on the one page & also on the tags in the bottom pocket
Opposite the back of the pull out is a cabinet card ephemera made into a small folder & embellished inside with some of the ephemera in the pack.
Over the page, I have used a page from an old French book, tucked into a mini
square lace doily with ephemera. Wanted a little bit of very vintage here; also as a break before the last pullout of the book.
This pullout, with the ribbon tab, uses the 4 Mulberry papers.
Inside the pullout - on one side there is a round doily pocket with ephemera tucked in & embellished with a musical charm
The other side has a pocket down the side with tags to use for your dreams.
This is the back of the pullout - the 2 pages allow plenty of space to list dreams. The 2nd page is the inside back cover or the book
Hope this gives you some more ideas on how to use the Gather Your Dreams mini book kit which is available as a printed product or you can download & print it yourself.
Dimensions:
patterned pages in book kit 4.75 x 7.5"
cardstock for pages 5 x 7.75"
cover - cardstock & cardboard 5.25 x 8"
(matt - 5x7.75")
I use the Stack the Deck method: flaps 7.75" & spine 2.5"
Bye for now
Meg
From Meg's Garden:
Subscribe to:
Posts (Atom)