02 November, 2023

 Smooth …  Art in mostly Neutral Light colors & 

few with a little Darker Shades - M549

You decide what ‘Smooth’ means to you.

All you need to create awesome Art Journals, Mini Books, Cards for many occasions, Gift Tags, larger books, and more as well as Gifts of Collections - ideal for any Occasion gifts

A set of 10 papers - to inspire you to create your own
art or junk journal or more. eg. a trip, goals, must-dos soon, dreams, wedding memories, special occasions, family tree, smooth favorite things …

- 6 have Cut & Create ephemera

- 4 backgrounds to choose from so you can create as 

many different projects as you wish from one Collection.


Link to my Etsy Shop: 

https://www.etsy.com/au/shop/MegsGardenPapercraft


Link to video of these papers: https://youtu.be/ieQoG2BIBik


Listing at my Etsy Shop:  https://www.etsy.com/au/listing/1586426234


Let these papers inspire you to create fabulous art.


Bye, for now, Meg

megsgarden@outlook.com   Subscribe to Newsletter

05 October, 2023

2 New Mini Books - Shabby Chic & Vintage

Hello Paper Artists - October 2023

Ready for Shabby Chic and Vintage Art?

Finally have finished these 2 mini books - had to put them down so many times - 

my 'arty' brain refused to help & my fingers & papers went on strike

                                        But the results are here in this video


                                        Hope they give you some ideas for your Art Work

Link to my Etsy Shop:  https://www.etsy.com/au/listing1548349948

Video link   https://youtu.be/https://kKLnJhyg8dc

Bye for now

Meg

megsgarden@outlook.com


10 September, 2023


Hello Paper Artists - September  2023


Ready for Vintage Art OR

Shabby Chic OR Why Not Both?

 AND 40% discount on all Collections

until 25 Sept 2023 - stock up on gifts for Papercraft friends

#1 Vintage Art M547

https://youtu.be/tfu8JeR8oVk


#1   Vintage Art M547

A set of 17 papers - to inspire you to create your own art or junk journal or more. eg. a trip, goals, garden needs & clippings, dreams, wedding memories, special occasions, family tree or reunion

4 have Cut & Create ephemera, & 1 with 6 Art Cards 3x4"

2 papers are also for extra - not 'book papers' - but are alternate papers with images

2  papers are for extra - not 'book papers' - in light shade, & a dark shade  - used for covers, extra pages, die cutting, tags, cutouts, pockets, etc., and also can be used as covers.

2 with lines - 1 is  light & the other is darker6 are 'open book paper' - 3 with distressed edges, in light & dark shades & each in 2 sizes 10x7.5" & 11x8.5"

Lots of options to choose from

Link to my Etsy Shop:  https://www.etsy.com/au/listing1504865900

Video link   https://youtu.be/tfu8JeR8oVk


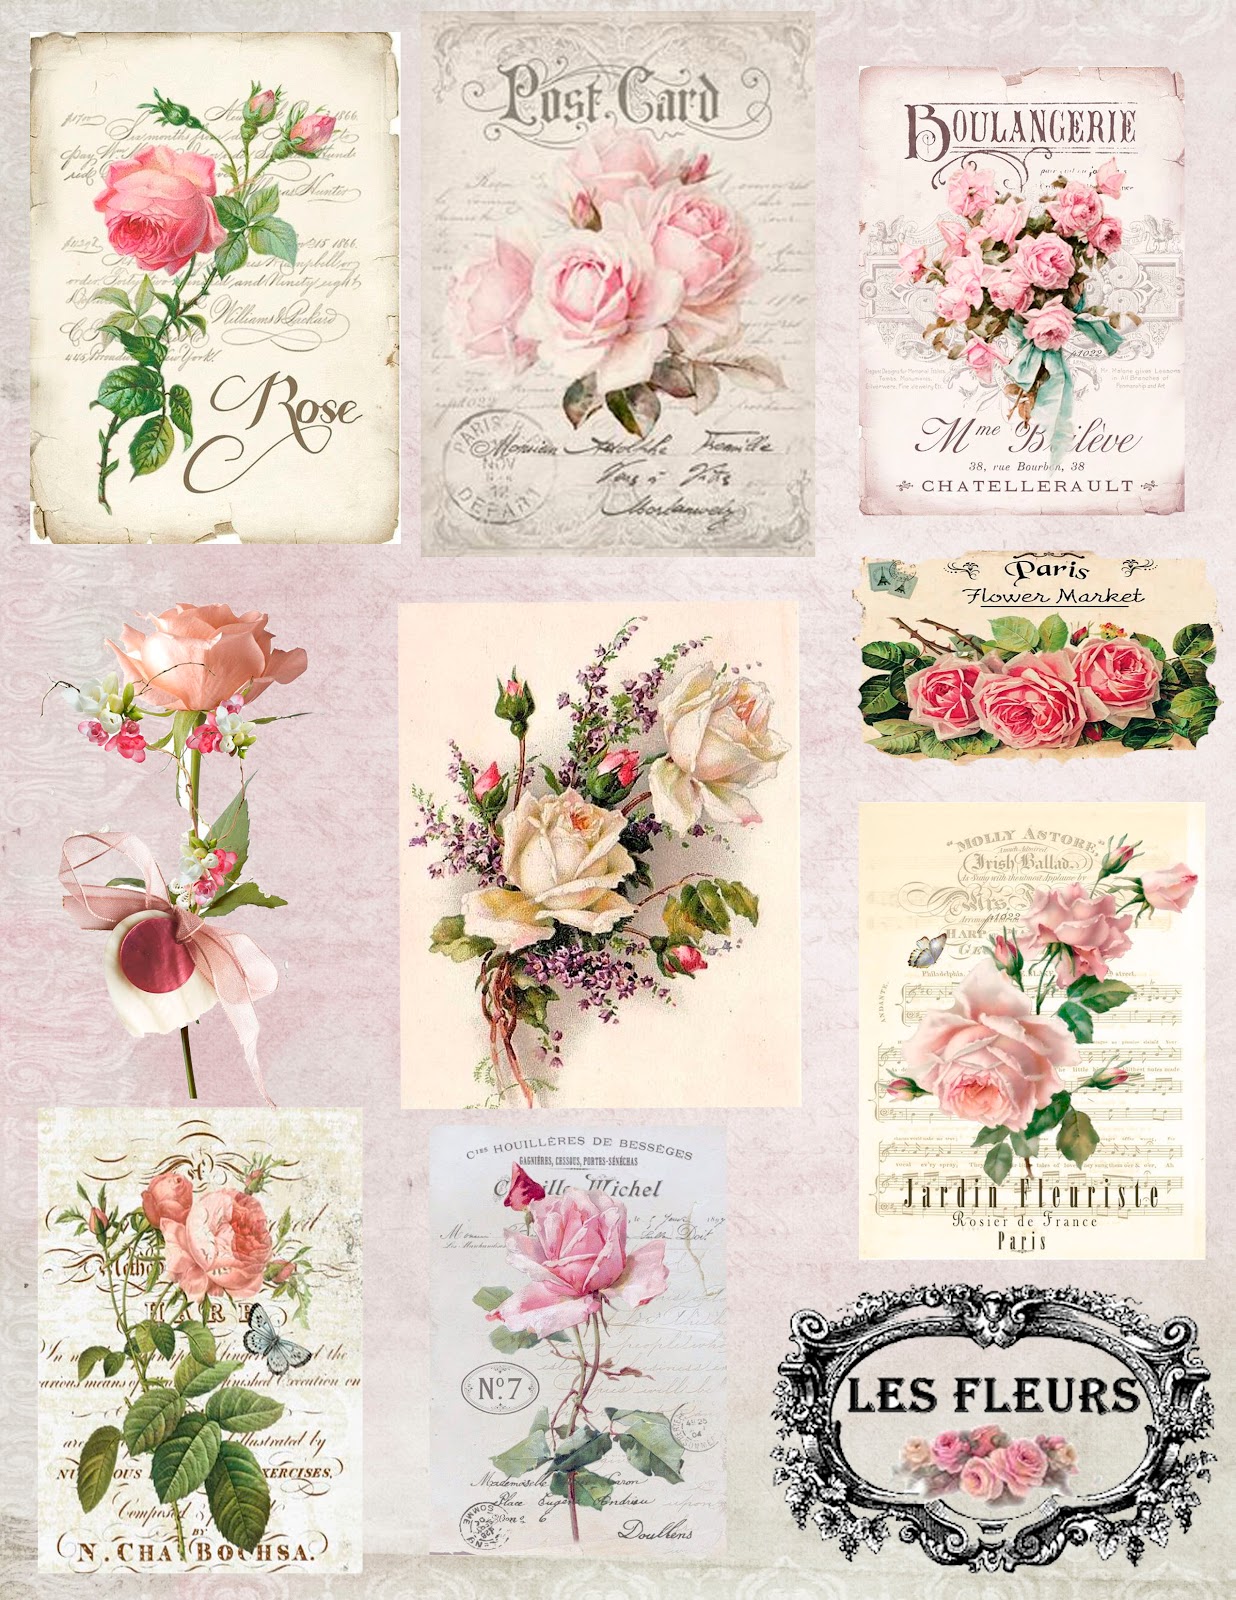
#2   Shabby Chic in Pinks & Beiges

https://youtu.be/https://kKLnJhyg8dc


A set of 16 papers: to allow you to dabble, be inspired & have fun with Shabby Chic.

6 papers of Cut & Create ephemera in different shades, colors & and styles.

1 paper with 4 Art cards with mini ephemera-

9backgrounds to choose from so you can create as many different shabby chic projects as you wish from one Collection.

The backgrounds:- 1 with a double page with a rosebud on one & one without,  

4 A4 Vintage roses with a white decorative frame, Pink smudged flowers, White polka dots on pink, Rose pink watercolor, beige lightly patterned paper-

4 landscape & in open book-style papers with 2 sizes


Link to my Etsy Shop:  https://www.etsy.com/au/listing1548349948

Video link   https://youtu.be/https://kKLnJhyg8dc

Bye for now

Meg

megsgarden@outlook.com

25 July, 2023

 Notes on Tea & Coffee Dyed Papers


Are you confused about coffee & tea dyeing? – I was!   So I decided to try it out.

 What fun! And what a mess! I hung the wet papers on my drying rack in the laundry & had drip spots all over the floor. But I felt as though I was still in kindergarten or primary school – what a feeling.

 Since that day, I have learned a lot more.

But let’s get more serious.


My Tips:

· Tea or coffee – I do not think it matters a lot.  If you want a deep shade, then strong coffee seems to work best.  Tea seems to be a more subtle shade.

 · What kind of papers? – Any.  I particularly love vellum for its translucent look & the texture obtained from the water.

Vellum

Vellum envelopes

Envelopes in general

Scrapbook papers

Coloured papers

Cardstock

Maps, ledger, texts, dictionary, script, alphabet papers

Paper doilies look beautifully vintage


· Make a jug of tea or coffee with hot water; let it steep.  There is no suggested time. After your first dyeings & you have defined the colour you want, you will have more of an idea of the time & how much tea or coffee – 3 tea bags, 2 tablespoons of coffee.


· Pour the dyeing liquid into your dyeing container – I use a shallow baking dish that fits A4 paper.  Add the paper – several sheets at a time – I usually find 2-3 sheets are more manageable.  Hold down the edges if they curl until they stop curling – the back of a spoon works well; press down on any bubbles of air if you want them dyed.  Let the papers alone while they absorb the dye.


· Take out the papers.  You can dry them in the oven at medium heat for approx 5 minutes with foil underneath to stop drips.  I prefer to air-dry them. Let the excess drips over the sink & then hang on a drying rack with a peg on 2 flat corners – paper towels on the floor.  This will give an overall cleaner dye.  To obtain a messy dye, add more of the dye into a spray bottle & add patches of colour to the paper. A cup with dye on the bottom will leave a ring.


· If the papers are wrinkled & you want them smooth, use a dry, low-heat iron.


· Other tips:

you can create other colours with inks

if you want to stamp/print on the paper before dye, iron with plain paper on top

a spray bottle with tea or coffee after the papers are dry works well

Twinings Tea Infusions etc. do not work

megsgarden@outlook.com                  https://www.etsy.com/au/shop/MegsGardenPapercraft

04 June, 2023

 Hello Paper Artists at June 2023


Welcome to my latest Art Collection of:


Dr. Watson’s Case with Sherlock M546


The papers are all in Vintage shades.


You can do a ‘Case Project’ using the few images of Dr. Watson & Sherlock Holmes OR ignore them & play & have fun with all the Vintage papers OR do more art pieces.


7 papers of Cut & Creates & 3 papers of backgrounds in JPG format, 300dpi for high-quality printing 8.5”x11”.

Background paper #1 is the same paper used for the backgrounds of the 7 papers of Cut & Create Ephemera


There are also 2 files of Sherlock images in PNG format - 1 to print vertically & the other horizontally.  These can be printed on white paper since the images are in jpg format on a transparent background

Link to video: https://youtu.be/Am5R1_fl7WA


Link to my Etsy Shop:  https://www.etsy.com/au/listing/1490212299


Let these papers inspire you to create fabulous Vintage art.


Bye for now,

Meg 

megsgarden@outlook.com    My Shop at Etsy Subscribe to Newsletter


For some ideas on how to use ephemera in junk & art journals, please visit my YouTube Channel to see several videos of Junk/Art Journals & Mini Books https://www.youtube.com/user/megsgardenpapercraft

11 April, 2023

 Hello Paper Artists - April 2023

 Welcome to my latest Art Collection of:

Butterflies M545

They are all images of Digital Ephemera/Cut & Creates only.

10 papers of Cut & Creates including 1 with tags, tickets & words.

The butterflies are beautiful when printed on vellum or transparencies - use files 2 & 3 for these PNG images

Ideas on How to Use The Butterflies:

To make a 3D butterfly fussy cut it & fold the wings up along the edge of the body. If the antennae are faint use a fine black felt tip pen to darken them; you can also eliminate the antennae & instead add very fine wire glued under the body.

Front of a card, journal, mini book, mixed media

Page in an art journal, centerpiece,r a fold-out  

Use a paint canvas & build a 3D art piece with/without a background paper

Use a butterfly die cut the approximate size of the butterfly image


Link to video:  https://youtu.be/mTuKtl3o0oc

Link to my Etsy Shop:  https://www.etsy.com/au/listing/1457516989 


Bye for now,

Meg

www.megsgarden@outlook.com

22 March, 2023


Hello Paper Artists March 2023

This post is to show you the Before & After pics to give you some ideas on how to use these images from  Ephemera Stacked & Collages  M544.


 I took 6 of the images from Collection M544 & decided to play with them as only a paper crafter can. The video shows the images before & after they have been played with. All images are foam mounted.


1. Image on M544-2: Framed in black cardstock & foam mounted on ivory cardstock; highlights using a black sparkle nail polish on the paper, 2 clips & pin; white frame from frame packet; a twisted piece of old paper; vintage ephemera framed in black cardstock tucked into a corner.

2.  Image on M544-6: Double framed in cream & black cardstock & then foam mounted on black. 2 clock hands from a transparency are double foam mounted on the largest clock image; a clock charm is foam mounted on the top left corner image &, and just for fun a tiny flower is used to balance all.

3.  Images on M544-7: this was the first image that I did & used all 4 on this paper. '175' image matted on cardboard & then foam mounted on brown cardstock. Clear nail polish was painted on the bottom right black swirl to make it shine; a thin piece of black cardstock was glued to the left side of the brown image & a key charm glued on; the side of the folder ephemera was slit & a clip inserted with a hanger charm attached; ‘175’ was cut from the other sheet & foam mounted.

4.  Image on M544-7:  ‘Vintage; was cut from the other sheet & foam mounted on the vintage corner; the top corner has a small vellum piece with the hyde park corner ticket cut out from the other sheet & glued to the inside of the vellum & another ticket on the outside of the vellum.

5. Vanilla image on M544-7: This was my first one done.  The image is foam mounted on vanilla cardstock & then on black with the same vanilla behind it; 2 thin scraps of black card were added to the side & top of the middle papers to make it appear more papers in the stack. The top has a clip & a memo pin. There is also a scrap of vanilla card inserted above the clip. A stamp in the top corner cut from the other sheet was foam mounted; another ephemera was foam mounted & curled & distressed, a clip added; a curled old piece of paper was inserted behind this ephemera.

6. D&E images on M544-5: A piece of jute twine was tied from the back to each side of the front of the book image & purposely kept large & messy; the D & E images were cut from the other sheet & foam mounted on top of the image. All were foam mounted on black card & then attached to a sheet from an old dictionary with the word ‘embellishment’ at the top left corner.

I also used frames on all - took out the glass so that they looked like shadow boxes.

There are so many uses for these images - just think how you could use them.

 Bye for now

Meg

megsgarden@outlook.com

Link to video on YT

https://www.youtube.com/shorts/KAmJPSvRwwg


Link to the Collection on my Etsy Shop:

https://www.etsy.com/au/listing/1419230807


28 February, 2023

 Hello Paper Artists - February 2023

 Welcome to my seriously NEW Vintage Art Product Line:


Stacked Ephemera & Collages M544

The latest Collection of Digital Papers M544 is totally new:

8 pages of serious Vintage Stacks & Collages. There are 4 on each 8.5x11” page - sizes vary a little but range approx.  4x5.5” - they can all be increased in size at printing  300dpi for high-quality printing, JPG format.

 Ideas on How to Use Them:

Front of a card, journal, mini book, mixed media.

Page in an art journal, centerpiece, or a fold-out  

Cut out pieces, halves, and quarters & use them elsewhere

Thread twine through & tie on the front

Use a paint canvas & build an art piece with/without  a background paper

Add a splash of color to continue with the project


When using on the front of a book, make sure that the theme, style & color tie in with the contents of the book since the cover makes a statement of what is inside the book.


All of the above ideas include foam mounts, paint, charms, and other ephemera, add an area within the piece to slice & add foam or part of a cotton ball to create texture & height.

Any of these ideas can easily be carried inside the art project to add to the art flow.


Link to video

https://www.youtube.com/shorts/KAmJPSvRwwg


Link to the Collection on my Etsy Shop:

https://www.etsy.com/au/listing/1419230807


Link to my finished projects:

In process 

 Let these papers inspire you to create fabulous vintage art.


Bye, for nowMeg 

megsgarden@outlook.com    My Shop at Etsy Subscribe to Newsletter

For some ideas on how to use ephemera in junk & art journals, please visit my YouTube Channel to see several videos of Junk/Art Journals & Mini Books 

https://www.youtube.com/user/megsgardenpapercraft

29 January, 2023


Hello Paper Artists - January 23

Finished my new mini Book using the Vintage Collection M543

https://www.etsy.com/au/listing/1391709831 - Paper Collection 10 papers full of Cut & Create ephemera

Video at Youtube: https://youtu.be/-t0sbOUgQVg

Hope you enjoyed the video 

Bye for now

Meg

megsgarden@outlook.com 

18 January, 2023

Vintage Ephemera - 10 full papers of vintage Cut & Creates

      Hello Paper Artists at January 2023,  Welcome to the New Year - 

are you ready for some serious Vintage Cut & Create Ephemera?


The latest Collection of Digital Papers M543 is just that - 

10 pages of serious Vintage Cut & Creates


10 papers 8.5x11”, 300dpi for high-quality printing, JPG format - just ephemera

The papers will assist Sherlock to solve his case

 & also to inspire Paper Artists to create Vintage Art - Junk Journals,

 Mini Books, Scrapbooking & more Papercrafting.

If you love making Junk Journals or Vintage Art, then these images are ideal & a must to add to your stash. Many shades, colors, sizes, styles & accents. The ephemera can be stacked; large ephemera can be cut to create strips, or any shape needed.


Link to Video of papers: https://youtu.be/QRuGlMZVstw

Link to the Collection on my Etsy Shop: https://www.etsy.com/au/listing/1391709831

Link to my finished mini book:  In process 


Let these papers inspire you to create fabulous vintage art.

Bye for now,

Meg

megsgarden@outlook.com