30 November, 2012

Time Zones for Blog Hop

Hi
In case your location is not listed below, you can find the conversion at
www.timeanddate.com

We start the blog hop at Adelaide, South Australia at 5.00pm Friday, 30 November 2012

Please come & have fun hopping!!
Meg

The Blog Hop Around the World


 Welcome to the Meg’s Garden Design Team Blog Hop!
 

You are at the start of one of the longest Blog Hops ever done – around the World.

Make sure you complete the list – become a follower, like us on FB & leave a comment – hope you have fun & Good Luck


We are circling the globe this weekend.  We start in the Adelaide Hills at Meg’s Garden in Hahndorf, South Australia & then head down the hill to Adelaide to visit Adriana, Heather, Chantal & Denise. We then hop almost all the way across Australia to Perth, Western Australia to Jen.  After a long hop across the ocean to South Africa we visit Evgenia.  Then North to Sylvie in France, Ulrika in Sweden, & Elena in Belarus.   Another long hop across another ocean to Canada where we pop in to Stephanie & Vicky.  Back downunder again to Sandrine in Queensland, Shell in Victoria, then to Victor Harbor to blog at Gayle’s in South Australia & then up the hill back to Meg’s Garden.  Pheww!!

How many time zones was that??

Each blog hop will have an Eye Candy especially chosen by that blogger from Meg’s Garden! - value approx $15

These are shown below and also on that Design Team member’s blog.

 Meg’s Garden is also giving away one goodies package to one lucky winner chosen from those who survived the oceans, desert & maybe some snow!

What will it be??  Posting at the bottom of this blog after the fabulous
Eye Candies.

All you have to do is become a follower of the Meg’s Garden Blog and “like us” on Facebook, as well as visit each participating blog, become of follower of those blogs and leave a comment.

The blog hop order!

START  Meg’s Garden – Australia – http://megsgardenblog.blogspot.com
 
Adriana Bolzon – Australia - http://abinspirations.blogspot.com.au/

Heather Jacob – Australia –  http://heatherartandlife.blogspot.com.au/

Chantal VanDenberg – Australia - http://girlsjustwannascrapbook.blogspot.com.au

Denise Boddey – Australia - http://passionscrapping.blogspot.com/

Jenny   Burns – Australia - http://burns900.blogspot.com.au

Evgenia Petzer – South Africa - http://evgeniapetzer.blogspot.com/

Sylvie Peixoto  - France - http://scrapdream.canalblog.com/

Ulrika Blomfelt - Sweden - http://lillblommanskapar.blogspot.com.

Elena Olinivech – Belarus - http://eleele-handmade.blogspot.com/

Stephanie Dinnell  - Canada - http://scrappers-heavencanada.blogspot.ca/


Sandrine Dawes – Australia - http://sandrinedawes10.blogspot.com.au/

Shell Carmen – Australia - http://www.anotherscrappyday.blogspot.com/

Gayle Price – Australia – http://blissandgesso.blogspot.com/

Meg’s Garden– Australia – http://megsgardenblog.blogspot.com 

When you have visited everyone return to the Meg’s Garden blog and leave us a comment letting us know how much fun you had!

If you post about this blog hop on your own blog you will be entered into the drawing twice for an extra chance to win!
 

We are sure you will be inspired by our talented design team!

There are lots of goodies to win and you won’t want to miss out on one.

The blog hop is, of course, 0pen to international entries.

The hop will start on 30th November, 2012 at 5pm & you have until Monday 3rd December, 2012 at 5pm SA time (Central Summer Time South Australia) to complete the hop.

The winner will be announced on the Meg’s Garden blog on 5th December (Meg’s birthday).

Be sure to check back on that day to see if you have won…

Have Fun!

Meg at Meg’s Gardenhttp://www.megsgarden.com

Eye Candies:
Adriana
Heather

Chantal
Denise

Jen

Evgenia


Sylvie
Ulrika

Elena

Stephanie
Vicky
Sandrine
Shell


Gayle


The final prize from Meg at www.megsgardenblog.blogspot.com is:
Vintage Beauties Pack

 A Vintage Beauties Pack of goodies - 8 different 4x12" strips of Vintage Beauties (Meg's Garden is well known for vintage images & products),  asst ribbons, pack of pearls & spacers, lace, german scrap corners or flourishes (depending on how you use them), petals in assorted pinks & white to make your own flowers & a strip of silver diamante trim.


These prizes will have some happy smiles after such hard work
But I hope you had fun & met lots of fantastic bloggers along the way

Bye for now
Meg
www.megsgarden.com

http://www.facebook.com/papercraftsatMegsGarden 

BLOG HOP

Reminder:

Starts at 5pm Adelaide time today


29 November, 2012

Denise has some more Christmas cards for us

Hi
Three  more Christmas cards from Denise Ann with totally different papers & themes.


Denise always uses the papers she designs for us in her projects & here she uses A Berry Merry Christmas from 'A Musical Christmas Collection'  using tones of green.   This paper is so simple & really elegant that all it needs is some highlighting, fussy cutting & some sparkled die cut flourishes & snow flakes. The folded piece on the front of the card is an extremely unusual & very elegant touch.  A ribbon in red completes this beautiful card.


The second card uses Plum Pudding, A Silent Night & Noel Noel (all 3 from 'A Musical Christmas Collection') papers & is a tri-fold easel card with a wrap around piece that slides off to showcase the really beautiful card inside.  The slider has its own banner, fussy cut flourish with sparkle, die cut & sparkled words.


Inside the tri-fold card you can see the papers of each of the folds along with embellishing with die cut flourishes;  another paper is on the easel which is embellished with a burgundy paper flowers & sparkled  die cut snow flakes & flourishes


The 3rd card is also a tri-fold card using Silent Night paper with a fabulous sparkled die cut attached to the back of the front of the card which is embellished with more snowflakes & Noel word.


Three absolutely fabulous pieces of art from the Card Queen.  Well done Denise!!

Bye for now
Meg
www.megsgarden.com

BLOG HOP tomorrow!!!!


27 November, 2012

Denise Ann, Tilda & Christmas

Hi
Denise Ann loves using Tilda on her papers & these 2 cards of hers show that the combination is fabulous - works really well.


Love the cards Denise - well done! 

Love the sparkle, embellishing & the combination of colours - very unique colours & great ideas for the Christmas season

Bye for now
Meg
www.megsgarden.com

PS Don't foget the BLOG HOP starting Friday 30th November at 5pm

26 November, 2012

Sandrine's Christmas Canvases

Hi
This week our focus is on Christmas & we have some fabulous projects for you.
 
These canvases are from Sandrine & she explains her projects:
'Hello!
I am very happy to share with you my very first project for Meg's Garden! I am using one of my favourite Xmas paper "Red & Cream Lace" out of The Vintage Christmas Collection , it has a traditional colour combo of red, beige and gold!  It also has gorgeous flourishes through it!
Every year I try to create little decorations to scatter around the house to decorate and make it feel like Christmas. And yes! every year I dress up the kids for a photo shoot, I do not have to force them they love dressing up and they actually have lots of fun too! The 2 photos I chose for my mini canvases are from last year but they are so cute and I haven't had a chance for a photo shoot yet this year.


What attracted me to this paper was the colours and the gorgeous flourishes so ideal for fussy cutting!

After knowing the colour combo I was playing with for my project, I went through my own supplies for paints, inks and matching cardstock. I like to organise a little before I start any kind of work. I first painted my canvases with some cream acrylic paint. I then proceeded with working with the gorgeous chipboard frames also available from Meg's Garden. Distress Ink Pad "Fired Brick" is the perfect match for the paper, after covering each frame with ink I added a coat of Crackle paint in "Rock Candy" it gave the frames a luscious red crackle effect! Perfect for the festive feel I wanted to create. I used the border around the paper to cut 2 rosettes. I then added some gold glitter in the centre of each rosette. Those canvases have loads of layers and mounting foam to give lots of dimension. I chose a giant banner as the bottom layer of my canvases as it is so trendy at the moment! I added some stamped words and punched circles around the canvas for balance and also some cut out flourishes/branches out of the paper. For a little bit more detail I added some inked German Scrap and a little gold bell hanging off a bit of rope. Meg has an amazing array of products it was so so fun to play!
MEG'S GARDEN PRODUCTS USED:
- RED AND CREAM LACE P6282
-  GERMAN SCRAP - ASSORTED BORDER - WHITE - G7203
- GERMAN GLASS GLITTER GOLD
- SMALL OVAL VICTORIAN FRAME FR004
- SMALL RECTANGULAR PARISIAN FRAME FR005
- BELL - HAMMERED GOLD - C261
Thank you so much for your visit, it always makes my day!!!
Have a lovely week-end!'

Well done Sandrine - love the choice of colours & embellishing; also LOOOVEEE the banners & the fussy cut flourishes. Thank you so much for your Christmas ideas.

Bye for now
Meg
www.megsgarden.com

PS Don't forget the BLOG HOP on Friday starting at 5pm our time

23 November, 2012

'Incognito' by Stephanie

Hi

Stephanie's grandson is the star in her Layout.


Stephanie describes her inspiration & procedures for this beautiful LO:  'As soon as I saw this “Green Toile” paper from Meg’s Garden I knew it would be perfect for this photo of my grandson that I took in a small Japanese garden at one of the parks where they live. I felt that the dark pink flowers in the photo brought out the bits of pink in the paper. I was telling my grandson he looked like a movie star trying to hide out from his fans with the sun glasses he was wearing…hence the title for this layout.

I love doing fussy cutting on my layouts and these beautiful papers just scream “fussy cutting” to me. So I cut out the matching flowers from the 4” x 12” strip to pop up with foam down on the matching flowers on the right side of the paper. To frame my photo I took one of the pretty square doily papers (bond25) that Meg has and cut two of the laced corners off and then laid them together to make a square diamond shape and then placed my photo down on top

For my flower cluster I used the 3 layer white Gardenias and the pink/cream open paper roses from Meg’s Garden.  I decided to try to mimic the white flowers in the paper and using some of my yellow scrapping chalk I used a q-tip and colored the center and stamens of the white gardenias yellow. The tiny pink and yellow rosebuds I made – you can find the tutorial to make the rosebuds on my blog here: http://scrappers-heavencanada.blogspot.ca/2012/10/rosebud-tutorial.html

Materials used from Meg’s Garden:
Paper - P6295 Green Toile
- bond25 square doily
3 layer White Gardenias
Pink/Cream Open Paper Roses

Other items used:

Distress tool,Distress ink “vintage photo”, Dusty Attic chipboard fountain
Recollections crystal flourish (cut into pieces)
Handmade pink & yellow rosebuds
Butterfly graphics printed & cut out & painted with Glossy Accents
Small pieces of coordinating paper to use behind torn and folded back corner
Foam pop dots, Double sided tape'

Beautiful layout Stephanie - well done. Love the embellishing & thank you so much for the link to the tutorial for the rosebuds.  It is always fabulous to have your own unique touch to a project & the store does not always have the prfect colour you need.  Love the tip for colouring the stamens of the flowers.  You have also shown us that you can use flowers, lace & flourishes with a male photo & have it work.

Bye for now
Meg
www.megsgarden.com
 

21 November, 2012

Mark Your Calendars


Mark your calendars for the

Meg’s Garden Design Team Blog Hop!

Starts 30, November 2012 for 3 days at 5:00 p.m. here at this blog

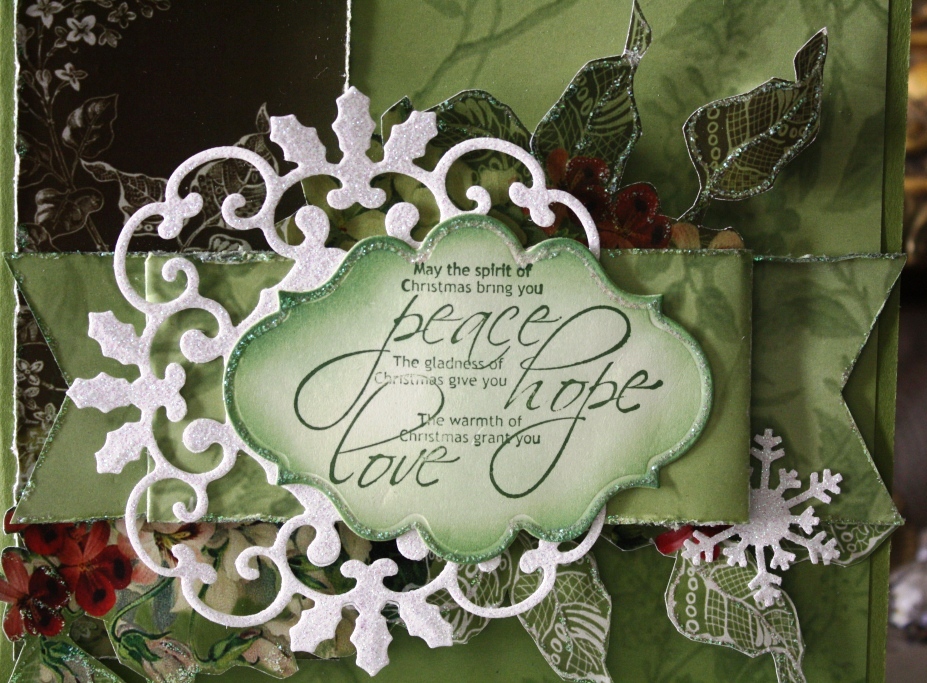
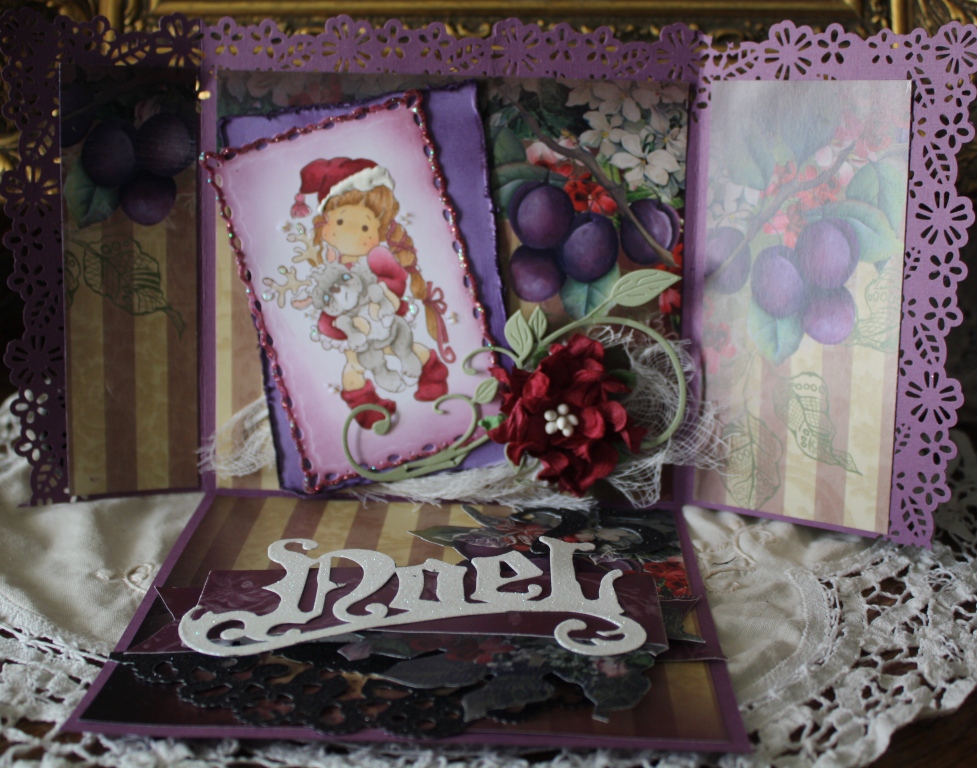
Eye Candy at each blog & a prize at the end !! 

one of the longest Blog Hops ever done – around the World.

 
From Wikipedia:  ‘Phileas Fogg is the main fictional character in the 1873 Jules Verne novel ‘Around the World in Eighty Days’.

Fogg attempts to circumnavigate the late Victorian world in eighty days, or less, for a wager of £20,000 with members of London’s Reform Club.  He takes the wager and leaves with Passepartout, vowing to return by 8:45 pm on Saturday 21 December 1872. Under suspicion of robbing the Bank of England,  he is followed by a detective named Fix. Fogg has no idea about Fix's true intentions and Fix (wanting to get Fogg back to England so that he can arrest him) works with Fogg in the last half of the book.

While in India he saves a widowed princess, named Aouda from  Suttee during her husband's funeral. Passepartout rescues her and she accompanies Fogg for the rest of his journey. She and Fogg eventually fall in love and marry at the end of the book. Fix, who is really supposed to arrest Fogg, attempts to sabotage him by putting him in prison near the end of the book but he is quickly released. Fogg, who has been careful to keep track of every day in his diary, believes that he arrives home on Sunday and that he has lost his bet. However, he discovers, almost too late, that he has forgotten to adjust his timekeeping for having crossed the International Date Line and he wins his bet after all.’


Phileas Fogg had 80 days to circle the globe - we are allowing 4 days only!  But we have an advantage over his modes of travel
 – he had to catch trains, ride an elephant, an air balloon & more....


Make sure you complete the list – become a follower, like us on FB & leave a comment – at each blog.
Start here at 5pm on 30th November for the route & the final prize
 
We are taking into account the International Date Line & Time Zones for you so you do not have to worry that you will miss out like Phileas almost did.
 
Hope to see you then
Meg


20 November, 2012

Love Layout from Evgenia

Hi

The ultimate in fussy cutting from Evgenia:


Evgenia describes her process: 'I love these papers, first couple of days I couldn't even force myself to cut them... I was just looking and drooling over them...

I love fussy cutting and these designs are just perfect for this. So I decided to give it a go.

The bird cage, leaves and the wording in a frame are fussy cut.'
 
Thank you so much Evgenia - well done.  Love the elements of embellishing & I think you have seriously mastered the art of fussy cutting - beautiful!.

Bye for now

Meg
www.megsgarden.com

18 November, 2012

Dyeing ribbons, lace & more ....

Hi

Just a quick post for info:

Create vintage accents instantly using this simple aging technique:

2 tsp instant coffee
1 tsp white vinegar
1 cup boiling water


Dissolve the coffee in boiling water & add vinegar. Soak the accents until your desired colour is reached.  (several tries may be needed)  Dry the accents on paper towels and/or use a heat gun.
 
Tea bags can also be used & are more true to colour.  The tea bags tend to be a bit lighter.
 
Cotton grabs the colour while nylon is much slower.
 
Have fun experimenting!!
 
Bye for now
Meg
 
"Tea staining has been around a long time and was first used to hide stains on linens. Tea staining is an easy way to create an "antique" or primitive look. The differences between tea staining & coffee staining are subtle. Tea is lighter and gives a more 'dirty' look. Coffee seems browner and give a more 'old' look. Just be aware that coffee is much more aromatic than tea, and your finished item will smell like coffee for a long time to come. We have found that some fabrics (or paper) look better tea stained and some look better coffee stained. We have tea stained & coffee stained with both brewed and instant, both gave satisfactory results, I just find instant easier, but there is not near as much color selection.  Earl Grey is usually the tea of choice, but English breakfast is ok, too. Check out your grocery store or specialty shops and buy black tea for a gentle, soft brown, antique look.  "from http://www.primitive-beginnings.com

17 November, 2012

Aprons & Bags

Hi

They are the perfect Christmas presents for your papercrafting friends & family.
 
Denise Ann has momentarily taken a break from designing on paper & has taken her talents to fabric.
 
 
The apron is done on black cotton twill (more practical than the beige she had in mind at the beginning) & measures 70x86cm
 
 This is the awesome design which measures 21x28cm

 
I can see so many options to embellish it - definitely some silver diamante pieces for the centre of the flowers, some pearl flourishes & ribbons.  Lace is an essential at the bottom of the apron - either a black frill or  a cream with a pink or green ribbon insert.
 
 
 The accompanying  bag is calico & measures 38x41cm with the same 21x28cm design
 

The bag can also be embellished.
 
What a fabulous & elegant way to go to a retreat or to a class.
 
We would love to see your pics of how you embellished your apron
 
Bye for now
 
Meg
 
 
The Aprons & Bags can be purchased at www.megsgarden.com in the Category 'What's New & Exciting'