Showing posts with label Shabby Chic cardmakers pack. Show all posts

18 July, 2018

Life is Better with Friends ~ Shades of Green

Hello dear Friends ,Mary here to share another layout using the Shades of Green Range.
I used two of the A4 pages in the range and adhered to a piece of white card stock to create my 12 x 12 page.


LIFE IS BETTER WITH FRIENDS

I received the gorgeous Branch with Flowers Die and used it straight away , I know I am going to use this die a lot !
I've also used the Lattice and Circle die behind my photo, placed some pastel enamel dots to my page and fussy cut the flowers and vintage lady from the cut and create sheet .


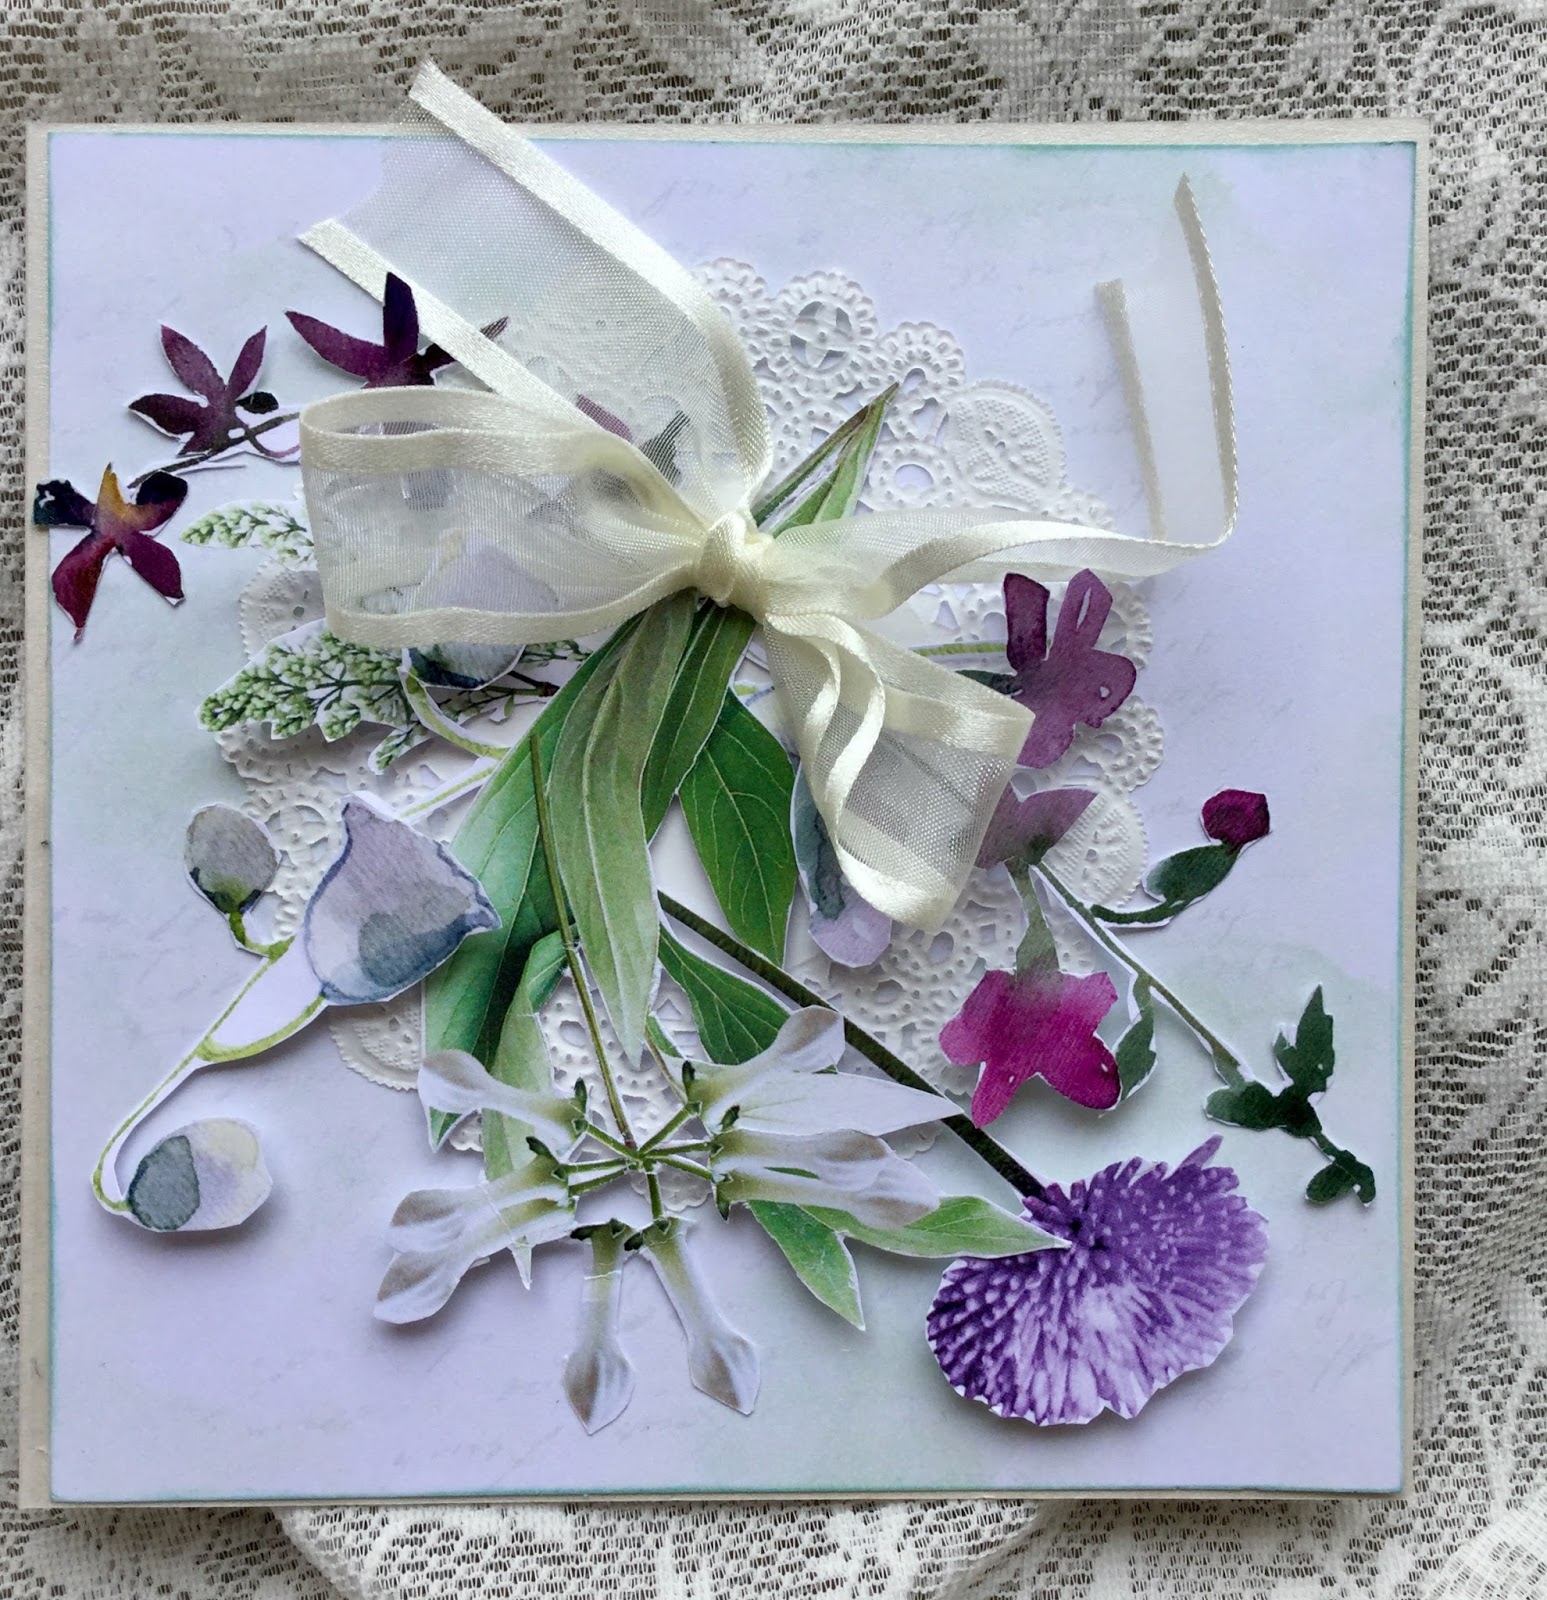
I also would like to share a card I made using the Shabby Chic Backgrounds card pack papers . I made this as a Sympathy Card so decided I wanted to create a bouquet of flowers to send. 
I fussy cut various flower images from the cut and create sheet , bundled them together and raised them on foam dots for dimension and tied them with a satin edged organza ribbon. I placed the bouquet on top of a doily.

Thank you for calling by, I hope I have inspired you to pop over to Megs Store and be delighted with all the gorgeous Papers and embellishments.
Happy Creating 
Mary x


02 May, 2018

HAPPY MAIL ~ SHABBY CHIC BACKGROUNDS

Hello, Mary here to share a Flip Book I created for my Pen Pal using the Shabby Chic Background Card Pack Papers.


For my cover, I have used a Doily and flowers with  a satin edged organza ribbon, all from Megs Garden Store


On opening the Flipbook the first page is decorated with images fussy cut from the Cut and Create Sheet, enamel dots and a little fairy charm, Opposite page a lines and curls die cut to decorate a fussy cut stamp from the cut and create sheet and I made a little envelope from The Pattern paper and placed the  angel on the flap of the envelope .


I have placed some of the lovely images from the cut and create sheet inside the little envelope for my Pen Pal.


I decorated the next pages with images from the cut and create sheet, a large doily and inside the little glassier bag I have a tea bag for my friend and placed the Cafe Paris Image on the front from a cut and create sheet.


I made a opening in the letter image from the cut and create sheet to place my letter to my friend inside , added some images from the cut and create sheet and then made a lace paperclip banner using a small piece of left over PP , lace and enamel dots from Megs Store .


This flap then opens out to create another two pages. I made a tag with an image from the cut and create sheet and added a sentiment from the cut and create sheet which I shaded with a soft pink ink.
The top page I made a pocket from an image from the cut and create sheet and placed some washi tape inside and decorated with the images of the ladies from the cut and create sheet.


To finish my flip book I added the large butterfly image.

Thank You for calling by, I hope I have given you some ideas and that you visit Megs Shop to be inspired to create a beautiful product.
Happy Creating 
Mary x


19 April, 2018

SHABBY CHIC BACKGROUNDS, ENAMEL DOTS AND DIES

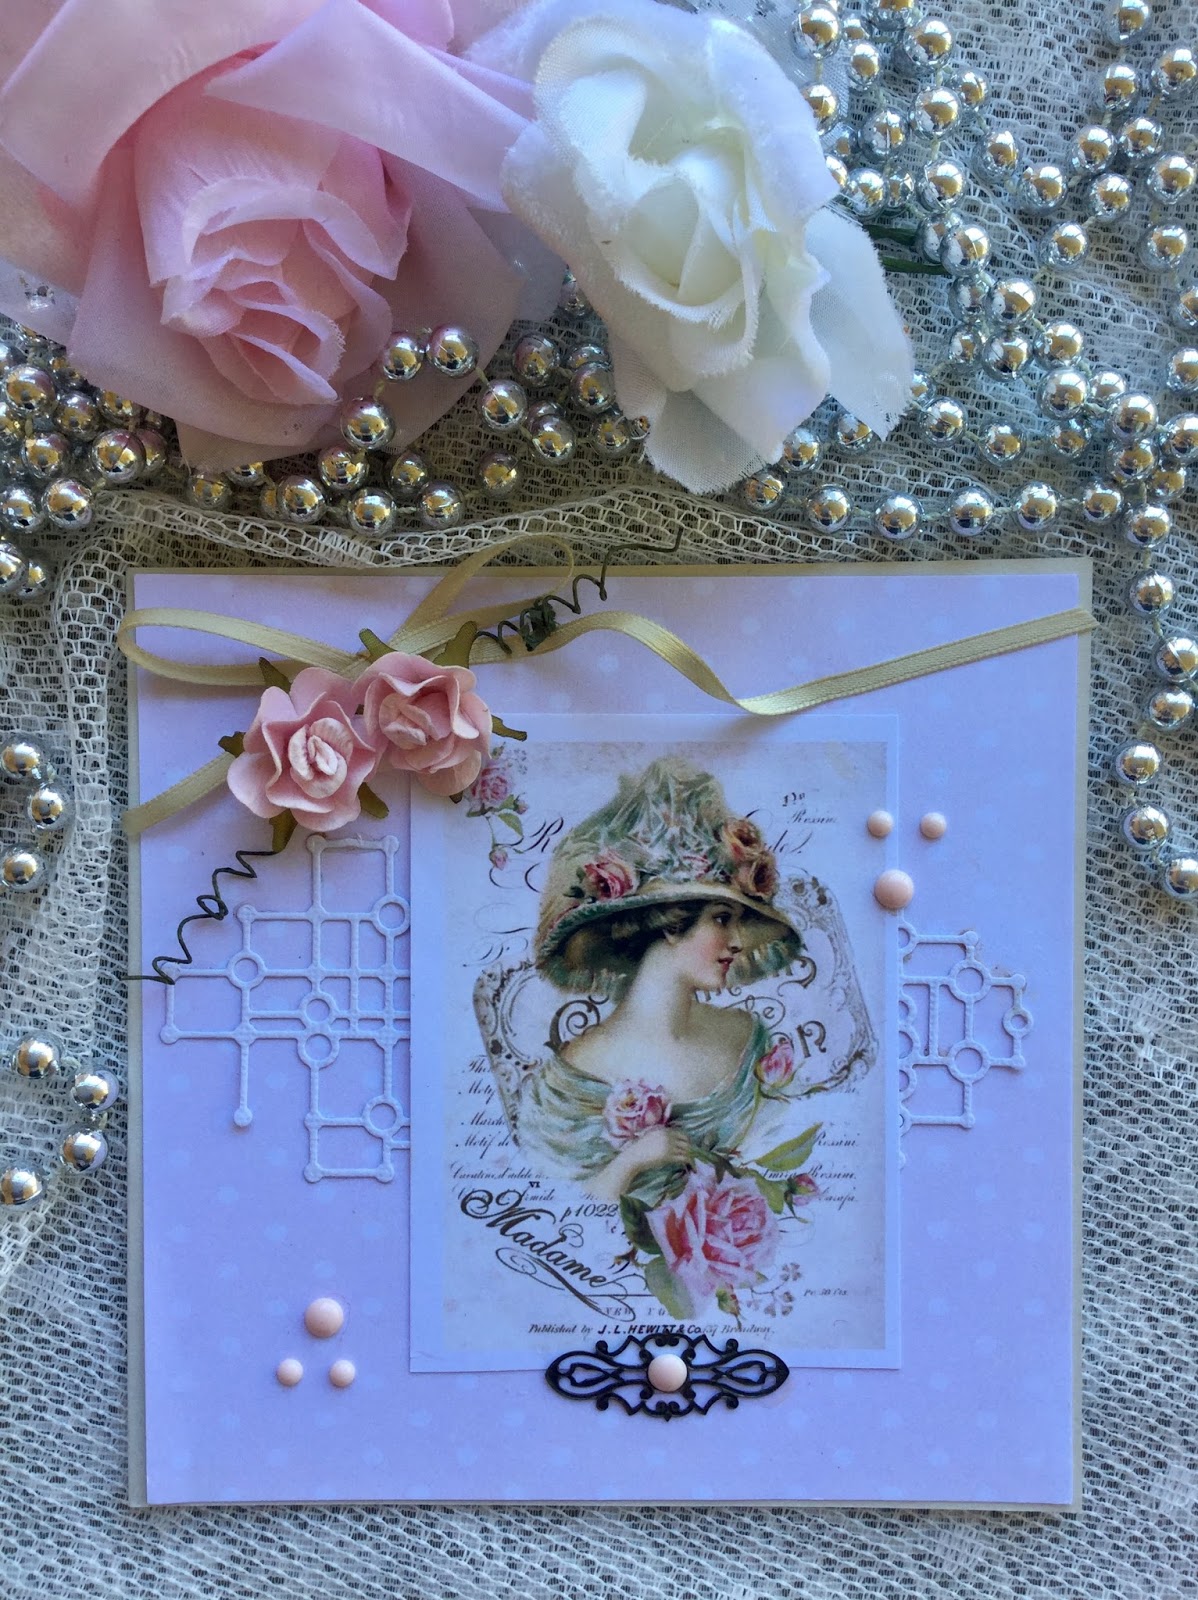
Hello Mary here to share some cards I have been working on with the Shabby Chic Backgrounds card pack. The colours are so soft , pretty and romantic.


Everything I have used to create my cards can be found in Megs Store. I love this die , which is called lattice and circles  , it is so versatile and I purchased the pastel enamel dots that work beautifully with the shabby chic papers, but there are all the colours available in the store.  The background is a soft pink and white polka dot patten.


This card the Background is lovely shades of green, so I chose embellishments with green hues. The ladies dress has touches of gold in her green dress , so I added the green and gold ribbon and also added white lace under the lattice and circle die. I used the pink enamel dots to compliment the flowers and die cut and used a organza ribbon for a touch of softness. The image of the lady and the Dream sentiment can be found on the cut and create sheets.


My last card the background is shades of mauve and once again I have used the Lattice and circle die ( told you I liked it ) I then used images I have fussy cut from the cut and create sheets and added the enamel dots and a sheer green ribbon on my fussy cut rose.
Thank You for calling by and if you have a special person that you would like to create a beautiful , unique card for , especially made by you, visit Megs Store for beautiful supplies.
Happy Creating
Mary x


22 March, 2018

One Paper Torn in Half

Hello Bloggers

I took 1 piece of paper from the Shabby Chic Backgrounds Collection Card Artist Pack & tore it in half & decided to make 2 cards in totally different styles - 1 Shabby Chic & the other Slightly Grunge.  Did not think it would work BUT ...


This is the paper I chose - the Music paper

Here are the 2 cards:

1.  Shabby Chic Style


The cardstock chosen was a deep rose colour from my stash (sorry no source colour available)
I used a round doily background & layered the torn half of the music paper - this was distressed, inked & the edges curled. The pink edges were from my blusher brush

 The embellishments include a Pink Wild Rose, 2 White Paper Lilies, 1 Cherry Blossom with tinted pink edges & a Small White Paper Flower surrounded by a diecut flower with pinked edges (m356 open roses) as well as 3 paper leaves.  The pink die cut with a pearl highlight is from diecut Carousel m392.

There is no inside deco on this card since I had a slight woopsie with a bottle of glue which glued the card together.


2.  Grunge/Slightly Grunge/Masculine


The other half of the Music paper.   I was quite amazed by the results of my experiment using the 1 paper with 2 totally different styles.


The edges are distressed more than the first card, inked with frayed burlap & the corners curled. Cardstock was a light brown taupe & the layer was a scrap from old papers. The jute string was tied around the brown cardstock & the black diecut (Large Gears m277) was tucked behind before mounting on the card of ivory cardstock.  
 A Cut & Create Ephemera was foam mounted & a skeleton leaf tucked behind it. The other black diecut is from die Scribbles & Scrap m3130.


Inside the card are more scraps.  The brown/taupe cardstock creates a spot to slide a scrap of the patterned paper embellished with a vintage trinket. 


The other inside has more scraps of cardstock & cut & create pieces.
The black die cut is from the same die used on the front - Scribbles & Splat (I think this is the splat) m3130. This is a great & fun die. Some more jute string to carry the design through the card


It was fun doing this experiment which I did not think would work - I challenge you to try it.

Bye for now
Meg
www.megsgarden.com

05 March, 2018

A Good Friend Knows all your best Stories

Hello Mary here to share another layout for my daughters wedding album . I also created the layout for a challenge at Artastic where the theme is Girls Only. You can view the story on my blog 

To create the layout I have combined two ranges . I have used the 12 x 12 Paper from the Lavande Range as my base and to it I added the A4 size Spring Pastels Range . I really liked how the two combined created a lovely pastel palette that are also the colours in the bouquets .


I have fussy cut the flowers and Laugh images from the Cut and Create Papers and added some pink sheer ribbon from Megs Store as well.


I love the soft delicate feel the Hydrangea petals falling down the page give which I have also fussy cut from the Shabby Chic cut and create sheet.

Also sharing a card made with the Shabby Chic Background card pack paper. You receive 12 backgrounds in the pack , 2 of each design . Makes card making so easy


I have used one of the new dies in the shop , the wildflower die ( the doily die is from my own stash) Lace from Megs shop and the Lilac and butterfly images fussy cut from the Shabby Chic  cut and create sheet 
Meg has a load of new product in the store at the moment, fabulous dies and so much more .
I hope you take the time to pop over and check them out.

Happy Creating
Mary x


12 February, 2018

Shabby Chic Backgrounds

Hello fellow crafters, Mary here to share a couple of cards I created using the New Range ~ Shabby Chic Backgrounds
The card packs make life so easy and card making a breeze


Meg also has a selection of new dies in the store and I loved creating with this die. I often get frustrated with dies when they don't cut properly, but this die was fantastic to use, I can see it being a favourite for me. The squiggle die I have used is one I have at home.
I have taken two images from the cut and create sheet and layered them on top of each other, added the flower dies underneath added the gorgeous cream flower and anchored it with the satin edged organza ribbon and pearl trim , all from Megs Store.


For this card I used the lovely soft striped card base and layered the die cut image and then added the butterfly and rose image fussy cut from the Shabby Chic cut and create sheet , finishing off with the soft pink organza , satin edged ribbon.
The card packs  are pre cut for you and you recive two of each pattern in the pack. Click on the link for all the information of the card packs.
Thank you for calling by . You can get the card packs and all your embellishment needs at The Store , and don't forget to take a look at the gorgeous selection of new dies in stock.

Happy Creating
Mary x