Showing posts with label Shades of Green Collection Pack. Show all posts

05 July, 2019

A Little Vintage Pocket Book

Hello everyone & welcome,

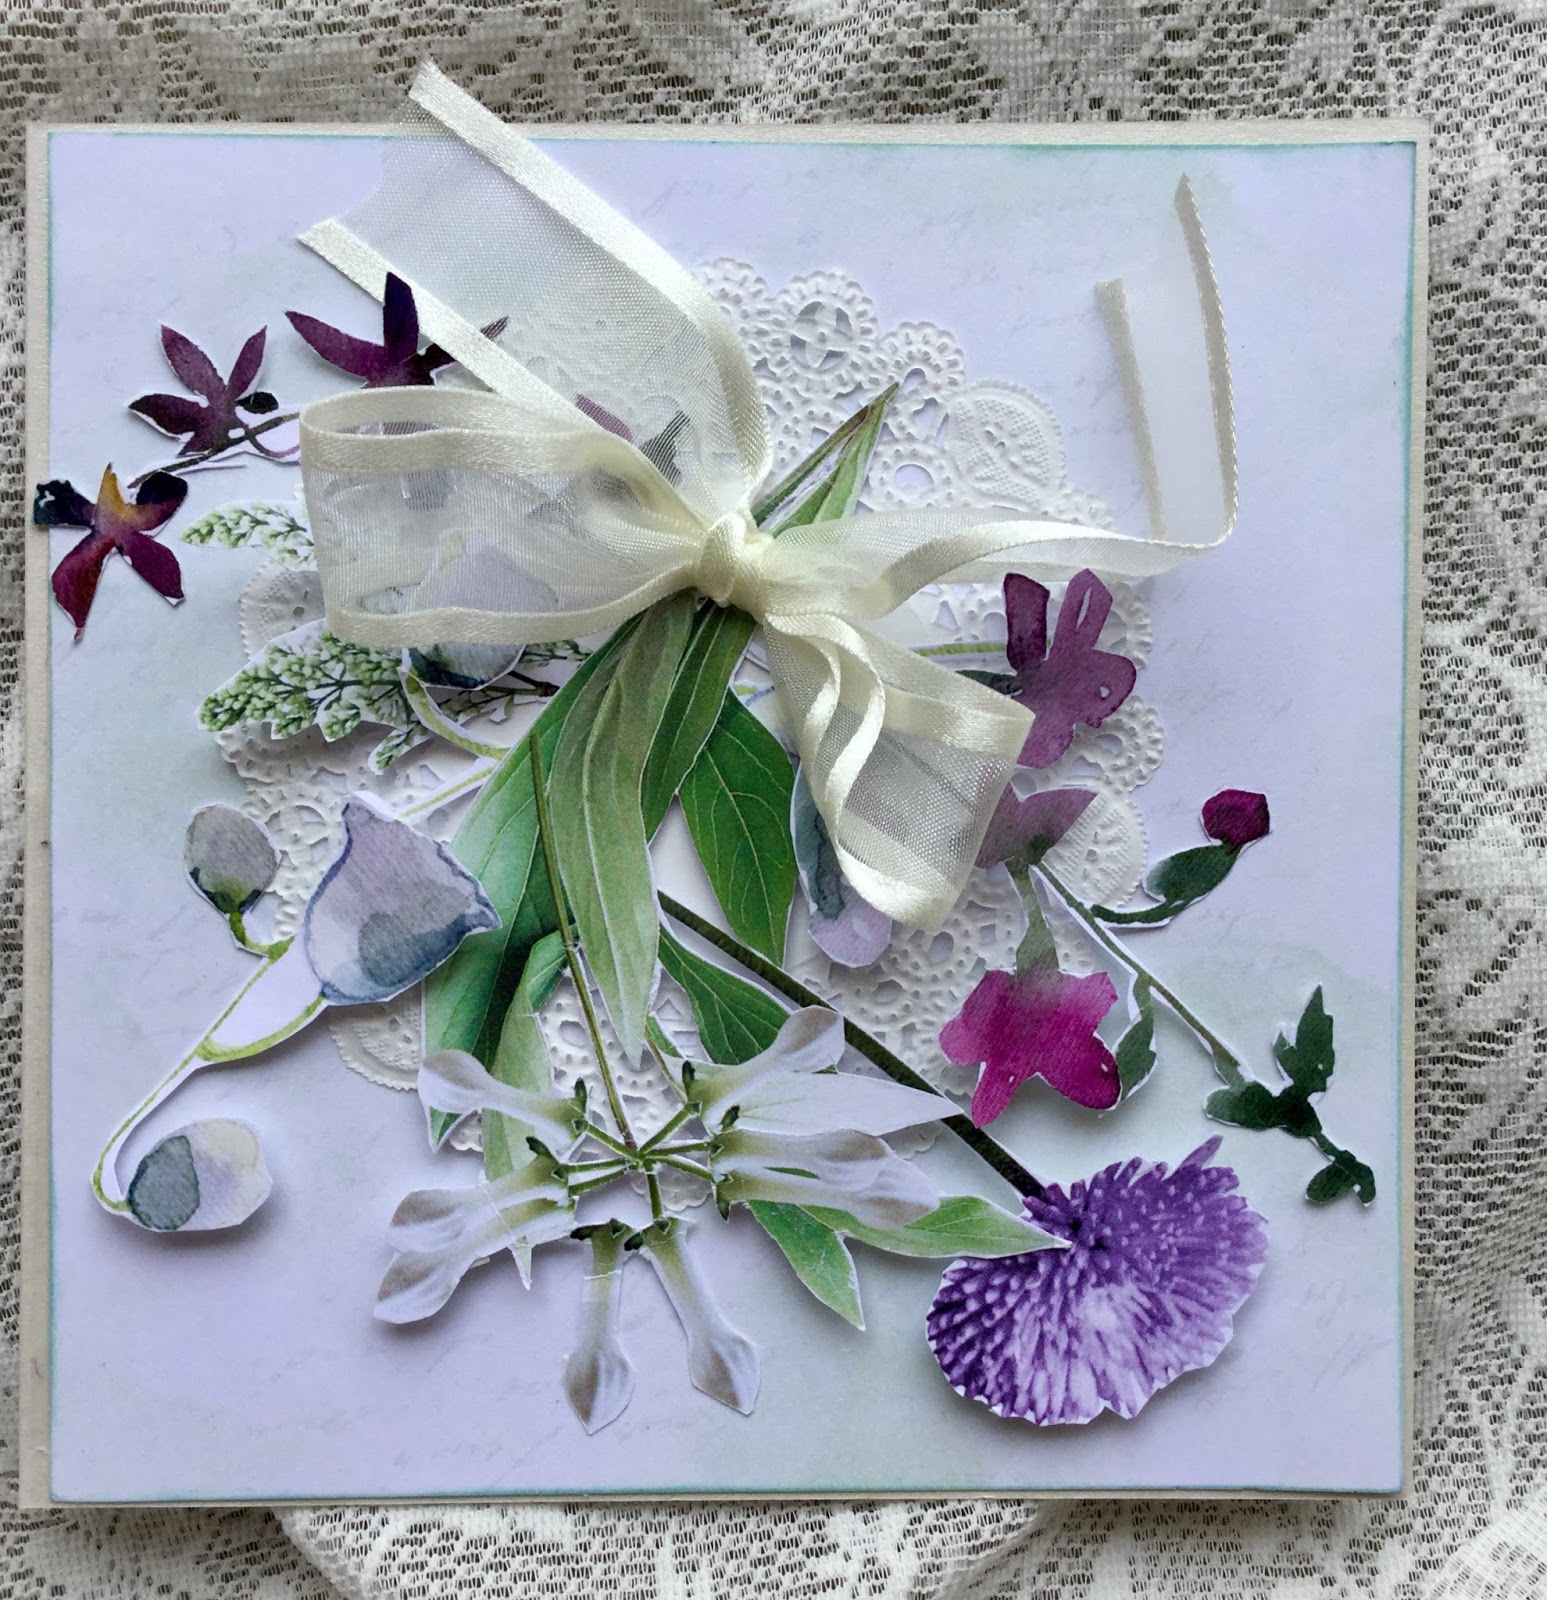
Today I have a mini Accordion Pocket Book that I would like to share with you. I have created this little book using the Shades of Green collection pack available from Meg's Garden online store.

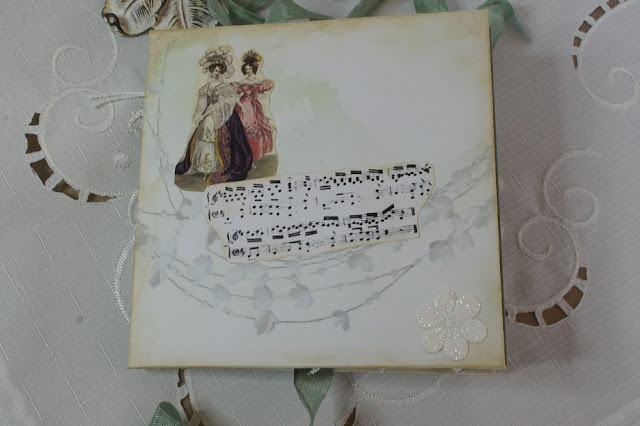
This little book measures 13x13cm. The hard covers are decorated with shades of green patterned paper & images from the ephemera sheets. The inside covers & the accordion spine is made using coloured cardstock. I have inked the edges using Tim Holtz's distress ink: old paper to add a touch of vintage flair.

Seam binding is used as a closure it wraps around from the back and then is tied in the front. 
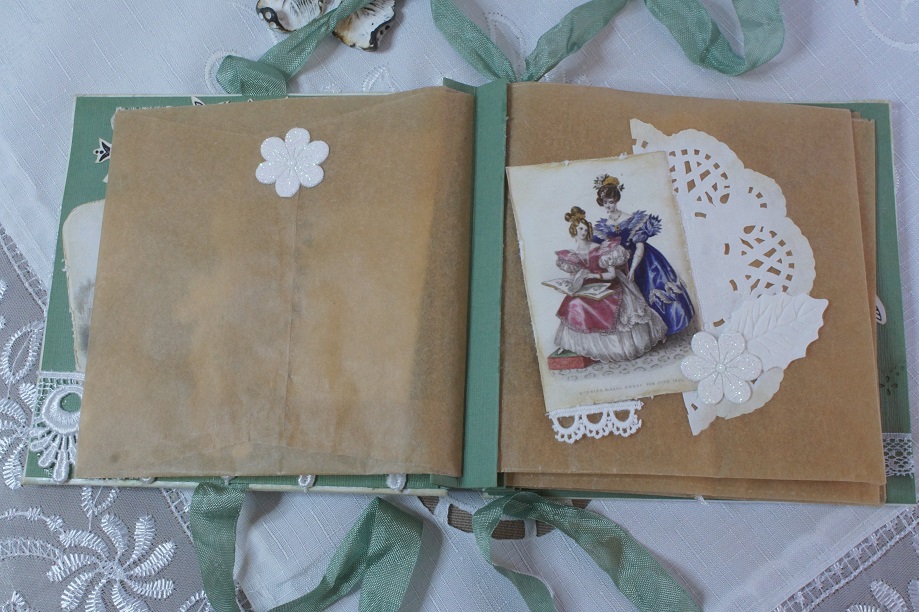
Pretty lace and pictures are added through out.
There are 4 handmade brown paper pockets ready for some special treasures.
You could add a tag or two.


The last page has a tuck.
Here is a picture of the back cover with & without it's seam binding closure. A delightful and simple little book to create. I hope I have inspired you to give this book a try. Don't forget to stop by Meg's Garden store there are lots of lovely paper packs to choose from.

Until next time.
Thank you so much for stopping by.
I hope you have a wonderful day & happy creating.
Leanne

03 May, 2019

Life is a journey....

Hello everyone & welcome,
Today I would like to share with you a mini album that I have created using these beautiful Vintage Journal cards - mixed from Meg's Garden online store. The Vintage Journal cards are just one of the latest releases of papers now available for you to purchase.

For my album I selected all of the floral images from this series to create a gardening journal. This journal measures approximately 12.5cm x 18cm. I have covered the front & back covers using paper from the Shades of Green A4 paper range. Some lace, pearl trim, a metal charm, wording and a die cut frame complete my cover.


Each of the internal pages has been tea dyed using water & a tea bag. I love the variety of colours and patterns created by dipping and splattering this tea solution on each sheet of paper. Once each page was totally dry I set about creating my album. To create a vintage look to my journal I have used a distress ink called Tea Dye. I also used this ink pad for all of my stamping.
I have stamped one side of each page. Here you could add some writing or a photo.
The other side of each page is decorated using beautiful images and wording from the VJC series.

Each page is a little bit different. Some pages have pockets or tucks and there are lots of tags scattered throughout.

I have added embellishments of lace, pearl trim, SA pearls, ribbon, metal charms and a paper doily.
You can find lots of these embellishments in Meg's Garden online store.


My journal is held together with O rings, leaving room to add more pages in the future.
I hope I have inspired you to create this simple journal. A place to store information and memories of your garden.

Until next time.
Thank you so much for stopping by.
Have a wonderful day & happy creating.
Leanne

24 February, 2019

French Roses card.Hello and welcome on this rather warm day.

Here I have combined French Roses with an image
From the green collection

Ribbon and lace from Megs Bundle of goodies

Don't forget to check out what the other DT ladies have created
and thank you for visiting Megs Garden
Cheers Trish

30 December, 2018

cards by Marina Gridasova

Hello ladies! Marina is here with new cards.
Mixed here 2 different collections - Sherlock III and In the Watercolour Garden.
The first one with vintage base and accents.

 details:


 The second one is soft and bright, used Sherlock III paers only as small accents.
 a few close-ups:


 and the third one - still bright, but used more vintage papers ))))
 several details:

so you can see how to mix different collections and get beautiful results )))
can't wait to see what you could create!

24 September, 2018

striped layout | Marina Gridasova

Hello crafty ladies! Marina is here with new layout about sweet nephew with wonderful Watercolouor collection ))))

several details:


Firstly I decided to combine lined paper with watercoloured and decided to cut striped with heart background using for top layer and for the bottom used more vintage one for more contrast.

Also you know I adore to fussy-cut our ephemera sheets and you get tons of different layers )))) so here I used some of them, plus added some accents from The Shades of Green collection and a few die-cutted leaves from the same collection.

Hope you were inspired and share with us your creations!
Have a wonderful day,
Marina.

18 July, 2018

Life is Better with Friends ~ Shades of Green

Hello dear Friends ,Mary here to share another layout using the Shades of Green Range.
I used two of the A4 pages in the range and adhered to a piece of white card stock to create my 12 x 12 page.


LIFE IS BETTER WITH FRIENDS

I received the gorgeous Branch with Flowers Die and used it straight away , I know I am going to use this die a lot !
I've also used the Lattice and Circle die behind my photo, placed some pastel enamel dots to my page and fussy cut the flowers and vintage lady from the cut and create sheet .


I also would like to share a card I made using the Shabby Chic Backgrounds card pack papers . I made this as a Sympathy Card so decided I wanted to create a bouquet of flowers to send. 
I fussy cut various flower images from the cut and create sheet , bundled them together and raised them on foam dots for dimension and tied them with a satin edged organza ribbon. I placed the bouquet on top of a doily.


Thank you for calling by, I hope I have inspired you to pop over to Megs Store and be delighted with all the gorgeous Papers and embellishments.
Happy Creating 
Mary x


28 June, 2018

more cards with Shades of Green collection

Hello crafty ladies! Marina is here with another part of inspiration with with  Shades of Green collection.
The first one is soft and light
details:


and the second one is a litte bit darker but still with lost of layers ))))
details:


This time I wanted to create flat cards, so used only print flowers from ephemera sheets and some embellishments.
And also today I want to share some tips with you about layering. Actually I don't like to use cards with people portraits or something like that, but these elements are great to create multilayered composition! You can rotate them and get lovely accent. Just look at the first one card - on the top of the card (left corner) you can see layer with some picture looks like smoke or something like that. This is one of the pictures with girl's portrait which was turned uside down ))))) So don't forget to use your imagination and create great projects!

Have a great day,
Marina.