24 January, 2015

Only you French Garden easy folded mini album

Hello my dear crafty friends!
Today I am going to share  my third project made with Meg's Garden most beautiful French Garden mini book kit.
This time I made this folded from one single 12*12'' (30*30 cm) cardstock book . A few years ago I made a full tutorial about this kind of folded mini album and since then it's my most visited post. So here is a link to my own previous tutorial and then you  are going to see the new book with the same folding.
Folded book tutorial by Irit Shalom

I made the base using corrugated Kraft cardstock and as this kind of an album should be pretty flat (the only way to close it after all is to leave it flat), I made a bit of embellishing over the cover and the inside  is pretty much minimalistic.

And the side view of this cover:

I added Meg's Garden flowers, but misted them a bit with a light pink mist to get the color that fits the ribbon and embossing powder colors.
All ribbons, transparency butterflies, paper lace , fibers  and a metal piece are from Meg's Garden shop. I just added some pearls and a chipboard title .

Now we begin to open my book by unfolding the cover to the left.

And a bit of a side view of this page:


Another unfold with middle section up:

 Now the middle piece is going down and we can see actual photos of my lovely grandchildren.


And the full unfolded mini with more lovely photos:

As you can see it's a very easy album and you don't need more than a good basic cardstock, lovely photos and great Meg's Garden products. 2 hours mostly and you have this gorgeous gift album made and ready to become the most precious present to your loved ones.

Meg's Garden products used:
French Garden kit
Vintage trinkets
Butterfly transparency
Ribbons
Paper lace


22 January, 2015

INSPIRE .. journal by Annette

Hi All
Today I'm sharing the little journal I made with
the beautiful French Garden collection of papers available on Meg's Garden 
These can be bought in 12x12,a mini pack or as a book kit  or can be downloaded & printed

INSPIRE 

I've had this beautiful piece of lace forever so left the cover plain to show it off
the rose just tucks into the tied ribbon
which is glued down with a beautiful metal embellishment on the spine 
inside cover & face page with title 
fussy cut flowers &  frame for title enhanced by cherry blossoms & metal butterfly 
pink ribbon with flat bow completes the page 
 all pages are inked in khaki versamark
pgs 1 & 2 
' SIT AWHILE
in peaceful surroundings'
page2 has a pocket holding tags & mounted card for photo or journaling

pgs 3 & 4 
'BUTTERFLIES are self propelled flowers fluttering by to bring you JOY' 
the pocket on pg 3 holds this little concertina album
the back is plain cardstock for pics if desired
pg 5 & 6 
'BEAUTY is all around us ... Believe'
pg 5 : neutral chantilly lace, cotton lace, ribbon, large flower, hand, gold butterfly & jewelled hat pin 
pg 6: fussy cut flowers, metal flower, gold bee form this page 
which also has an opening flap revealing tags & a journaling spot
pgs 7 & 8
' NOTHING is impossible' 
cherry blossoms, bows, chantilly lace & music flair,


pgs 9 & 10
' Never let go of your DREAM... Cherish' 
more cherry blossoms, seam binding, chantilly lace, pearl brad & music flair
pg 11 & inside back cover
'this is not the END it is the beginning' 
lace, ribbon, fabric flower & cherry blossoms to complete
I hope you agree these papers are ideal for this feminine inspirational journal 

MEGS GARDEN PRODUCTS 

All other products used are from my stash 
for inspirational creations from the design team ladies 
for these fantastic products and many more

Thanks for calling by 
Happy Scrapping 
Hugz Annette

20 January, 2015

French Garden Card Set by Cathi


Hello my crafty friends!! Cathi here again! Today I'd love to show you some cards I've made featuring the gorgeous 6x6 Meg's Garden French Garden Collection. I've used lots of products from Meg's Garden to complete my cards and I hope that you enjoy the final products!!

For my first cards above on the left, I used the gorgeous Small Rectangular Parisian Frame to frame one of my images from the Meg's Garden French Garden Cut and Create page. All of the images I used for my card come from this page.  I painted the Laser Frame in pink to tone in with the gorgeous flowers on the page. I added a Paper Lily, Pale Pink Heirloom Flower, and Hot Air Balloon Vintage Trinket. For a finishing touch I added some pink stitching.

For the second card above used another image from the French Garden Cut and Create page. I added some Paper Doily Strips under the image then a gorgeous Pink and Cream Open Paper Rose and a buttefly from the A4 Butterflies Transparency. The ribbon comes from the Temptations in Green package of goodies and I finshed off the card with black stitching.


For my next two cards above I used more of the gorgeous 6x6 Meg's Garden French Garden Collection and images from the French Garden Cut and Create.  I love the vintage dress on the lady in the first card! I layered the image on a 10 cm Paper Doily. I inked the whole card and the Paper Lily with Spiced Marmelade Distress Ink to tone in with the image. I added a gorgeous Butterfly Vintage Trinket, some 5cm Green Leaves and a lovely little Ivory Small Rose.

My second card above again uses a vintage image from the collection, some lovely gold ribbon from the Temptations in cream, camel, copper & brown and two gorgeous butterflies from the A4 Butterflies Transparency. I finished off both cards with more black stitching.

I love the way my vintage cards turned out and hope you do too!! This is my last project for Meg's Garden as I will be stepping down from the team, thank you so much Meg for the wonderful opportunity to design with your gorgeous papers and products!

Thank you for stopping by!!


Supplies from Meg's Garden:


Supplies from Stash:
Thread
Distress Ink

16 January, 2015

Gift Box with Note Cards

Hello everyone Patti with you today sharing a Gift Box and Note Card set featuring the French Garden collection designed exclusively for Meg's Garden

I've shared with you before that, like most crafters, I find it hard to toss out a unique shaped box.  The one I've altered today I've had for at least a year or more, it came originally with a watch in it but personally I think it looks much better as a Gift Box.


I think what drew me to it were the way the flaps tucked into the bottom of the box to close.  Unique and different, hmmm, When I saw it empty that little inner crafty voice whispered 'I'm sure it must be repurposed'!


After papering and adorning the outside I lined all but the small tuck in flaps with designer paper.  I picked this beautiful panel for the inside bottom.  Most times it will be covered with something I'm sure but who could resist using this beautiful piece of paper?  


The top and falling down the front are Open Paper Roses from Meg's store, they are so gorgeous.  I tucked in some of the butterfly charms and whisps of ribbon and fibers here and there.  The paper had birds in a birdcage on it so I emphasized them by placing a wooden birdcage over top.


To finish off the outside I used a Prima mask and Liquitex Modeling Paste.  Oh I love the effect this gives.  I went over portions with my Wink of Stella but it's hard to pick of the twinkle in the photos.


Tucked and tied in this pretty little package are the note cards, envelopes, stickers and sentiments.


Using the paper I made an assortment of note cards, each 3 1/2' square with an accompanying envelope.  I left the inside blank and used my Scallop Corner Chomper on the two outer edges.


Included are various sentiments that can be glued inside the note cards depending on the occasion.


To complete the set I used my 1" round punch and punched out pieces from the collection, inked the edges and then ran them all together through my Xyron sticker maker.  Now the note card can have the sentiment added, be placed in the envelope and be closed with a darling little sticker from the collection.

There are many more photos plus a complete walk through of the box and each card on the video, I hope you'll join me there.  Please check out Meg's Garden for this collection and the supplies that follow.

Supplies from Meg's Garden


Thanks for sharing your day with me
Patti
Please visit me on A Soul's Heartbeat - Blogger and Facebook


12 January, 2015

The Butterfly Book Kit with Margaret Mifsud

Hello everyone and welcome to the Garden!!  So glad you popped in for a visit.

My turn again to share a project created with some fabulous Megs Garden products.  I have created another mini Album.  This is a wallet style album and, all the papers used here, are from the new Butterfly Book Kit.  Just like the other Book Kits that are now available in the store, this one contains all the papers and ephemera you could possible need to create an Album to hold your most precious photos.
 So, grab a cuppa, and make yourself comfortable because there are a lot of photos!!


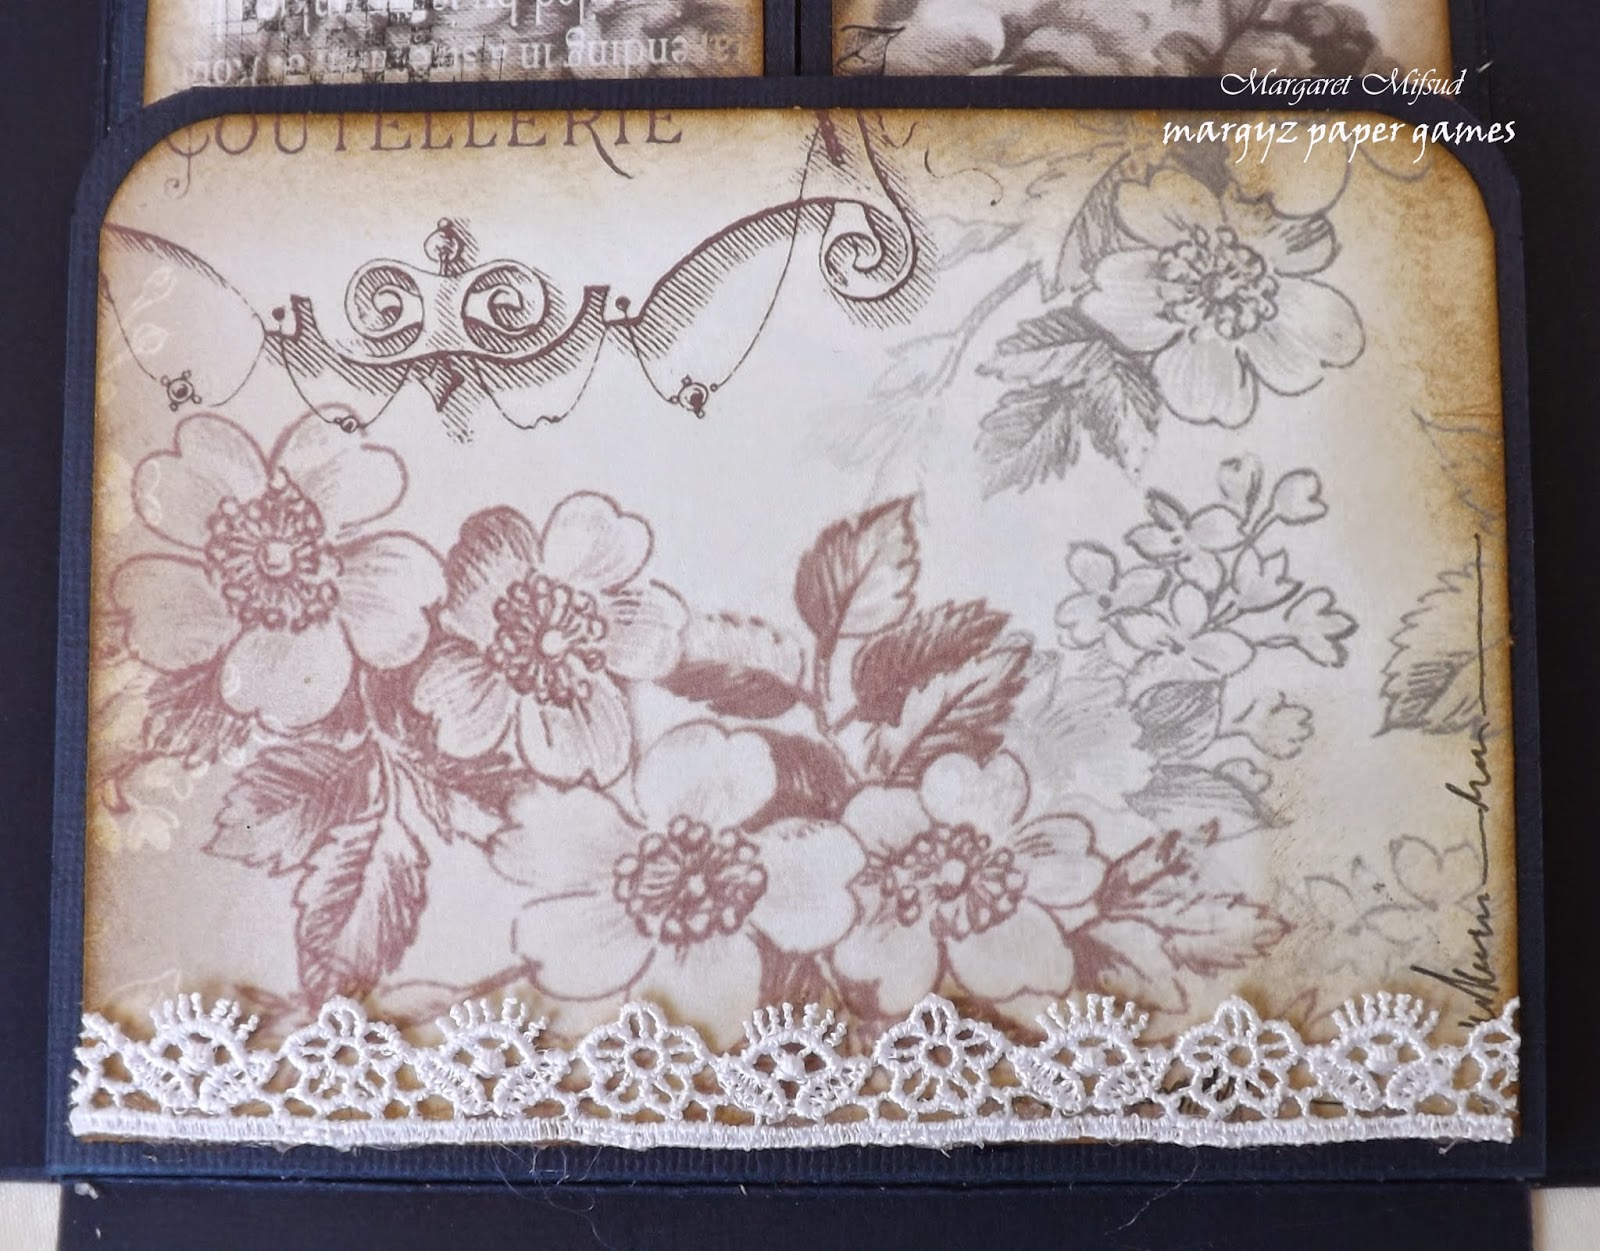
The base of this album is deep blue cardstock.  It only measures 5.5" x 5.5" and it is only 0.75" thick, but it will hold quite a lot of wallet size photos.


Used a Tim Holtz stencil with Viva Crackle paint on the front flap.  Once it was dry I brushed the area with Silver Distress Paint and blue acrylic paint which had been watered down quite severely so the colour wasn't overwhelming.   I really love the effect.


The flower cluster is a mix of blooms from Megs Garden and also from Kaisercraft.  I've added some clear micro beads to the flowers and also some seed beads in and around the cluster as well as incorporating some twine, some burlap strands and a small piece of gauze.


The top flap opened out.  I've simply done a little stamping and stencil work here.  You won't find a lot of embellishments in this book.  I've only used some stickers and some lace to decorate it as the book is only small and I didn't want to bulk it up too much.


Bottom flap down.  Again only stamped and senciled.


The first page with lace from Megs Garden, a sticker and, again, stamped and stencilled.


Second page.  I added a little paint splat in the corner this time. Just for an extra touch of colour.


The back of page 1.  The 'pocket' was fussy cut from papers in the kit and the labels are part of the ephemera.


Inked the edges of the pocket and added some glitter glue to the flower centers.  The photo doesn't really show the glitter too well but it actually looks quite pretty.


All of the edges were inked with Gathered Twigs Distress Ink.


The back of page 2.  Different paper, different tag, similar pocket.


All of the labels and tags used are from the ephemera sheets.


Page 3.  As this is the Butterfly Book Kit, of course there have to be butterflies in the book.  This one is actually from the Butterfly Transparencies Sheet.


 Page 4.  I have used a butterfly sticker here.  Aren't the papers stunning??   You really don't need to add lots of embellies when the papers are this gorgeous.


The back of page 3.  The belly band was also cut from the papers as is the semi circular piece at the bottom of the page.  I call this my little 'tag stop', becaaauuse it 'stops the tags' from falling out when you hold the book up.  LOL!


Just a little stamping here.  This little butterfly is also from the Transparency Sheet.  I added some glitter glue to its body for a little sparkle.


 More labels!  There are some stunning vintage images that come with this kit too.  I will give you a link at the end of this post so you can see the entire Kit for yourself.


The back of page 4 which is very similar again to the previous page.


Page 5.  These next two pages open up and then down.


The back of page 5.


Page 6 ...


... and the back of page 6 with another sticker.


We're almost at the end folks, I hope you are still with us.  This last opening is a gate fold.  (If I don't mention it, do you think people will notice that I've put the papers on upside down????)  So unfortunate that there is some writing on this page, or you probably would not have been able to tell.  Ah well,  gives it character I say!!  LOL!!  Once the photos are in no-one will notice anyway!!  I hope!!


And the last page with the gate folds opened!!


Another fussy cut pocket and butterfly cut from the Kit.  Added some flat back pearls this time.  As you can see, there are moths as well as butterflies in this kit.  Still pretty!


Labels and tickets fussy cut from the Kit.


The back of the book was  left plain ...


and here it is fully opened.  I mentioned at the beginning that this book will hold quite a lot of wallet sized photos but, of course, they don't have to be all wallet sized.  The book is too small for 6 x 4 photos but it will take some in between sizes, you just won't be able to use quite as many.


Well, we have finally come to the end.  I hope you have enjoyed leafing through my little wallet style album and that I have inspired you to make something similar for yourself.  Megs Garden has a selection of Book Kits which are available in printed or digital form and they are absolutely fabulous as they contain everything you need paper wise, for whatever style of book you might wish to make.  HERE is the link which will take you directly to the Book Collection page and, while you're there, why not browse through the store and grab some embellishments too.  Happy crafting!!!

Megs Garden products used
Butterfly Book Kit
More Butterflies Transparency Sheet
Lace
Flowers

Thank you so much for visiting  and perhaps leaving a little comment to let us know what you think.  You're input is very important to us all.
Take care and God Bless


oxox Marg