31 May, 2015

Butterfly Garden Collection Chipboard Mini

Hello everyone this is Patti here and today I'm sharing my latest mini using The Butterfly Garden Book Kit from Meg's Garden. This is such a gorgeous collection of papers and butterflies that just screams spring.  I used black 6" x 6" chipboard for my pages, something I rarely do.  On one side I used Tim Holtz On the Edge die, Plaque, to create a decorate edge, poked a couple of holes and wove a combination of Meg's ribbon and some black eyelash trim and ribbon from my stash for the spine.  The closure is a Tim Holtz doorknob latched with this gorgeous lavender ribbon from Meg's store.


On the front cover I went back and forth trying to decide if I wanted to add flowers and bling but in the end opted to leave the fairy take center stage by herself.  I fussy cut her out and then carefully added a thin black line around all the cut edges. She's applied to the book with a Semi-Gloss Podge (I also have several layers of podge under her on the matted cover). The metal elements, under the doorknob and the tied ribbons, have been changed up a bit from their natural metal state to black by the addition of some Stampendous black embossing powder and Versamark.  I love the look.


This book consists of 10 chipboard pages.  I used a combination of techniques to create pockets and slip ins for photos.


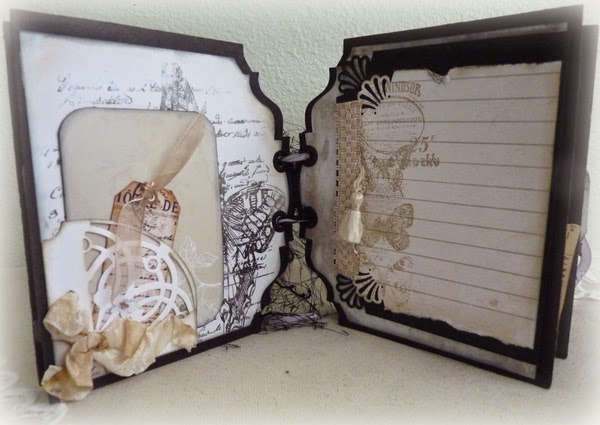
Each pair of pages consists of either flip outs, like the page on the right above. It has a magnet hidden under the tassel, and the tassel by the way, is also from Meg's store.  I snipped all the other tassels off this beige trim and left one remaining to act as the pull to open the page.


I had so much fun making these collage pockets. You simply start stacking bits and pieces from the collection to form an area large enough to become a pocket. To help the edges pop I used Tim Holtz Distress ink in Vintage Photo and Black Soot.


I also pulled out my dies to help make pockets or slip ins like the one on the left above. This die is from Marianne Designs called Vintage Decoration. This die cuts on all but the straight edge so I made sure I left up to an inch on this side to score, fold and tuck under the mat which in turns creates the black lacy top and bottom.  The flowers are fussy cut on the right, that creates the stopper for the tags that can be slipped into the pocket from the left hand edge.


Here's another pocket (on the left above) using dies. This time I used Spellbinders Arched Elegance Pocket.  I laced some of Meg's fine ribbon through it, added the purple butterfly and some fussy cut flowers across the bottom.  On the right the pocket is also fussy cut flowers backed with black cardstock and fussy cut again (all black cardstock in this book is Core'dinations Black Cat 8.5" x 11").


Several times in this mini I cut the matted page to form a pocket, like you see on the right above.  It's often times hard to cover up something as gorgeous as the butterfly here. That's easily fixed by slitting the paper with your X-acto knife (I like to add an additional piece of cardstock behind for support) and gluing.  Make sure to leave the portion you want to act as a pocket free, with no glue.  Another example of this is two photos up, you'll see the bird flying atop the curved edge. Beneath him has been cut and glued the same way to form the pocket for my little booklet.


Belly bands work wonderfully for holding mini books and tags as shown on the left above. Another magnetized page is on the right.  The metal piece has been altered with Tim Holtz alcohol inks to change the silver to a golden blend.  When lifted  underneath reveals another page just ready for photos.


Isn't this paper just lovely?  Here again, as on the front cover, I took the gold dragonfly and added black embossing so he'd match the rest of the book.  Tucked inside is a tiny little book of six pages.  These were just end scraps left over from matting the pages.  To give them interest I corner rounded the outer edges.  Inside I used Kaisercraft's Windsor stamp very lightly on the pages.  I've used this same stamp in other spots throughout the mini where a blank page needed just a little pop here and there.


I have to tell you this pair of pages are my favorite.  Again I collaged elements together to create pockets.  It's amazing how the smallest bits can just give pockets like this the pop they need.  The little tuck ins are a fold-over to make a two page book on the left and an accordion pull out that have four sections on the right. 

Come join me on the video, we'll do a walk through of each page and I'll share any techniques I may have missed here.  Also there will be many more photos of all the pages, the mini booklets, and the flip outs. You'll find the supply list below for supplies I used from Meg's Garden store.

29 May, 2015

" The Garden" Mini book by Suzanne Crowther


Hi everyone welcome to Megs Garden blog. Its Suzanne here today to share a mini book with you all. The book features the beautiful butterfly collection from Megs Garden. Grab a tea or coffee relax and come into “The Garden” a mini book by me!!!

When I received this stunning paper from Megs Garden I was so happy I had so many ideas of what to make that sadly I ran out of paper.


“The Garden” Mini book by Suzanne Crowther

When I designed this book I had made up my mind to use some dies to cut out my mini book. I think it gives it a little bit of style.

I used my largest die size 98.67 x 121.88mm inches + 3.88inch x 4.8inch. With that picked 1 die cut 8 shapes in black card stock as I wanted the beautiful butterfly collection to shine. I mixed and matched all the papers in together. I then trimmed the paper to fit all the pages and I also cut some blue card stock which I use as matting to these beautiful papers.

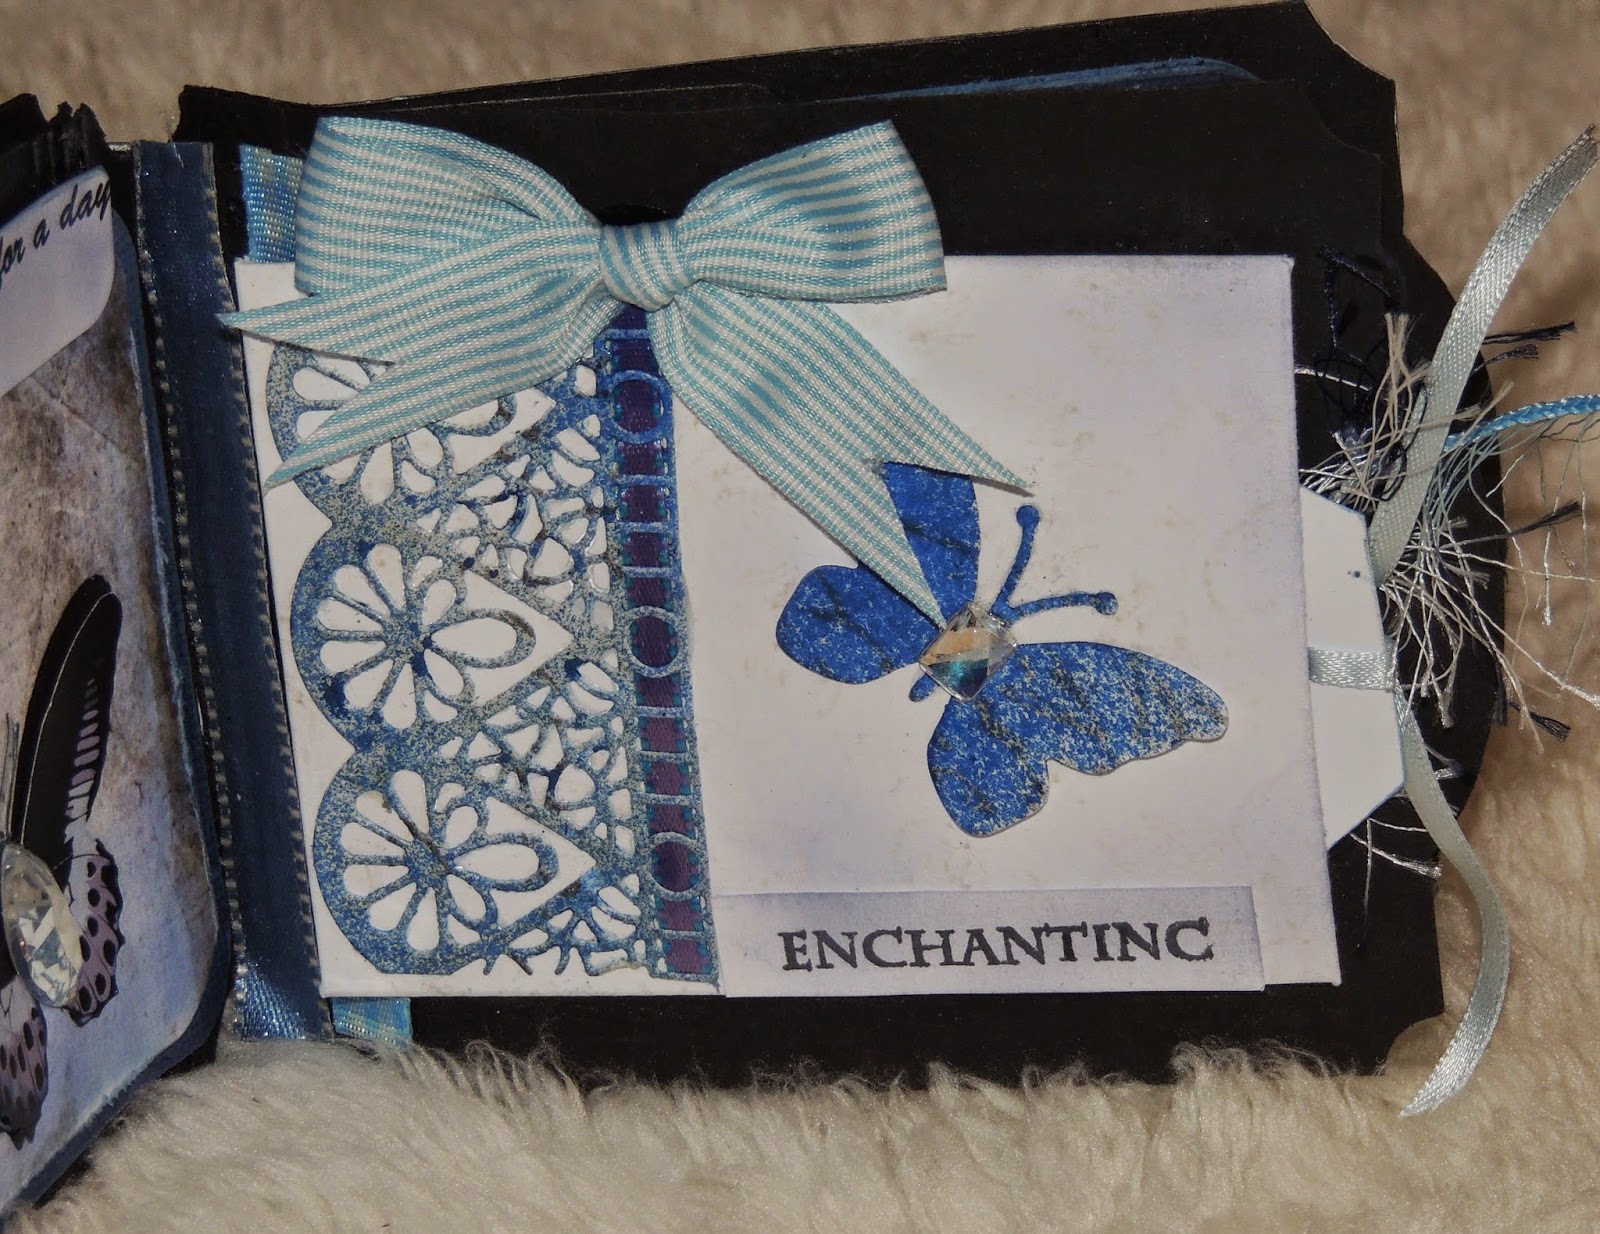
As you travel the garden book you will notice I have used back ground stamps, other stamps, glimmer mist and inks. I measured and cut everything onto blue cardstock I used 2 way tape and the pages were all inked. Then I fussy cut some butterfly’s from the acetate sheet I glued them onto white cardstock. When fully dry I added some glitter and I also used some white flowers which I sprayed with ink and glimmer mist. I did die cut a few butterfly’s just in case I needed more with all this preparation done it was time to put the book together.

At this stage I also had blue fingers lol, with the help of a black coffee I was ready to get it all together.
I took 8 pages and measured up for a spine. I cut some black cardstock 2 inches x 3.2 inches and trimmed top and bottom to match the inverted corner I scored this at ¾ inch in on both sides this gave me a ½ inch spine for my pages. This was glued to the front cover and the back cover leaving a ½ inch spine down the centre, while the covers layed flat on the table I took this time to cover he front the spine edges are glued to the inside of the book front and back this will leave the outside of the book nice and smooth. I cut one long piece of paper I trimmed it to fit, inked edges and with the cover done I turned the cover over and got the pages ready six in total but I did add 2 small pages as I put this all together.


I had pre-cut some black pieces that I used between the pages that fitted into the spine, but has no page, I wanted to have room to embellish the book. The blanks and pages where all glued with Helmar 450 for strength with all this done I glued 3 striped of black top, middle and bottom of spine. I then glued all this into the spine and left it to dry overnight it needs to be fully dry before you open the pages and work on the book. When you first open the book it will be a bit stiff but this glue is amazing.


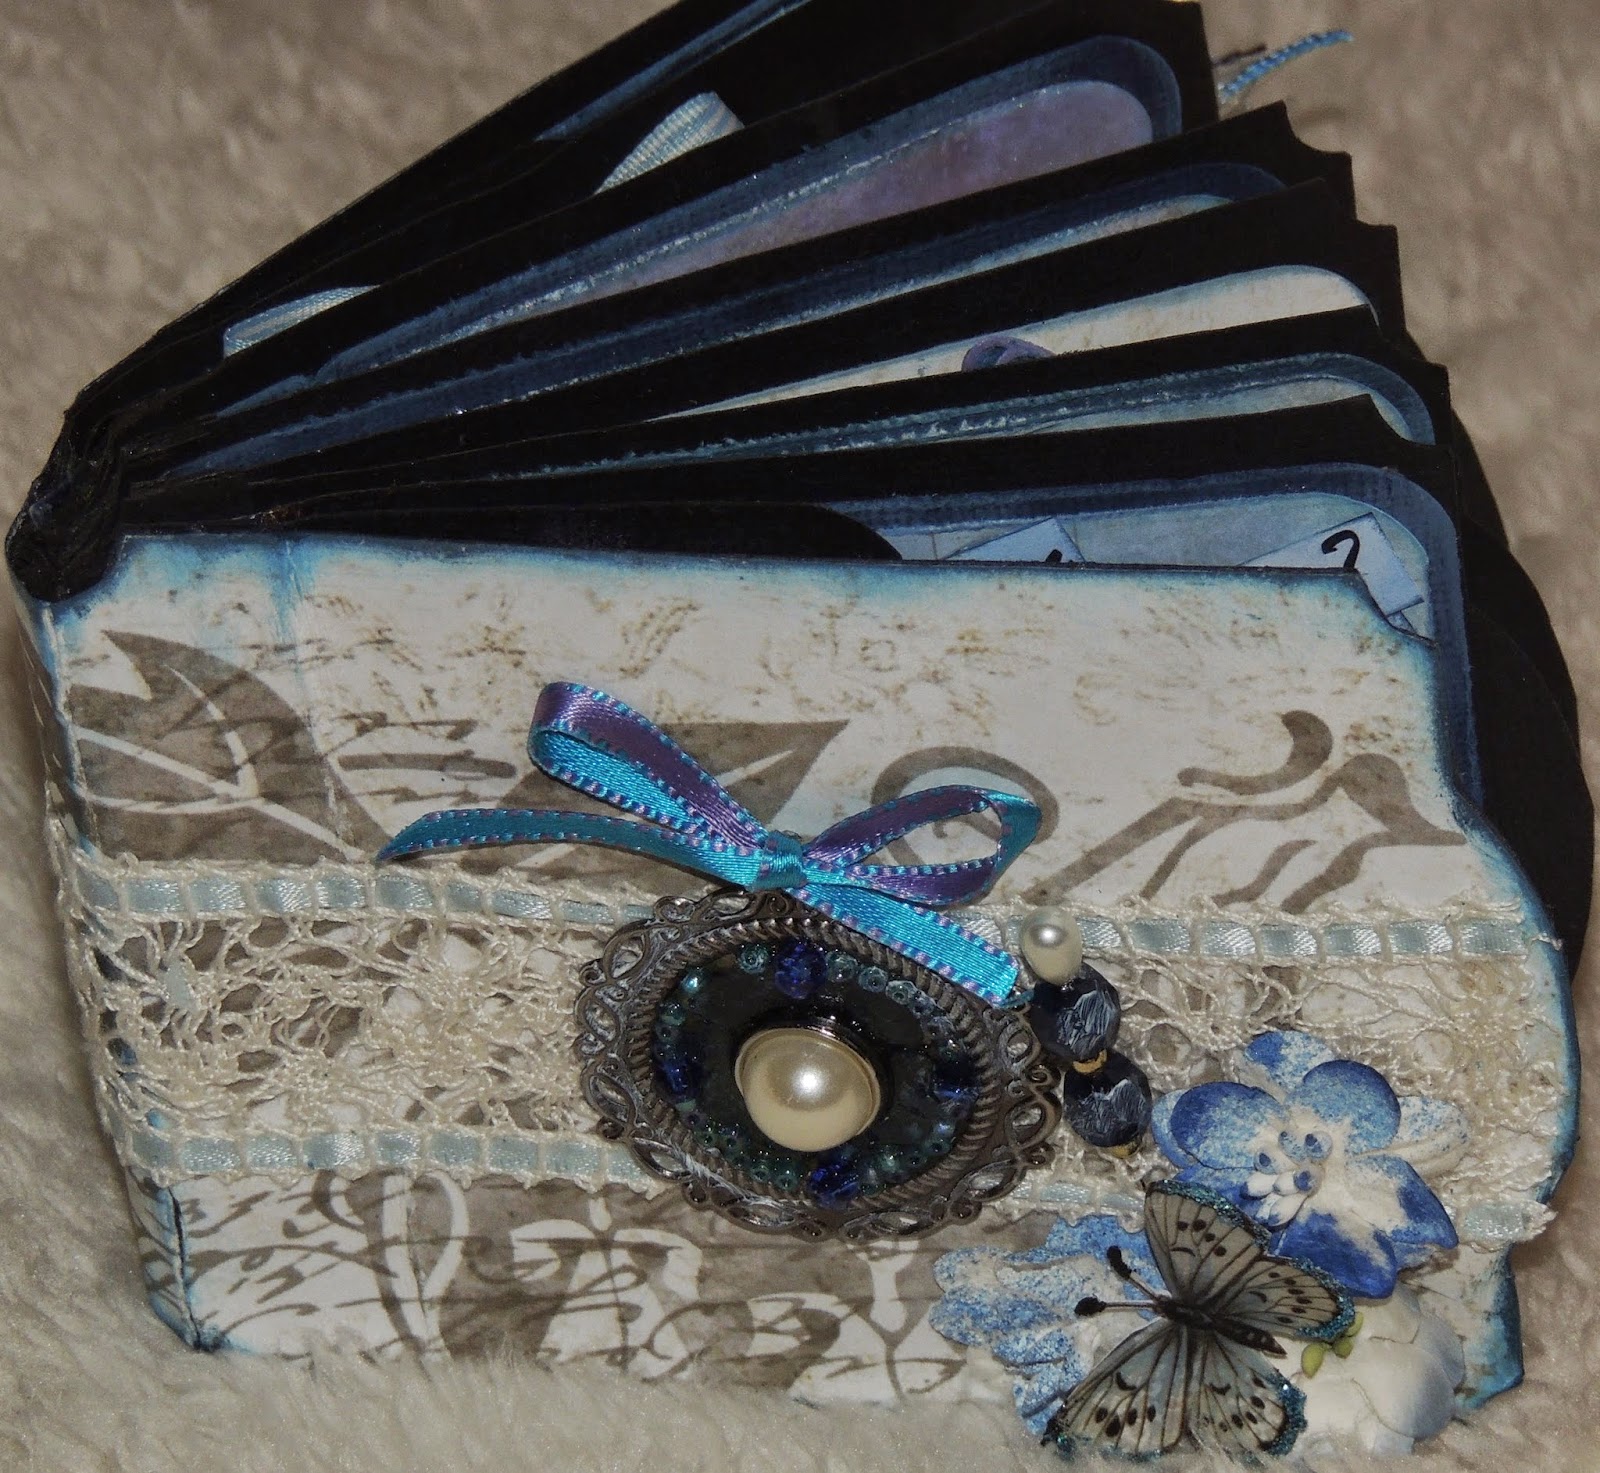
On the front cover I used some beautiful lace from Megs Garden and I threaded some ribbon top and bottom the piece I cut fitted end to end. I glued this down to give more strength to the book. The metal piece on the cover, I added a brad and some seed beads and filled it with glossy accents I then let it dry and glued it to the lace I also added a couple of little flowers, a bow and one of the butterfly’s with glitter.


I had pulled out a few stamps with some positive words for this mini book. Butterflies give hope, everyone loves butterflies so this Garden Book is a positive up lifting book a book of hope and love it was made with love. You could decorate your pages with whatever you have in your stash a lot of these bits and pieces all come from Megs Garden. All the ribbon, laces and trims are from Megs Garden so come along and check out the store you will be amazed and inspired.
 

Products Used: Megs Garden Products

The Butterfly Collection card pack

The Butterfly Collection – A Flower Garden for Butterflies

The Butterfly Collection – A Butterfly Garden at Night

The Butterfly Collection – A French Butterfly

The Butterfly Collection – Another Delicate Garden for Butterflies

Sheet of Acetate Butterflies

Selection of Ribbons

Selection of Metal Embellishments

Stick Pin Products from Megs Garden

Seed Beads and Beads

Selection Trims and Flowers


26 May, 2015

Rebel in Megs Garden Butterfly collection

Hi everyone Trish here with a LO of my twin sisters cat Rebel in the old guttering
I was drawn to scrap this photo because of the Verdigris Patina on the guttering.

I wanted to bring out the blues in the Butterfly collection papers
So I added some Verdigris Patina to my texture paste
I used a script and splats mask for this

I added a Sue Wilson die cut and leaves to finish off.
I used a Ranger Verdigris Patina on Megs garden butterfly and when it was dry
sanded it back a little

Thanks for taking a stroll through Megs Garden with me,till next time Trish

23 May, 2015

Forgotten Meadows Collection Layout & Cards from Trish


Hello crafty bloggers who love Meg's Garden papers and other beautiful goodies. For this post iIam using the new Forgotten Meadows collection designed by Kerry-Jean Watson, -  it's so very beautiful.


I spritzed very lightly then added some Tim Holtz crackle medium
on my chippies


I wanted to highlight the Wisteria so painted this chipboard shape with liquid pearls
and cut paper to shape


I used Meg's Garden  organdie flower along with Meg's Small rose
added some pearls to my flowers I found in my stash the die cut leaves. 

Card 1 made with the Meg's Garden cut and create Forgotten Meadows 12x4 strip
Butterfly transparency,duchess pin,small roses and leaves all from Meg's Garden


Close up of cut out that I popped with pop dots to highlight the gorgeous paper


Card made with the 12x4 strip from the Forgotten Meadows  Lazy days paper
I added the lace from Meg's Garden & made some tiny flowers to match the pretty paper


I hope you enjoyed your stroll through Meg's Garden as much as I did


21 May, 2015

Pink notebooks collection

Hello, everyone!
Veronika here to share with you my projects with the papers from The Forgotten Meadows Collection  from Meg's Garden.
When I saw this new collection I thought that should to do a lot of beautiful and tender works! Every paper sheet is so delicate and perfect!
So this time I made a collection of notebooks to show you the perfectly beauty of this paper!

The first notebook is the biggest one - size A5


 And other two are smaller - size A6
and made from one paper - Lazy Days
but both sizes - for cards and for layouts
 
Also I used a pictures of girls from 


Thanks for looking, Veronika